Toy’s Anatomy
Safely take apart an old battery powered toy with adult supervision, identify gears, motors, and circuits, then explain or reassemble how it works.


Step-by-step guide to safely take apart a battery-powered toy
Step 1
Gather all your materials and bring them to a clean table.
Step 2
Take out the batteries from the toy and put them aside in a safe spot.
Step 3
Put on your safety goggles so your eyes are protected.
Step 4
Lay the towel on the table and place the tray on the towel to catch tiny parts.
Step 5
Ask an adult to help you open the toy using the correct screwdriver.
Step 6
Carefully separate the toy halves so you can see the inside parts.
Step 7
Put all screws and small loose parts into the tray so nothing gets lost.
Step 8
Use the flashlight or magnifying glass to look closely at the motor gears and circuit board.
Step 9
Draw the inside layout on your paper showing where each part sits.
Step 10
Label the motor gears and circuit parts on your drawing using colouring materials.
Step 11
Tell your adult how you think the batteries make the motor turn the gears and move the toy.
Step 12
Ask your adult to help you reassemble the toy following your drawing as a guide.
Step 13
Put the batteries back in and turn the toy on to see if it works again.
Step 14
Share your finished creation and what you learned on DIY.org.
Help!?
What can I use if I don't have safety goggles, a tray, or a magnifying glass?
If you don't have safety goggles or a magnifying glass, wear adult safety glasses or make a cardboard eye shield for the step "Put on your safety goggles" and use a shallow baking tray or muffin tin instead of the tray to hold screws during "Put all screws and small loose parts into the tray".
My toy won't work after reassembly—what should I check?
If the toy doesn't work after "Put the batteries back in and turn the toy on", reopen it with an adult and use your drawing from "Draw the inside layout" to confirm the motor gears and circuit board are seated correctly, battery contacts are clean and batteries are inserted the right way, and no wires were pinched when you "Carefully separate the toy halves".
How can I adapt this activity for different ages?
For ages 3–6 have an adult remove screws and let the child do steps like "Use the flashlight or magnifying glass" and "Draw the inside layout" with crayons, for 7–10 let them help with the screwdriver under supervision and label parts in "Label the motor gears and circuit parts", and for 11+ encourage independent disassembly, circuit inspection, and explaining in step "Tell your adult how you think the batteries make the motor turn the gears".
How can we extend or personalize the activity once it's done?
Turn your labeled drawing into a repair guide, decorate or repaint the toy shell after reassembly, test different battery types to compare runtime in "Put the batteries back in and turn the toy on", or design and 3D-print a replacement gear if you found a damaged motor gear during inspection.
Watch videos on how to safely take apart a battery-powered toy
How Are Toys Made? 🧸 Discover the Science Behind Your Favorite Toys!
3 Videos
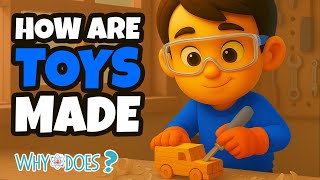
How Are Toys Made? 🧸 Discover the Science Behind Your Favorite Toys!
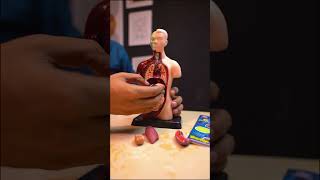
Human Torso Anatomy Model for Kids | Fun Learning with Odeez Toy Store

History of Toys and Toy Making | Simple History
Facts about basic electronics and mechanics
🧸 Archaeologists have found toys from ancient civilizations — some are over 4,000 years old!
⚙️ Gears go way back: the Antikythera mechanism (around 100 BCE) used complex gears to track astronomy.
🔋 Many toys use disposable alkaline batteries, but rechargeable NiMH batteries can often be reused hundreds of times.
🔌 Small DC motors in battery-powered toys usually run on low voltages (often 1.5–9 V) to turn electricity into motion.
🔍 Safety first: always remove batteries and have an adult help when taking a toy apart — batteries can leak and small parts are choking hazards.
How do I do the Toy's Anatomy activity—taking apart a battery-powered toy safely and reassembling it?
What materials and tools do I need for Toy's Anatomy disassembly?
What ages is the Toy's Anatomy activity suitable for?
What are the benefits, safety tips, or variations for Toy's Anatomy?
