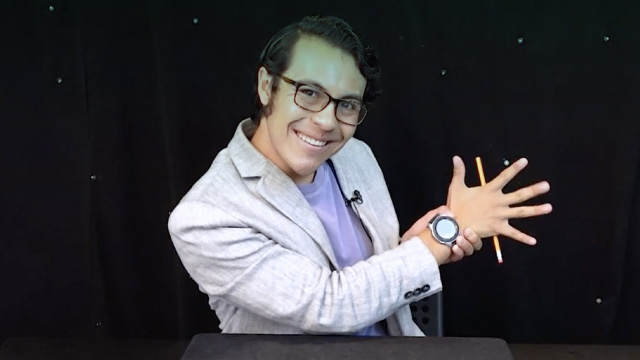
The Floating Pencil Trick
Make a floating pencil illusion using clear thread, straw, and tape; explore balance, center of mass, and simple optical tricks while performing safely.


Step-by-step guide to make a floating pencil illusion
Step 1
Lay all your materials out on a clean flat table so you can see everything.
Step 2
Use scissors to cut one piece of clear thread about 50 centimeters long.
Step 3
Slide the straw onto the thread so the straw sits near the middle of the thread.
Step 4
Tie one end of the thread tightly to one end of the pencil with a double knot about 1 centimeter from the tip.
Step 5
Tie the other end of the thread tightly to the other end of the pencil with a double knot about 1 centimeter from that tip.
Step 6
Press a small piece of tape over each knot to hide and secure the knots to the pencil.
Step 7
Hold the straw horizontally and keep the thread taut so the pencil hangs down below the straw.
Step 8
If the pencil tilts, slide one taped knot a tiny bit toward the pencil’s center until the pencil lies level.
Step 9
Slowly move the straw left and right while keeping the thread tight to practice making the pencil look like it floats.
Step 10
Balance the pencil on your index finger to find its center of mass and notice where the knots sit compared to that spot.
Step 11
Share a photo or short description of your floating pencil trick on DIY.org so everyone can see your illusion.
Help!?
What can I use instead of clear thread or a drinking straw if they're hard to find?
Use fishing line or thin nylon thread in place of the clear thread and substitute a paper or plastic straw (or a short wooden skewer taped to the thread) so you can still slide the straw near the middle as the instructions require.
The pencil keeps tilting or the knots slip — how can I fix that?
Retie each end with a tight double knot about 1 centimeter from the tip, press a small piece of tape over each knot as the steps say, then hold the straw horizontally, keep the thread taut, and slide a taped knot tiny amounts toward the pencil’s center until it lies level.
How can I adapt this activity for different age groups?
For preschoolers have an adult pre-cut the 50-centimeter thread and pre-tie and tape the knots and use a chunky marker instead of a pencil, for elementary kids let them cut and tie with supervision, and for older kids challenge them to use thinner fishing line and experiment with different objects while finding the center of mass.
How can we make the trick more impressive or personalize it?
Decorate the pencil with colored tape before tying the double knots, try swapping in markers or small toys to see how knot placement affects balance, and record a short photo or video of your floating pencil to share on DIY.org as the instructions suggest.
Watch videos on how to make a floating pencil illusion
Floating pencil MAGIC trick :-)
4 Videos

Floating pencil MAGIC trick :-)
Levitating Pencil Trick | Amazing Science Magic | How to Make Pencil Float in Air | pencil Magic
Learn How To Make A Pencil FLOAT!!! -Easy Magic Trick Tutorial
The Floating Pencil Trick
Facts about basic physics and optical illusions
🧭 The center of mass is the point where an object balances — position it right and a pencil can seem to float!
🪄 Magicians often use near-invisible nylon thread to make tiny objects appear to levitate during tricks.
🎯 Clear thread only a few hundred micrometers thick becomes practically invisible from a short distance.
🧪 Simple balancing tricks let you explore stability: move the support point and the center of mass shifts.
♻️ With just a drinking straw, tape, and thread you can build a safe, low-cost illusion toy at home.
How do you do the Floating Pencil Trick step by step?
What materials do I need for the Floating Pencil Trick?
What ages is the Floating Pencil Trick suitable for?
What are the benefits, safety tips, or variations for the Floating Pencil Trick?
