Test your sensor
Build a simple light sensor using an LED, photoresistor, battery, and tape. Test its sensitivity, record results, and troubleshoot adjustments.


Step-by-step guide to test your sensor
EEG Testing and Monitoring - What to Expect
Step 1
Gather all the materials on a flat table so everything is easy to reach.
Step 2
Look at your LED and find the longer leg (this is the positive leg).
Step 3
Place the battery on the table with its terminals facing up so you can tape to them.
Step 4
Tape the LED's longer leg to the battery's positive terminal so it touches the metal.
Step 5
Tape one lead of the photoresistor to the LED's shorter leg so the metal parts touch each other.
Step 6
Tape the other lead of the photoresistor to the battery's negative terminal so the circuit is complete.
Step 7
Turn on the flashlight and shine the light directly on the photoresistor.
Step 8
Watch the LED and notice whether it gets brighter dimmer or does not change when you shine light.
Step 9
Write your first result on the paper and note how far the flashlight was from the photoresistor.
Step 10
Move the flashlight about twice as far away and shine it on the photoresistor again.
Step 11
Watch the LED this time and notice any change compared to your first test.
Step 12
Write the second result on your paper and note the new distance.
Step 13
Press and check all taped connections to make sure metal parts touch if the LED never changed.
Step 14
If it still does not change try flipping the LED so its legs swap places on the battery and test again.
Step 15
Take a photo or write about your light sensor experiment and share your finished creation on DIY.org
Final steps
You're almost there! Complete all the steps, bring your creation to life, post it, and conquer the challenge!


Help!?
What can we use if we can't find a photoresistor or specific battery for this activity?
If you can't find a photoresistor, use a small solar cell or the light sensor from an old toy and tape one lead where the instructions tell you to tape the photoresistor's lead to the LED's shorter leg and the other to the battery's negative terminal.
The LED never changed brightness — what should we check first?
If the LED never changes, press and re-tape all metal contacts per the step to 'check all taped connections', try a fresh battery, and if needed flip the LED so its longer leg is taped to the battery's positive terminal as the instructions suggest.
How can I adapt this sensor test for different ages?
For younger kids have an adult do the taping and ask them to say 'brighter' or 'dimmer' when the flashlight shines, while older kids can use a ruler to measure the distances, record results on paper, and repeat the 'twice as far' step to build a data table.
How can we extend or personalize the light sensor experiment after finishing the basic test?
Extend the activity by mounting the taped LED and photoresistor inside a decorated shoebox with a flashlight hole, test effects of colored cellophane over the photoresistor, and take a photo of your setup to share on DIY.org.
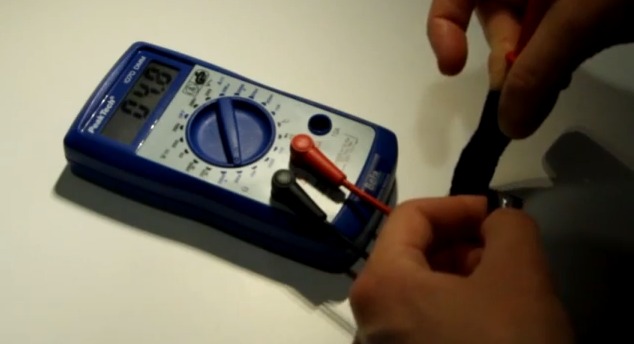
Watch videos on how to test your sensor
How Do Ultrasonic Distance Sensors Work? - The Learning Circuit
4 Videos

How Do Ultrasonic Distance Sensors Work? - The Learning Circuit

How Occupational Therapy Helps with Sensory Integration Issues
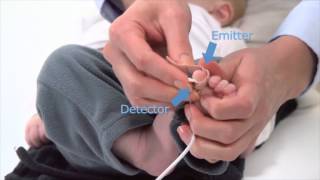
Nonin 6000C/7000 Infant/Neo Cloth/Flexi-Form Pulse Ox Sensors
How Sensors Work: The Basics
Facts about basic electronics and sensors for kids
🔆 Light-dependent resistors (LDRs) can change their resistance by thousands of times between dark and bright conditions — great for small DIY sensors.
💡 Many LEDs can act like tiny light detectors (photodiodes) when reversed — a neat hack for testing light with just an LED.
🔋 A single AA or 9V battery can run simple LED/LDR sensor setups for hours — actual life depends on current draw and how often you test.
📊 Even a homemade light sensor is sensitive enough to show patterns like room lights on/off or the change during sunrise and sunset.
🧪 Light intensity follows the inverse-square law, so doubling the distance from a lamp makes the light about four times dimmer — useful to test sensitivity.
How do I build and test a simple light sensor with an LED and photoresistor?
What materials do I need to make a simple LED and photoresistor light sensor?
What ages is this light sensor activity suitable for?
What are the benefits, safety tips, and variations for this light sensor experiment?


