Teach DIY How To Make a Mandala
Make a colorful paper mandala using compass, ruler, and markers; learn radial symmetry, repeating patterns, measuring angles, and decorating step-by-step.

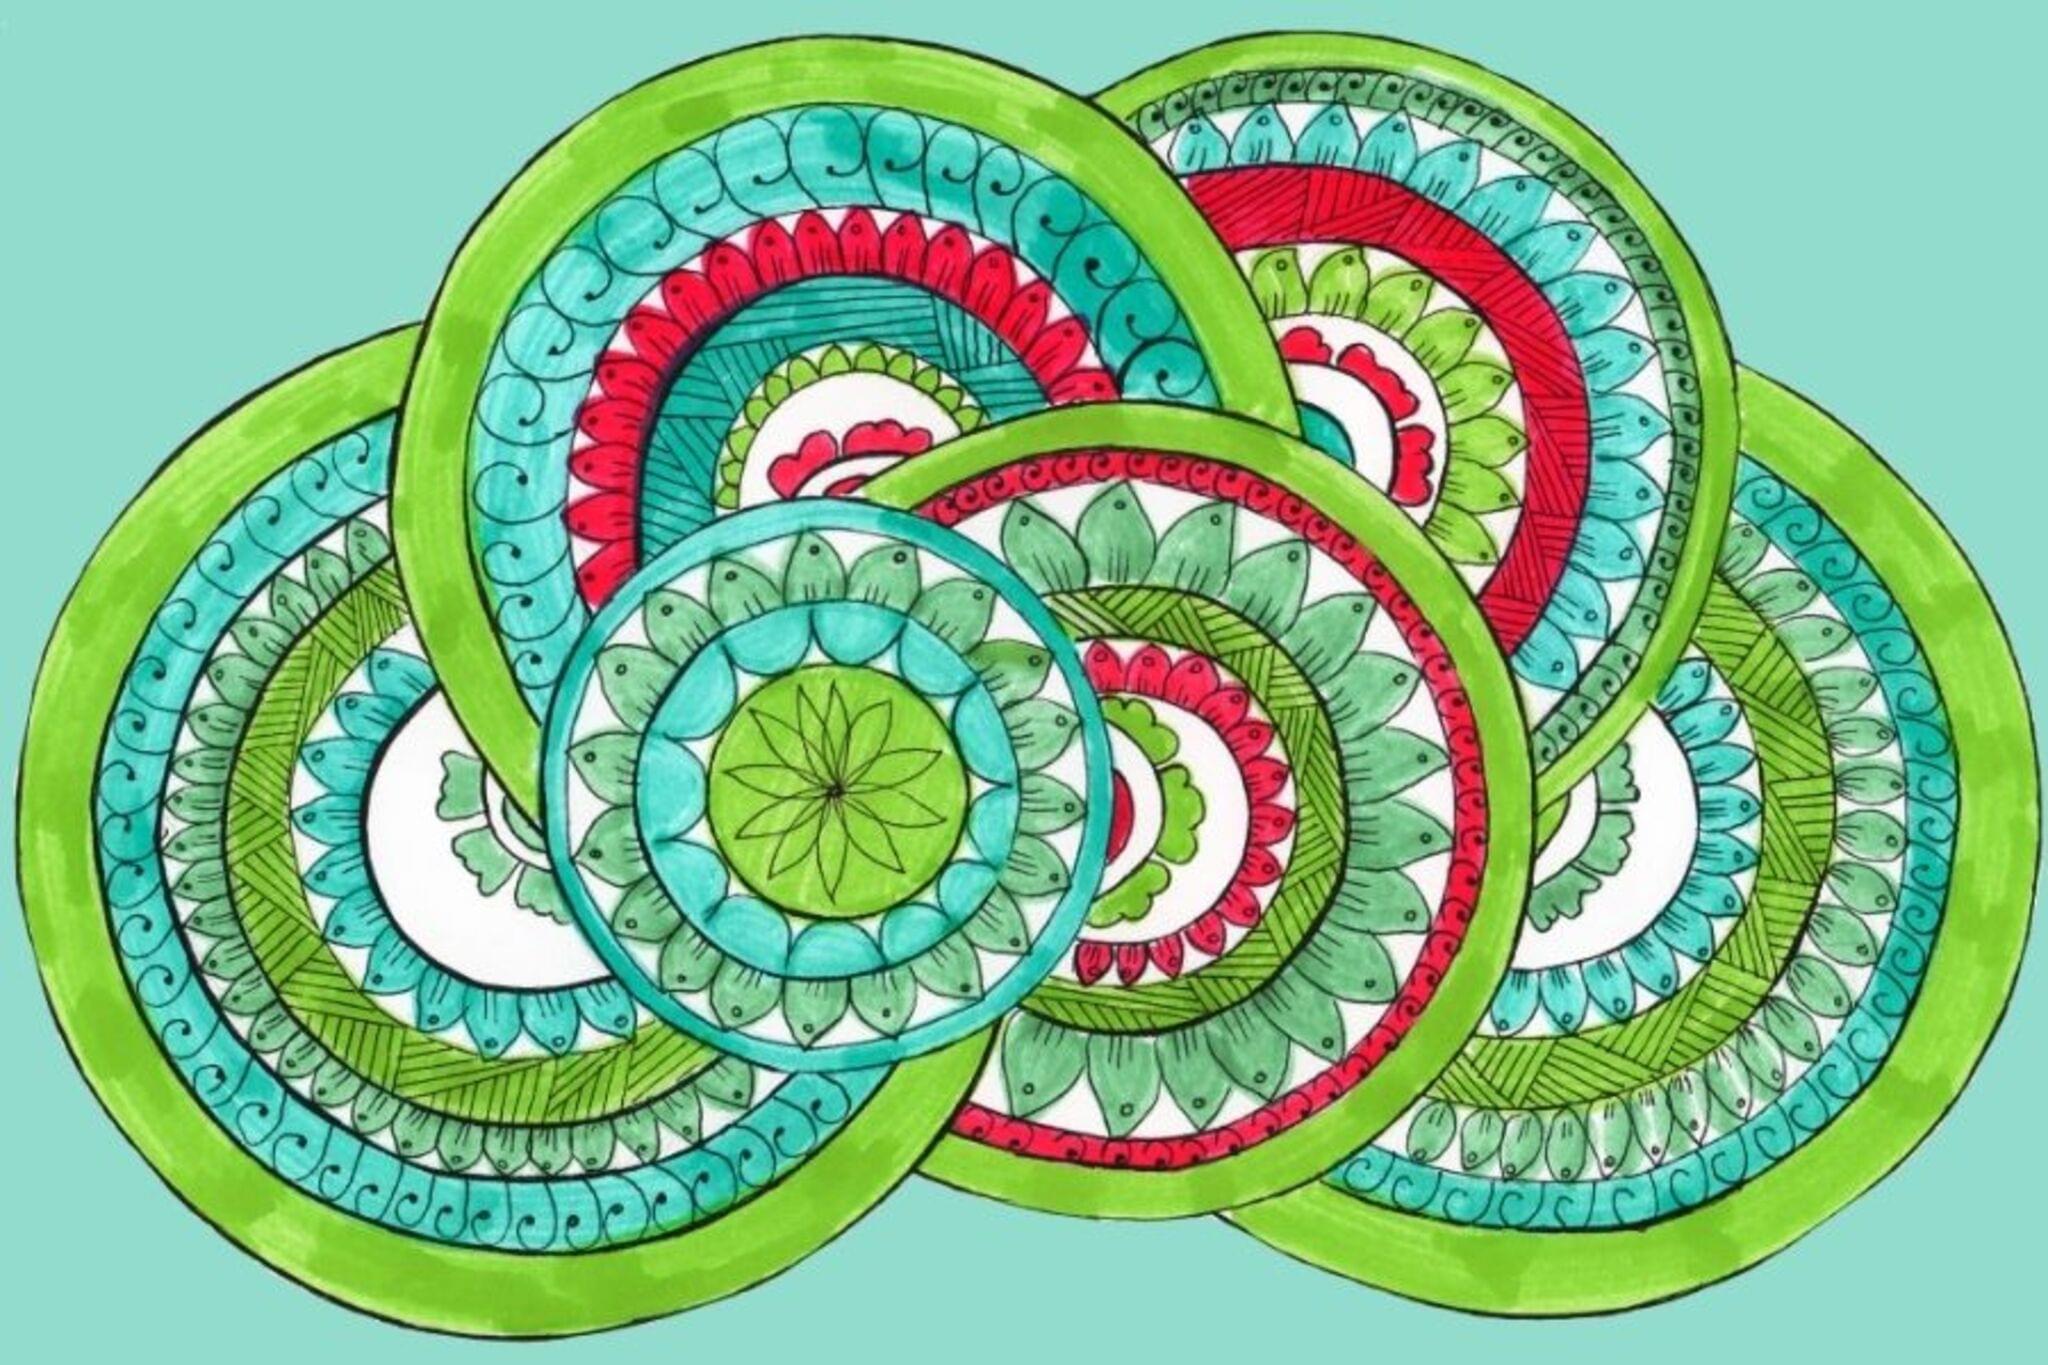

Step-by-step guide to make a colorful paper mandala
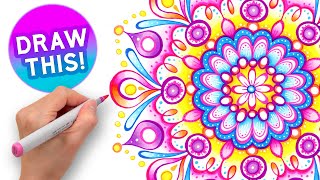
How to Draw an Easy Mandala - a Step by Step Tutorial | Anyone Can Make This Mandala Art!
Step 1
Gather all your materials and place them on a clear flat table.
Step 2
Use your pencil to find and lightly mark the exact center of the paper.
Step 3
Set your compass and draw three to four concentric circles centered on your center mark.
Step 4
Place the protractor on the center and mark a point every 30 degrees around the outer circle to make 12 equal sectors.
Step 5
Use the ruler to draw straight radial lines from the center through each 30 degree mark to divide the circle.
Step 6
Draw one simple shape in pencil inside a single sector between two circles to plan your repeating design.
Step 7
Copy that same pencil shape into each of the other sectors so the pattern repeats around the circle.
Step 8
Add small repeating details like dots petals or lines in each ring to decorate the mandala.
Step 9
Trace over your pencil outlines and details with markers to add color and bold lines.
Step 10
Wait until the marker ink is dry and then carefully erase the remaining pencil guidelines.
Step 11
Share your finished mandala on DIY.org
Help!?
What can I use instead of a compass or protractor if I don't have them?
Use round lids or bowls to trace concentric circles and print or draw a simple 30° protractor template to place on your center mark and make the 12 equal sectors before drawing radial lines.
My sectors look uneven and my marker smudges—what should I do?
Make sure the protractor is exactly on the center mark when you mark every 30 degrees, draw light pencil radial lines with a ruler so you can correct them, and let marker ink dry completely before erasing the pencil guidelines to avoid smudges.
How can I adapt this mandala project for different ages?
For younger kids skip the protractor and use 4–6 large pre-drawn sectors with simple shapes to copy, while older kids can increase the sector count (for example mark every 15 degrees), add finer repeating details in each ring, and use precise compasses and rulers.
How can we extend or personalize the mandala once the basic design is done?
After tracing with markers, personalize by adding colored pencils, metallic pens, glitter glue or collage pieces in the rings, scan and print copies to make a pattern set, or varnish the finished mandala before sharing it on DIY.org.
Watch videos on how to make a colorful paper mandala
How to Draw a Mandala: Easy Step-by-Step Tutorial for Beginners!
4 Videos
How to Draw a Mandala: Easy Step-by-Step Tutorial for Beginners!

Let's create Mini Mandalas with some basic & easy Patterns ✨🥰 How to draw Mandala Art for beginners
Easy & Simple Mandala using Colored Pens | How to Draw Basic Colorful Mandala Art for Beginners
How To Draw Easy Mandala For Beginners || HOW TO Make the SIMPLE MANDALA || MANDALA ART for beginner
Facts about geometry for kids
🌀 Mandala comes from a Sanskrit word meaning "circle" and many cultures use mandalas for meditation and art.
📐 The straightedge-and-compass tradition goes back to ancient Greek math—those tools let you construct exact circles and angles.
🎨 Rotational symmetry is when a design repeats around a center; if your mandala has 8 repeats, each slice is 45° (360/8).
⏳ Tibetan sand mandalas can take days to build with tiny grains of colored sand and are often swept away as a teaching about change.
📏 A typical classroom protractor measures 180°; to plan petals for a 12-point mandala, mark every 30° (360/12).
How do I teach my child to make a colorful paper mandala using a compass, ruler, and markers?
What materials do I need to make a colorful paper mandala at home?
What ages is making a mandala with a compass and ruler suitable for?
What are the benefits and safety tips for making mandalas with kids, and are there fun variations?
