Tap a tree
Safely tap a maple or birch tree with adult supervision to collect sap, observe flow rates, and make simple syrup together.


Step-by-step guide to tap a maple or birch tree to collect sap
Backyard Maple Syrup Part 1 - Tapping Trees and Collecting Sap
Step 1
Find a healthy maple or birch tree with a trunk at least 10 inches wide.
Step 2
Use a marker or tie a ribbon to mark a spot on the trunk 2 to 4 feet above the ground.
Step 3
Ask your adult to drill a hole 1.5 to 2 inches deep at the marked spot at a slight upward angle using the 5/16 inch drill bit.
Step 4
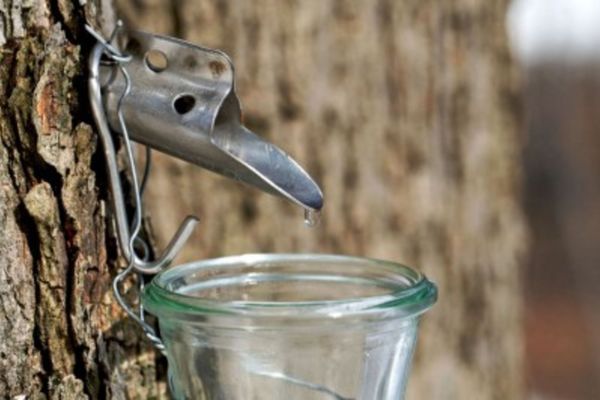
Have your adult gently tap the food-grade spile into the hole with the small hammer until it fits snugly.
Step 5
Hang the clean bucket on the spile hook or attach the plastic tubing so sap flows into your container.
Step 6
Check the bucket every 1 to 2 hours to see if sap is flowing into it.
Step 7
Use the measuring cup to measure how much sap is in the bucket.
Step 8
Write down the time and the amount of sap you measured.
Step 9
Count your total cups of sap and use the rule that about 40 cups of sap make 1 cup of syrup to see how much syrup you could make.
Step 10
With your adult, pour the collected sap into the large pot.
Step 11
With your adult, heat the sap slowly to a simmer and skim off any foam from the surface.
Step 12
With your adult, continue boiling the sap until it reaches about 7°F above the boiling point of water or until it thickly coats a spoon while checking with the thermometer.
Step 13
With your adult, pour the hot syrup through cheesecloth or a fine strainer into the clean glass jar to filter out bits and let it cool.
Step 14
Label the jar with the date and store it in the refrigerator.
Step 15
Share a photo and what you learned about tapping and making syrup on DIY.org.
Help!?
What can we use if we can't find a 5/16 inch drill bit, food-grade spile, or the clean bucket mentioned in the steps?
Use a slightly smaller sanitized drill bit only if it still makes a snug 1.5–2 inch hole, substitute a certified food-grade plastic or stainless spout for the spile, and collect sap in a clean food-safe bucket or a thoroughly sanitized milk jug hung on the spile hook.
Sap isn't flowing into the bucket — what should we check or fix from the tapping steps?
Check that the hole is drilled 1.5–2 inches deep at a slight upward angle, make sure the food-grade spile is tapped snugly with the small hammer, confirm the bucket or tubing is not kinked or clogged, and try again during warmer daytime temperatures when sap is likelier to flow.
How can we change the activity for different ages while still following the drilling and boiling safety steps?
For younger children let them mark the trunk, tie the ribbon, and pour and count sap with the measuring cup while an adult handles drilling and the large pot, and for older kids have them record times and amounts, watch and read the thermometer while boiling to about 7°F above boiling, and skim foam with adult supervision.
How can we personalize or expand the project beyond making one jar of syrup?
Tap several trees to compare total cups of sap and calculate syrup yield using the 40 cups to 1 cup rule, try small flavored batches before straining with cheesecloth, label each clean glass jar with the date and a custom tag, and post photos and what you learned on DIY.org as suggested.
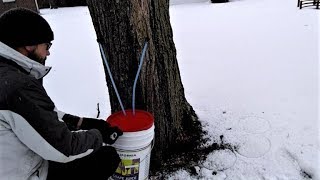
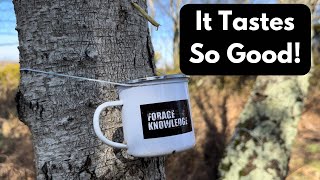
Watch videos on how to tap a maple or birch tree to collect sap
Tap Maple Trees for Sap - Small Scale Backyard Setup!
4 Videos
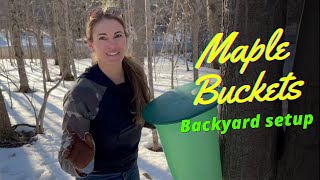
Tap Maple Trees for Sap - Small Scale Backyard Setup!

Ark Tree Sap Tap Guide
How to Tap a Maple Tree and Collect Sap
How to Tap Birch Trees for Sap | 3 Easy Methods
Facts about sap collection and maple syrup making
🍁 Sap flows best when daytime temperatures rise above freezing and nights dip below freezing — that freeze-thaw cycle is sugaring season!
🍯 It takes roughly 40 liters of maple sap to make about 1 liter of maple syrup, so patience (and lots of boiling) pays off.
🌳 A healthy tree about 10–12 inches (25–30 cm) across can usually be tapped safely with small holes and adult supervision.
⏱️ Sap flow can change by the hour — from just a few drops when it's cold to liters per day on warm, sunny afternoons — great for observing flow rates.
🍂 Birch sap is much less sweet than maple sap, so it can take several times more sap to make birch syrup and it has a unique, slightly floral flavor.
How do I safely tap a maple or birch tree with my child to collect sap and make simple syrup?
What materials and tools do we need to tap a tree and make simple syrup with kids?
What ages is tree tapping and syrup making suitable for?
What are the benefits and safety tips for tapping trees and making syrup with kids?
