Take Inspiration From a Flower
Observe a real flower closely, sketch its shapes and colors, then create a paper or watercolor flower artwork inspired by its patterns and symmetry.


Step-by-step guide to Take Inspiration From a Flower
How to Draw Flowers | Simple Drawing Lesson for Kids | Step By Step
Step 1
Find a real flower and bring it to a well-lit workspace.
Step 2
Spend five minutes observing the flower closely from all sides.
Step 3
Count the number of petals on the flower.
Step 4
Look for symmetry by comparing one side of the flower to the other.
Step 5
Make a light pencil sketch of the flower’s overall shape and petal arrangement on your paper.
Step 6
Add smaller shapes like the center details veins and leaf outlines to your sketch.
Step 7
Hold your coloring materials up to the flower and choose the closest colors to use.
Step 8
Decide whether you will paint with watercolors or build a paper collage for your final artwork.
Step 9
If you chose watercolors mix the colors and paint the large color areas that match your sketch.
Step 10
If you chose a paper collage cut petal and center shapes from colored paper and glue them starting at the center outward.
Step 11
Add fine details like veins dots or texture with a small brush or coloring materials.
Step 12
Let your painting dry or glued pieces set for at least 15 minutes.
Step 13
Sign your artwork with your name and the date in a corner.
Step 14
Share your finished creation on DIY.org
Help!?
What can we use if we don't have watercolors, colored paper, or glue?
If you don't have watercolors use washable markers or colored pencils for the painting step, substitute magazine pages or tissue paper for the colored paper when cutting petal and center shapes, and use double-sided tape or a glue stick instead of liquid glue to attach collage pieces.
My watercolor keeps buckling or the colors look muddy—what should I do?
When you paint the large color areas, tape the paper's edges to a flat board, use less water and blot excess with a paper towel, and let each layer dry for at least 15 minutes before adding fine details to prevent buckling and muddying.
How can I adapt this activity for a preschooler versus a preteen?
For a preschooler simplify the steps to observing briefly, counting petals, and gluing pre-cut petal shapes from colored paper, while a preteen can spend the full five-minute observation comparing symmetry, making a detailed pencil sketch, mixing watercolor shades, and adding fine veins and texture.
How can we extend or personalize the finished artwork?
After signing and letting the piece set, personalize it by pressing and attaching a small real petal, adding a background collage or textured details with a small brush, framing the work, or using the counted petal number and symmetry observations to create a matching series to share on DIY.org.
Watch videos on how to Take Inspiration From a Flower
How To Draw A Flower (Tulip)- Preschool
4 Videos
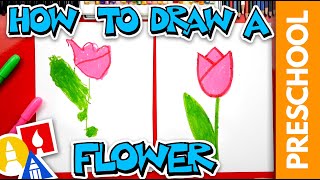
How To Draw A Flower (Tulip)- Preschool

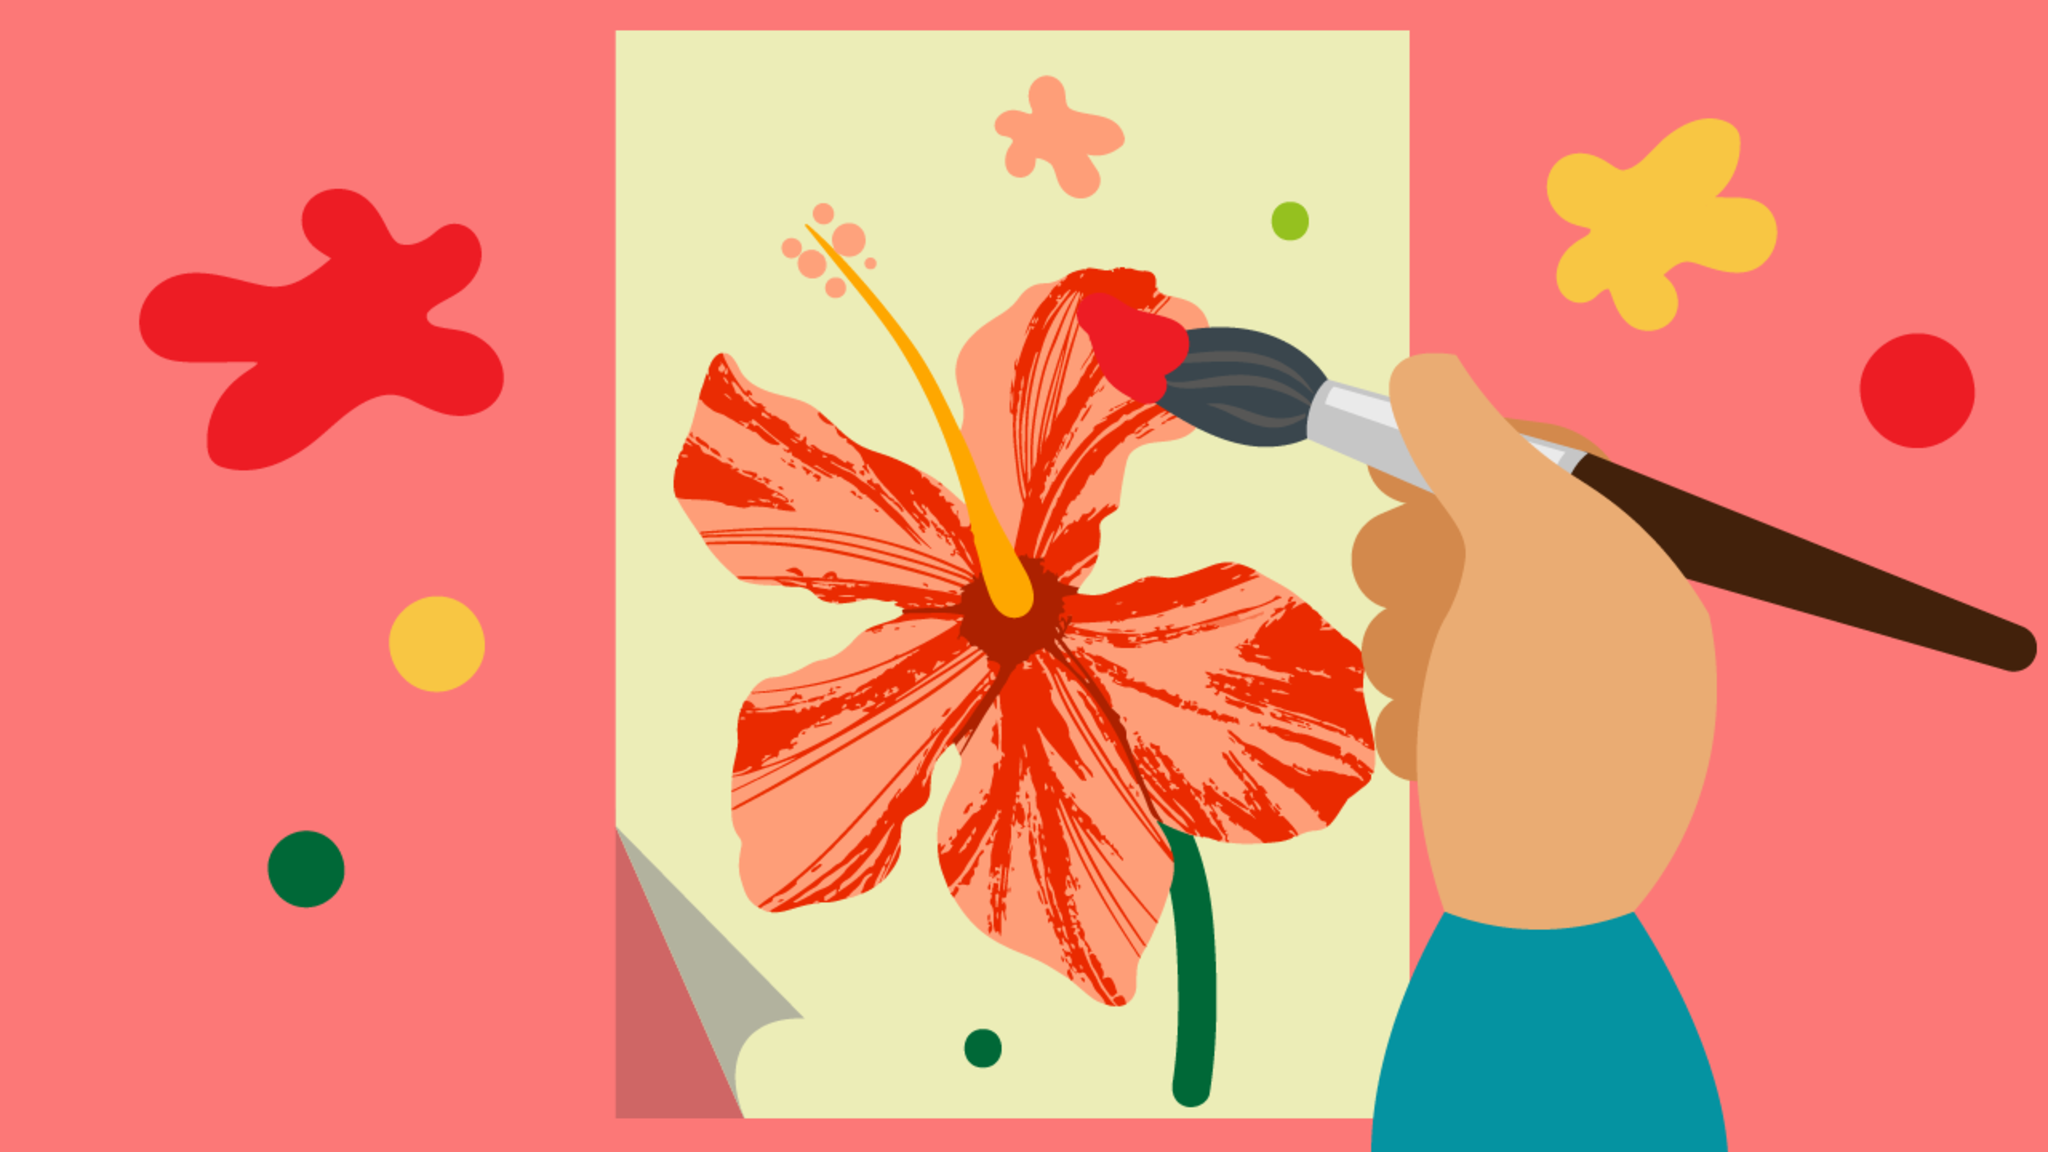
How To Draw A Hibiscus Flower 🌺

How To Draw A Flower Bouquet
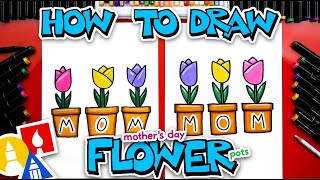
How To Draw Mother's Day Flower Pots
Facts about plant anatomy and flower patterns
🌸 Many flowers have nectar guides—patterns on petals that direct pollinators to the nectar.
🐝 Bees can see ultraviolet patterns on petals that humans can't, making flowers look different to them.
🎨 Botanical artists have used watercolor for centuries because it captures delicate color and texture well.
✏️ Quick observational sketches help artists spot symmetry, repeating shapes, and tiny details to use in final art.
➰ Some flower patterns follow mathematical spirals (phyllotaxis), like the seed arrangement in sunflowers.
How do I take inspiration from a flower and turn it into paper or watercolor art?
What materials do I need to observe a flower and make a paper or watercolor artwork?
What ages is the 'Take Inspiration From a Flower' activity suitable for?
What are the benefits of observing a real flower and creating inspired artwork?
