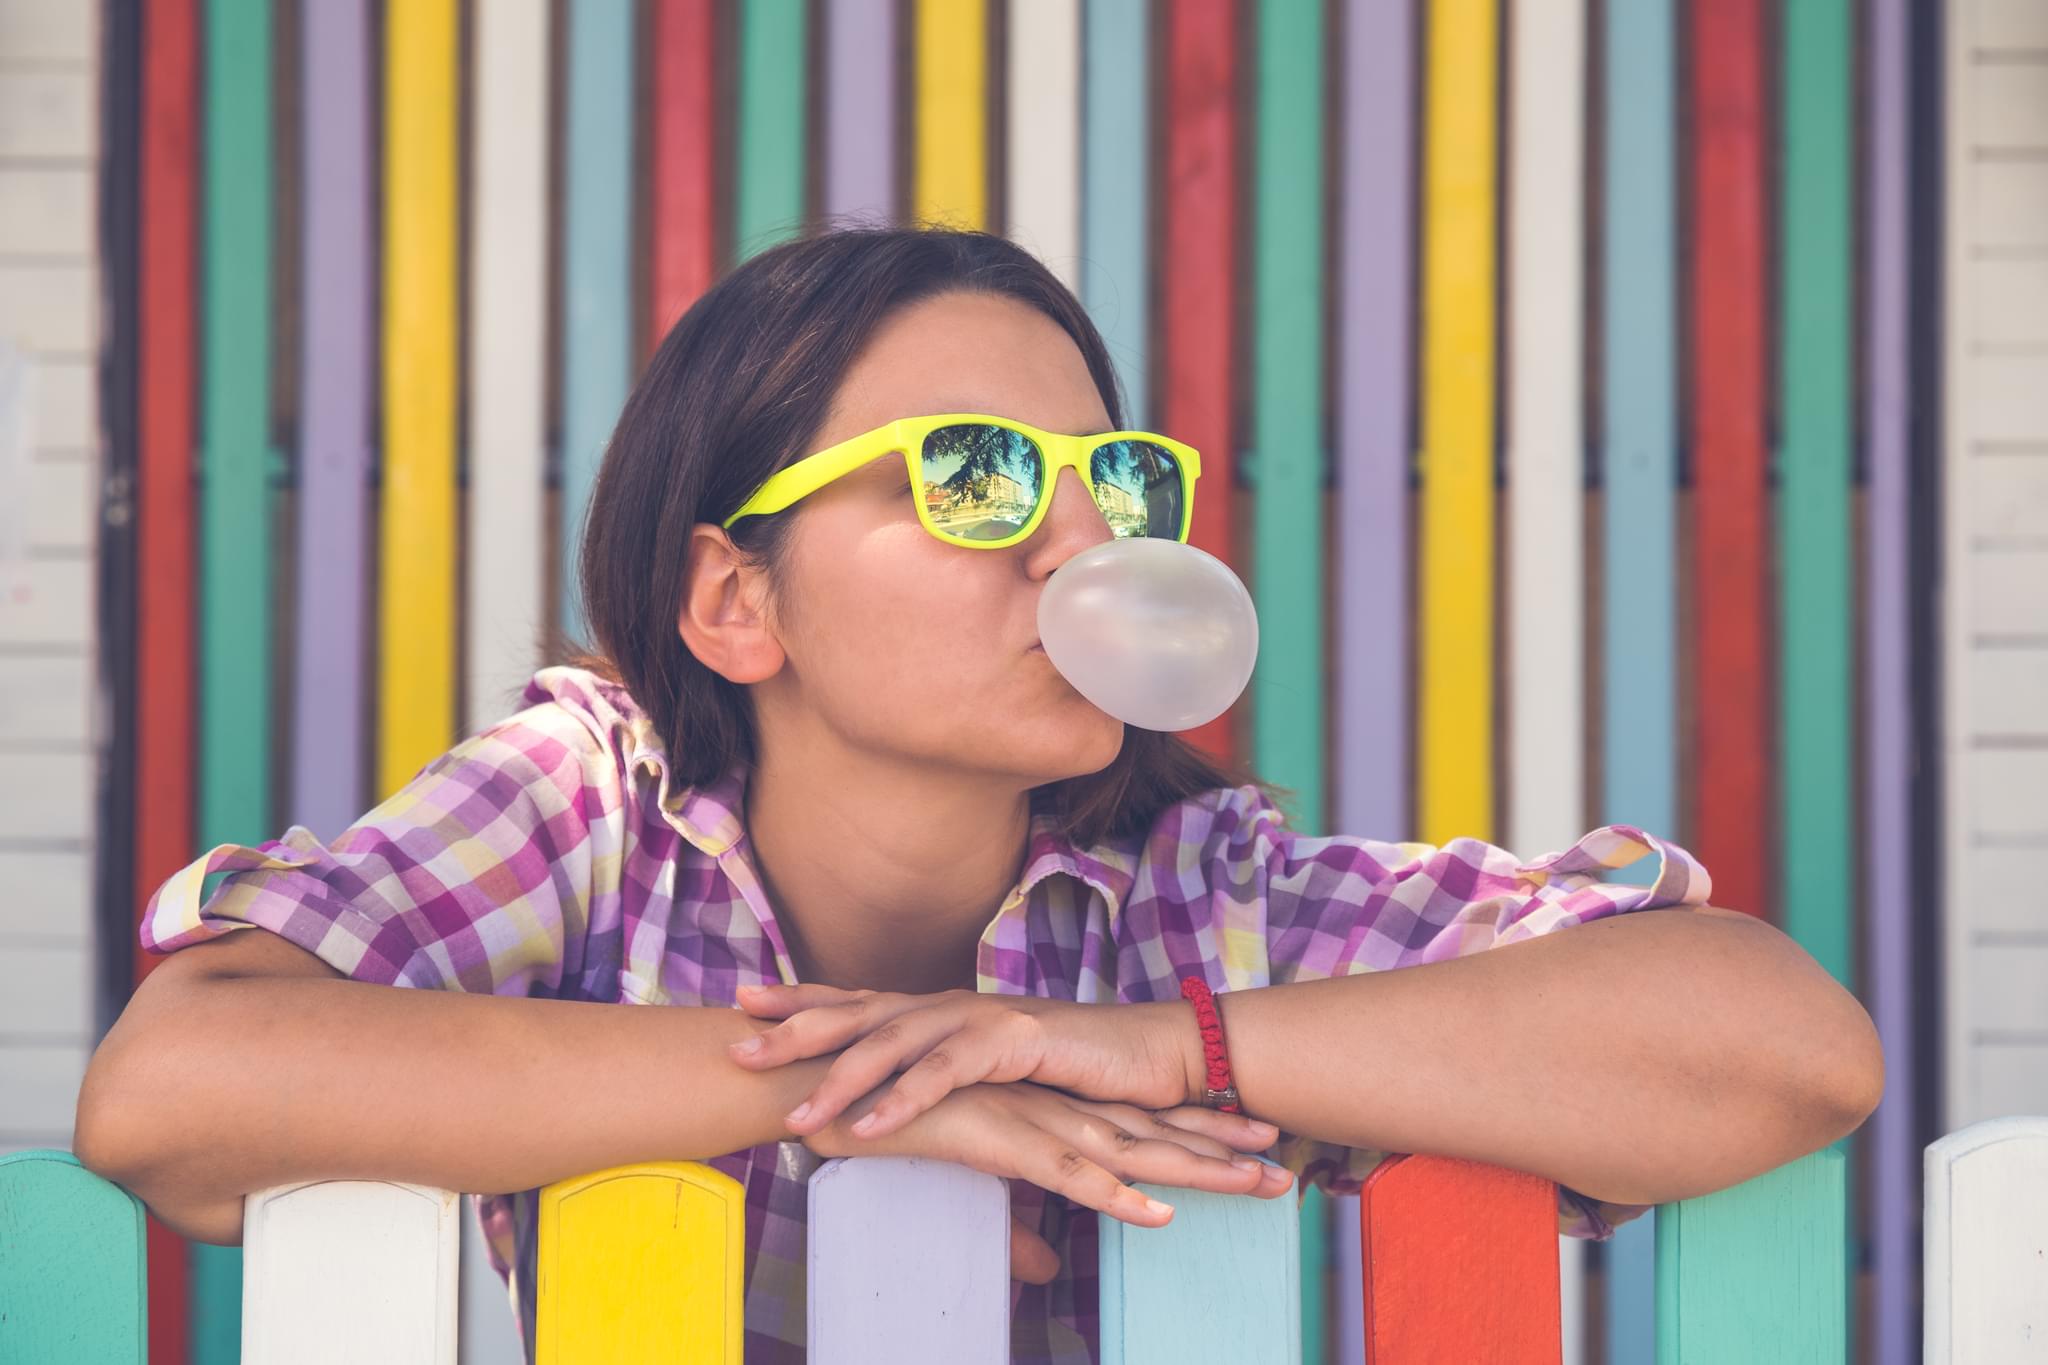
Take a Portrait with a Colorful Background
Take a portrait photograph with a bright, colorful background using colored paper, fabric, or painted backdrop; practice posing, lighting, and framing with adult supervision.


Step-by-step guide to take a portrait with a colorful background
Take Great Portrait Photos! 📸 | Photography Tutorial for Kids
Step 1
Pick a colorful backdrop material such as paper fabric or a painted sheet.
Step 2
Choose a plain wall table or door where you want to set up your backdrop.
Step 3
Secure the backdrop to the spot using tape or clothespins.
Step 4
Place a chair or stool about two big steps away from the backdrop.
Step 5
Set up bright light by turning on a lamp or moving the setup near a sunny window.
Step 6
Ask an adult to hold the camera or phone steady or to set a timer.
Step 7
Sit or stand on the chair and strike your first simple pose facing the camera.
Step 8
Change your expression or move your head slightly to try a second pose.
Step 9
Try a third fun pose with a different angle or hand position.
Step 10
Ask the adult to check the camera screen and help adjust so your head and shoulders fill the frame.
Step 11
Look through the pictures with the adult and pick your favorite photo.
Step 12
Share your favorite colorful portrait on DIY.org.
Help!?
What can we use if we don’t have paper, fabric, or a painted sheet for the colorful backdrop?
If you don’t have paper, fabric, or a painted sheet, tape up a colorful bedsheet, tablecloth, large scarf, wrapping paper, or poster board on the wall as your backdrop.
The backdrop keeps falling and some photos look dark or blurry—how do we fix that?
If the backdrop slips, add extra tape or clothespins and smooth wrinkles, and if photos are dark or blurry move the lamp or setup closer to the sunny window, use a timer or have an adult steady the camera, then check that your head and shoulders fill the frame.
How can we change the activity for different ages?
For younger kids have an adult hold the camera, keep one simple seated pose on the chair two big steps from the backdrop, and for older kids try standing poses, varied head angles, more advanced hand positions, or make your own painted backdrop.
How can we make the portrait more creative before sharing on DIY.org?
Personalize the portrait by adding small props or costume pieces, layering two backdrop materials for texture, experimenting with colored lamps or gels for mood, and lightly editing your chosen favorite before uploading to DIY.org.
Watch videos on how to take a portrait with a colorful background
5 Watercolor Portrait Tips: The Art of Painting Children
4 Videos

5 Watercolor Portrait Tips: The Art of Painting Children

How to Photograph Kids, Babies, Children: A Portrait Tutorial
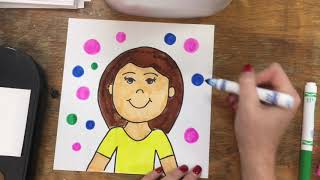
1st Grade Self Portrait
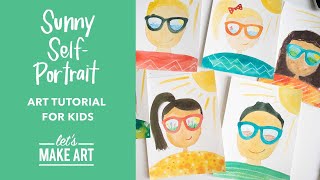
Sunny Self Portrait 😎 Easy Art Project for Kids by Nicole Miyuki of Let's Make Art
Facts about portrait photography for kids
🎨 Using a background color that’s complementary on the color wheel makes your subject pop — photographers use this to create bold contrast.
📸 Moving a soft light closer to your subject softens shadows and creates a friendlier, more flattering portrait without fancy gear.
🤳 Placing the subject’s eyes along the top third line (the rule of thirds) usually makes portraits more engaging and balanced.
🧵 Big sheets of colored paper, bedsheets, or fabric make easy, kid-safe backdrops — pros often use muslin or seamless paper in studios.
😊 A genuine smile that reaches the eyes (a “Duchenne smile”) is typically seen as more natural and appealing in portraits.
How do I take a portrait with a colorful background?
What materials do I need to take a portrait with a colorful background?
What ages is this portrait activity suitable for?
What are the benefits of kids taking portraits with colorful backgrounds?
