Star Your LPS in a Photo Shoot
Stage a mini photo shoot for your Littlest Pet Shop toys using simple backgrounds, props, natural light, and a camera to practice composition and posing.


Step-by-step guide to Star Your LPS in a Photo Shoot
HUGE NEW LPS UNBOXING! Series 3 Littlest Pet Shop Basic Fun G7 review
Step 1
Pick one to three Littlest Pet Shop toys to be the stars of your photo shoot.
Step 2
Choose a spot near a window with soft bright light but no harsh sun.
Step 3
Clear and wipe the table or floor space so your set is clean.
Step 4
Tape or stick the paper or fabric behind the space to make a simple background.
Step 5
Arrange small props on the surface to build a fun scene around your toy.
Step 6
Pose your LPS toy in a way that looks playful or tells a tiny story.
Step 7
Hold your camera at the toy’s eye level so the picture looks like the toy’s world.
Step 8
Tidy the background and move props until the photo spot looks neat and simple.
Step 9
Take several photos trying a wide shot a close-up and a funny angle and choose your favorite.
Step 10
Share your finished photo shoot on DIY.org so other kids can see your Littlest Pet Shop stars.
Help!?
What can we use if we don't have Littlest Pet Shop toys, special background paper, or a camera?
Use other small toys or figurines instead of Littlest Pet Shop toys, tape plain printer paper, poster board, or a clean towel as the background, and use a phone camera for the 'hold your camera at the toy’s eye level' step.
My photos look too bright or have strong shadows—what should I change?
Move to a spot with softer window light or hang a thin white sheet or curtain over the window to diffuse harsh sun, and tidy or reposition props and background paper so shadows and reflections don't clutter the shot.
How can I change this activity for younger or older kids?
For preschoolers, let them pick one LPS, help tape the background and hold the camera at the toy’s eye level while you take a few close-up shots; for older kids, stage up to three toys, try wide, close-up and funny angles, and edit or add captions before sharing on DIY.org.
How can we make the photo shoot more creative or longer-lasting?
Create handmade props from paper or clay, add a small string of fairy lights behind the fabric background for depth, print favorite photos to make a mini gallery, or write a short story to post with the images on DIY.org.
Watch videos on how to Star Your LPS in a Photo Shoot
the SECRET to customizing lps | littlest pet shop custom
4 Videos
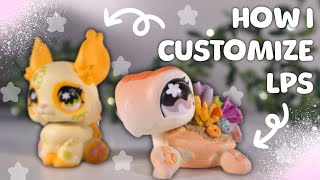
the SECRET to customizing lps | littlest pet shop custom
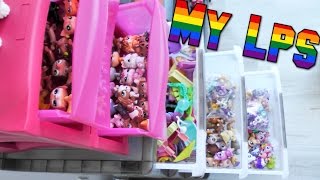
How I Organise My Lps & Accessories || DIY (Kinda)
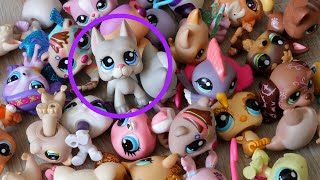
Unboxing A New LPS Collection

Elsa and Anna toddlers toy spa for LPS Part 1
Facts about toy photography for kids
📸 You can take amazing toy photos using just a smartphone and a little patience.
☀️ Soft natural light from a window gives tiny toys gentle, shadow-free portraits.
🧩 The rule of thirds (placing subjects off-center) makes toy photos look more dynamic.
🎭 Simple household props—paper, tape, and fabric—can become realistic mini-sets for your shoot.
🐶 Littlest Pet Shop figures are collectible mini animal toys known for big eyes and cute poses.
How do I stage a mini photo shoot for my Littlest Pet Shop toys?
What materials do I need for a Littlest Pet Shop photo shoot?
What ages is this activity suitable for?
What are the benefits of staging a Littlest Pet Shop photo shoot?
