Stamp Painting Time!
Make colorful stamp paintings using homemade stamps from sponges, vegetables, and bottle caps; arrange patterns, mix paints, and create unique artwork.


Step-by-step guide to make colorful stamp paintings
Step 1
Lay down a towel or newspaper to protect your table.
Step 2
Place a sheet of paper or cardstock on the protected area for your painting.
Step 3
Squeeze small puddles of different paint colors onto paper plates to make palettes.
Step 4
With an adult's help, cut a potato in half and carve a simple shape into the flat side to make a vegetable stamp.
Step 5
Cut kitchen sponges into fun shapes using scissors to make sponge stamps.
Step 6
Press bottle caps onto paint to coat their bottoms evenly.
Step 7
Gently test each stamp on a scrap piece of paper to check how much paint it has.
Step 8
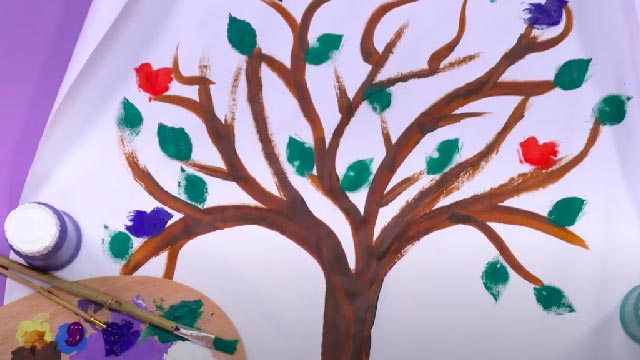
Start stamping your main design on the paper by pressing stamps firmly and lifting straight up.
Step 9
Mix two colors on a plate with a spoon or brush to create a new color and stamp with it.
Step 10
Rinse stamps in the cup of water and blot them on the paper towel between color changes.
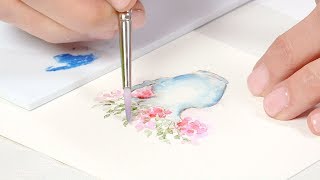
Step 11
Use a paintbrush to add small details like dots lines or accents to finish your picture.
Step 12
Let your painting dry flat for at least 30 minutes before moving it.
Step 13
Share a photo of your finished stamp painting on DIY.org.
Help!?
What can we use instead of a potato for the vegetable stamp if potatoes are hard to find?
If you can't use a potato, substitute a halved apple or a piece of firm craft foam cut and carved like the potato stamp to press into paint.
My stamps are smudging or leaving blobs—how do we fix that?
If your stamp smears or leaves blobs, press excess paint off onto the scrap piece of paper, press the stamp firmly and lift straight up as instructed, and blot the stamp on the paper towel after rinsing it in the cup of water between colors.
How can we change the activity for younger or older kids?
For toddlers, skip the knife and use pre-cut sponge stamps or bottle caps for simple pressing, while older kids can carve detailed potato stamps, mix colors on the paper plate with a spoon, and add brush details before letting the painting dry for at least 30 minutes.
What are some ways to extend or personalize our stamp painting?
Personalize your project by carving initials or shapes into potato stamps or cutting letters from sponges, layering mixed-color stamps and adding paintbrush accents, then let it dry and share a photo on DIY.org.
Watch videos on how to make colorful stamp paintings
Onion Dabbing Stamping Painting | Vegetable stamp activity l Vegetable Print Painting |Stamp Art
4 Videos
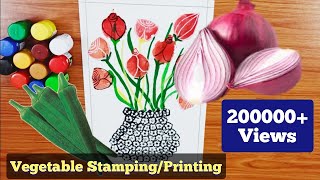
Onion Dabbing Stamping Painting | Vegetable stamp activity l Vegetable Print Painting |Stamp Art
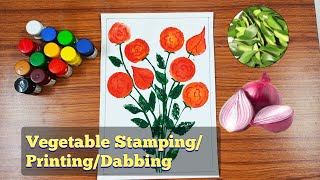
Onion Dabbing Stamping Painting | Vegetable stamp activity l Vegetable Print Painting |Stamp Art
How To Stamp On Paint With Perfect Results | Tutorial With Andy Skinner
Watercolor Stamping Basics with Art Impressions
Facts about painting and printmaking for kids
🎨 Printmaking has been used for over 1,000 years to repeat colorful designs on paper and fabric.
🥔 Potatoes are a classic kid-friendly stamp because their starchy flesh holds carved shapes really well.
🧽 Sponges soak up lots of paint, so sponge stamps make soft, bouncy textures and big patches of color.
🪙 Bottle caps (crown corks) are perfect for making small, neat circle stamps — and you can often find them to reuse!
🌈 Mixing two primary paints (red, blue, yellow) can make all sorts of new colors — try mixing on your stamp to surprise yourself!
How do I do Stamp Painting Time with homemade sponge, vegetable, and bottle cap stamps?
What materials do I need for Stamp Painting Time?
What ages is Stamp Painting Time suitable for?
What are the benefits and safety tips for Stamp Painting Time?
