Solve Last Layer Corners
Learn to solve the last layer corners of a Rubik's Cube using simple algorithms and practice sequences to orient and permute corner pieces confidently.

Step-by-step guide to solve last layer corners
Step 1
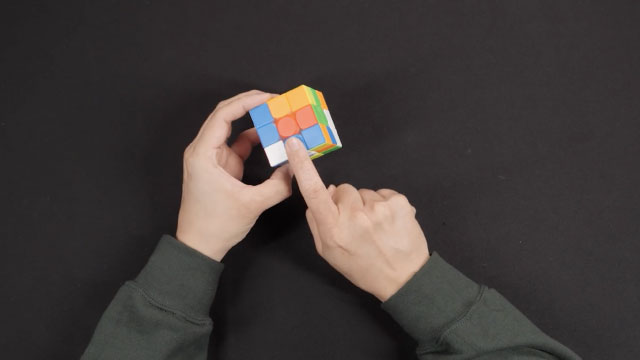
Hold the cube so the first two layers are solved and the last layer color you want to finish is facing up.
Step 2
Look at the four top corners and find one whose top sticker is not the top color.
Step 3
Turn the whole cube so that that misoriented corner is at the upper-front-right corner position.
Step 4
Perform the twist algorithm R' D' R D repeatedly until that corner’s top sticker becomes the top color (R' = turn the right face 90° counterclockwise D' = turn the bottom face 90° counterclockwise R = turn the right face 90° clockwise D = turn the bottom face 90° clockwise).
Step 5
Turn only the top face to bring the next corner that needs twisting into the upper-front-right position.
Step 6
Repeat the twist algorithm (Step 4) and move the top face (Step 5) until all four top corners show the top color.
Step 7
Look for a top-layer corner whose three stickers match the center colors of the three faces around it (this corner is already in the correct position).
Step 8
If you found a correctly placed corner, rotate the whole cube so that this correct corner is in the upper-front-right position.
Step 9
If you could not find any correctly placed corner, perform the corner-cycle algorithm once: U R U' L' U R' U' L (this cycles three corners).
Step 10
Repeat the corner-cycle algorithm until all four top-layer corners are in their correct positions.
Step 11
Share your finished Rubik’s Cube success on DIY.org.
Help!?
I don't have a standard 3×3 Rubik's Cube — can I still do this activity?
Use a 3×3 cube app or simulator or borrow/print a 3×3 stickered cube because the R' D' R D and U R U' L' U R' U' L algorithms in the instructions require a standard 3×3 cube's corners and solved first two layers.
I keep doing R' D' R D but the corner doesn't become the top color — what's wrong?
Make sure the misoriented corner is exactly at the upper-front-right position and that you're performing R' and D' in the correct directions without turning the top face during the repeats, then continue until that corner's top sticker becomes the top color.
How can I adapt the steps for younger or older kids?
For younger kids, have them practice only Step 4 (R' D' R D) on a single misoriented corner held at UFR with an adult helping to hold the cube, while older kids should practice recognizing correctly placed corners (Step 7) and learn the corner-cycle algorithm (U R U' L' U R' U' L) to speed up finishing the layer.
How can we extend or personalize the activity after finishing the corners?
After all corners are solved, personalize the activity by decorating the cube or filming a step-by-step video of Steps 4–9 to share on DIY.org, challenge yourselves with timed solves, or learn full OLL/PLL sequences to complete the last layer faster.
Watch videos on how to solve last layer corners
How to Solve Last Layer of Rubik's Cube [World's Easiest Method]
4 Videos
![How to Solve Last Layer of Rubik's Cube [World's Easiest Method]](https://img.youtube.com/vi/6WrzbzKmP9U/mqdefault.jpg)
How to Solve Last Layer of Rubik's Cube [World's Easiest Method]
"Solve Any PLL in Seconds! ⚡ | Rubik's Cube Last Layer Tutorial"
You Can Solve The Last Layer | Rubik's Cube Last Layer Problems
Solve the Last Layer / Third Layer - 3x3 Cube Tutorial - Only 4 moves to learn - Easy Instructions
Facts about Rubik's Cube solving
🧩 The Rubik's Cube has 43,252,003,274,489,856,000 possible positions — that's 43 quintillion!
🔷 A standard 3×3 cube has 8 corner pieces; mastering their moves unlocks nearly all last-layer patterns.
🔁 Each corner can be twisted in 3 ways, but only 3^7 = 2,187 corner-orientation combinations are possible due to a parity constraint.
🎯 There are 21 PLL (Permutation of the Last Layer) cases used to permute last-layer pieces during speedsolving.
⚡ Named short algorithms like Sune and Antisune are popular for quickly orienting last-layer corners.
How do I teach my child to solve the last layer corners of a Rubik's Cube?
What materials do we need to practice last layer corners on a Rubik's Cube?
What ages is learning last layer corners suitable for?
What are the benefits of teaching children to solve last layer corners?
