Solder
Assemble a simple LED circuit and learn safe soldering basics using low temperature tools with adult supervision, practicing steady hands and circuit testing.


Step-by-step guide to soldering a simple LED circuit
Soldering Tutorial for Beginners: Five Easy Steps
Step 1
Clear a clean flat workspace so you have plenty of room to work.
Step 2
Place the heat-resistant mat on the workspace to protect the table.
Step 3
Put on your safety glasses before touching any tools or parts.
Step 4
Turn on the low-temperature soldering iron and have an adult check that the temperature and stand are safe.
Step 5
Identify the LED polarity by finding the longer lead (positive +) and the shorter lead (negative -).
Step 6
Push the LED leads into separate holes on the perfboard so the leads do not touch each other.
Step 7
Insert the 220 Ω resistor so one resistor lead shares the same row or hole group as the LED’s longer lead (anode).
Step 8
Bend the LED and resistor leads slightly on the bottom of the board to hold the parts in place.
Step 9
Ask an adult to tin the soldering iron tip with a little solder so it is ready to use.
Step 10
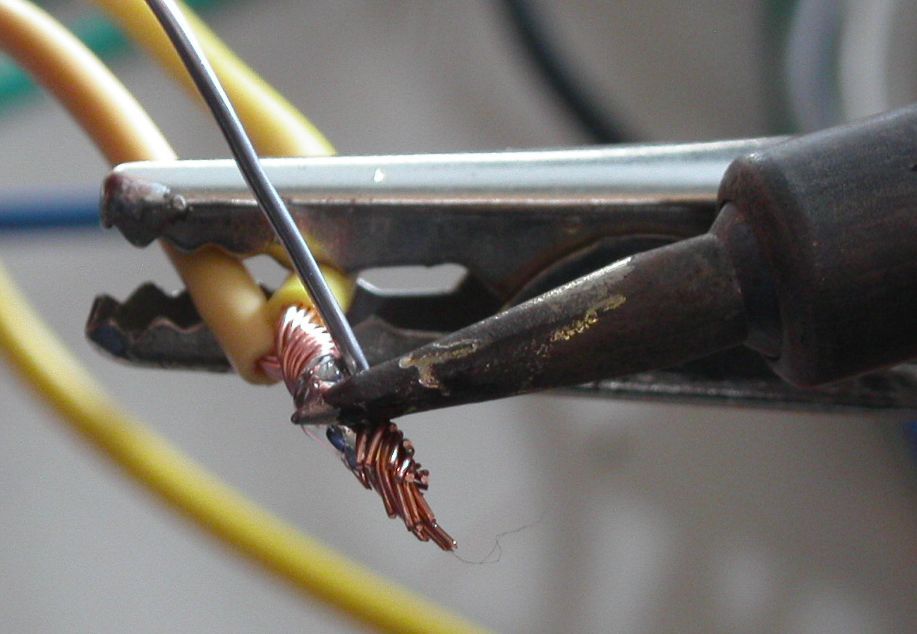
Heat each pad and component lead then feed a small amount of solder until a shiny joint forms to attach the LED and resistor to the perfboard.
Step 11
Use wire cutters to trim the excess component leads close to each solder joint.
Step 12
Position the battery holder wires so the positive (usually red) wire goes to the resistor-connected pad and the negative (usually black) wire goes to the LED cathode pad.
Step 13
Solder the battery holder wires to their matching pads while an adult watches and helps as needed.
Step 14
Place the coin cell into the holder and check that the LED lights; if it does not light ask an adult to help look for cold joints or loose wires.
Step 15
Cover any exposed metal with electrical tape or heat-shrink tubing and then share your finished creation on DIY.org
Help!?
What can we use if we can't find a perfboard, a 220 Ω resistor, or a coin cell battery?
You can use a small solderless breadboard or a scrap of non-conductive board with copper tape instead of the perfboard, substitute any 200–270 Ω resistor for the 220 Ω when inserting it beside the LED anode, and replace the coin cell with an equivalent-voltage battery pack (e.g., two AAA in series) while matching the positive and negative wiring.
Why won't my LED light after I solder everything and put the coin cell in?
If the LED doesn't light after placing the coin cell, double-check LED polarity (longer lead to the resistor-connected anode), look for dull or cracked (cold) solder joints and reflow them by heating the pad and lead until a shiny joint forms, and confirm the battery holder wires are soldered to the correct pads.
How can I adapt this soldering activity for younger or older kids?
For younger children have an adult do the soldering while the child places components, wears safety glasses, and practices bending and trimming leads, and for older kids let them complete all steps themselves and experiment with adding extra LEDs and resistors on the perfboard.
What are simple ways to improve or personalize the finished LED circuit?
To extend and personalize the project, solder a small on/off switch between the battery holder and the resistor as part of the wiring step, add multiple colored LEDs each with a 220 Ω resistor on the perfboard, enclose the circuit in a decorated recycled box, and cover any exposed metal with heat-shrink tubing as instructed.
Watch videos on how to solder a simple LED circuit
Using Solder | Soldering Basics | Soldering for Beginners
4 Videos
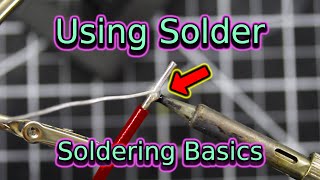
Using Solder | Soldering Basics | Soldering for Beginners
Learn Soldering - Beginner tips and advice!

Beginners Guide To Soldering / How To Solder

iFixit's Soldering 101: Beginners Guide
Facts about basic electronics and soldering safety
🔥 Most soldering irons run 200–450°C, but special low-temperature solders (bismuth-based) can melt around 138°C to protect delicate parts.
💡 The first visible-spectrum LED was made in 1962 by Nick Holonyak Jr.; modern LEDs can last 25,000–100,000 hours.
⚡ LEDs are directional and need a current-limiting resistor—too much current (around 20 mA) can burn them out fast.
🌬️ Soldering flux makes fumes that can irritate lungs—always use good ventilation or a fume extractor and wear safety goggles.
🏅 A shiny, smooth solder joint is healthy; a dull, grainy "cold joint" usually means you should reheat and try again.
How do you assemble a simple LED circuit and practice safe soldering with a child?
What materials do I need for a kid-friendly LED soldering project?
What ages is soldering an LED circuit suitable for?
What safety tips, benefits, and variations should parents know about children's soldering projects?
