Skill Up - Paint Silhouettes
Make bold silhouette paintings using simple stencils or cutouts, practicing contrast, brush control, and composition while exploring light and shape.

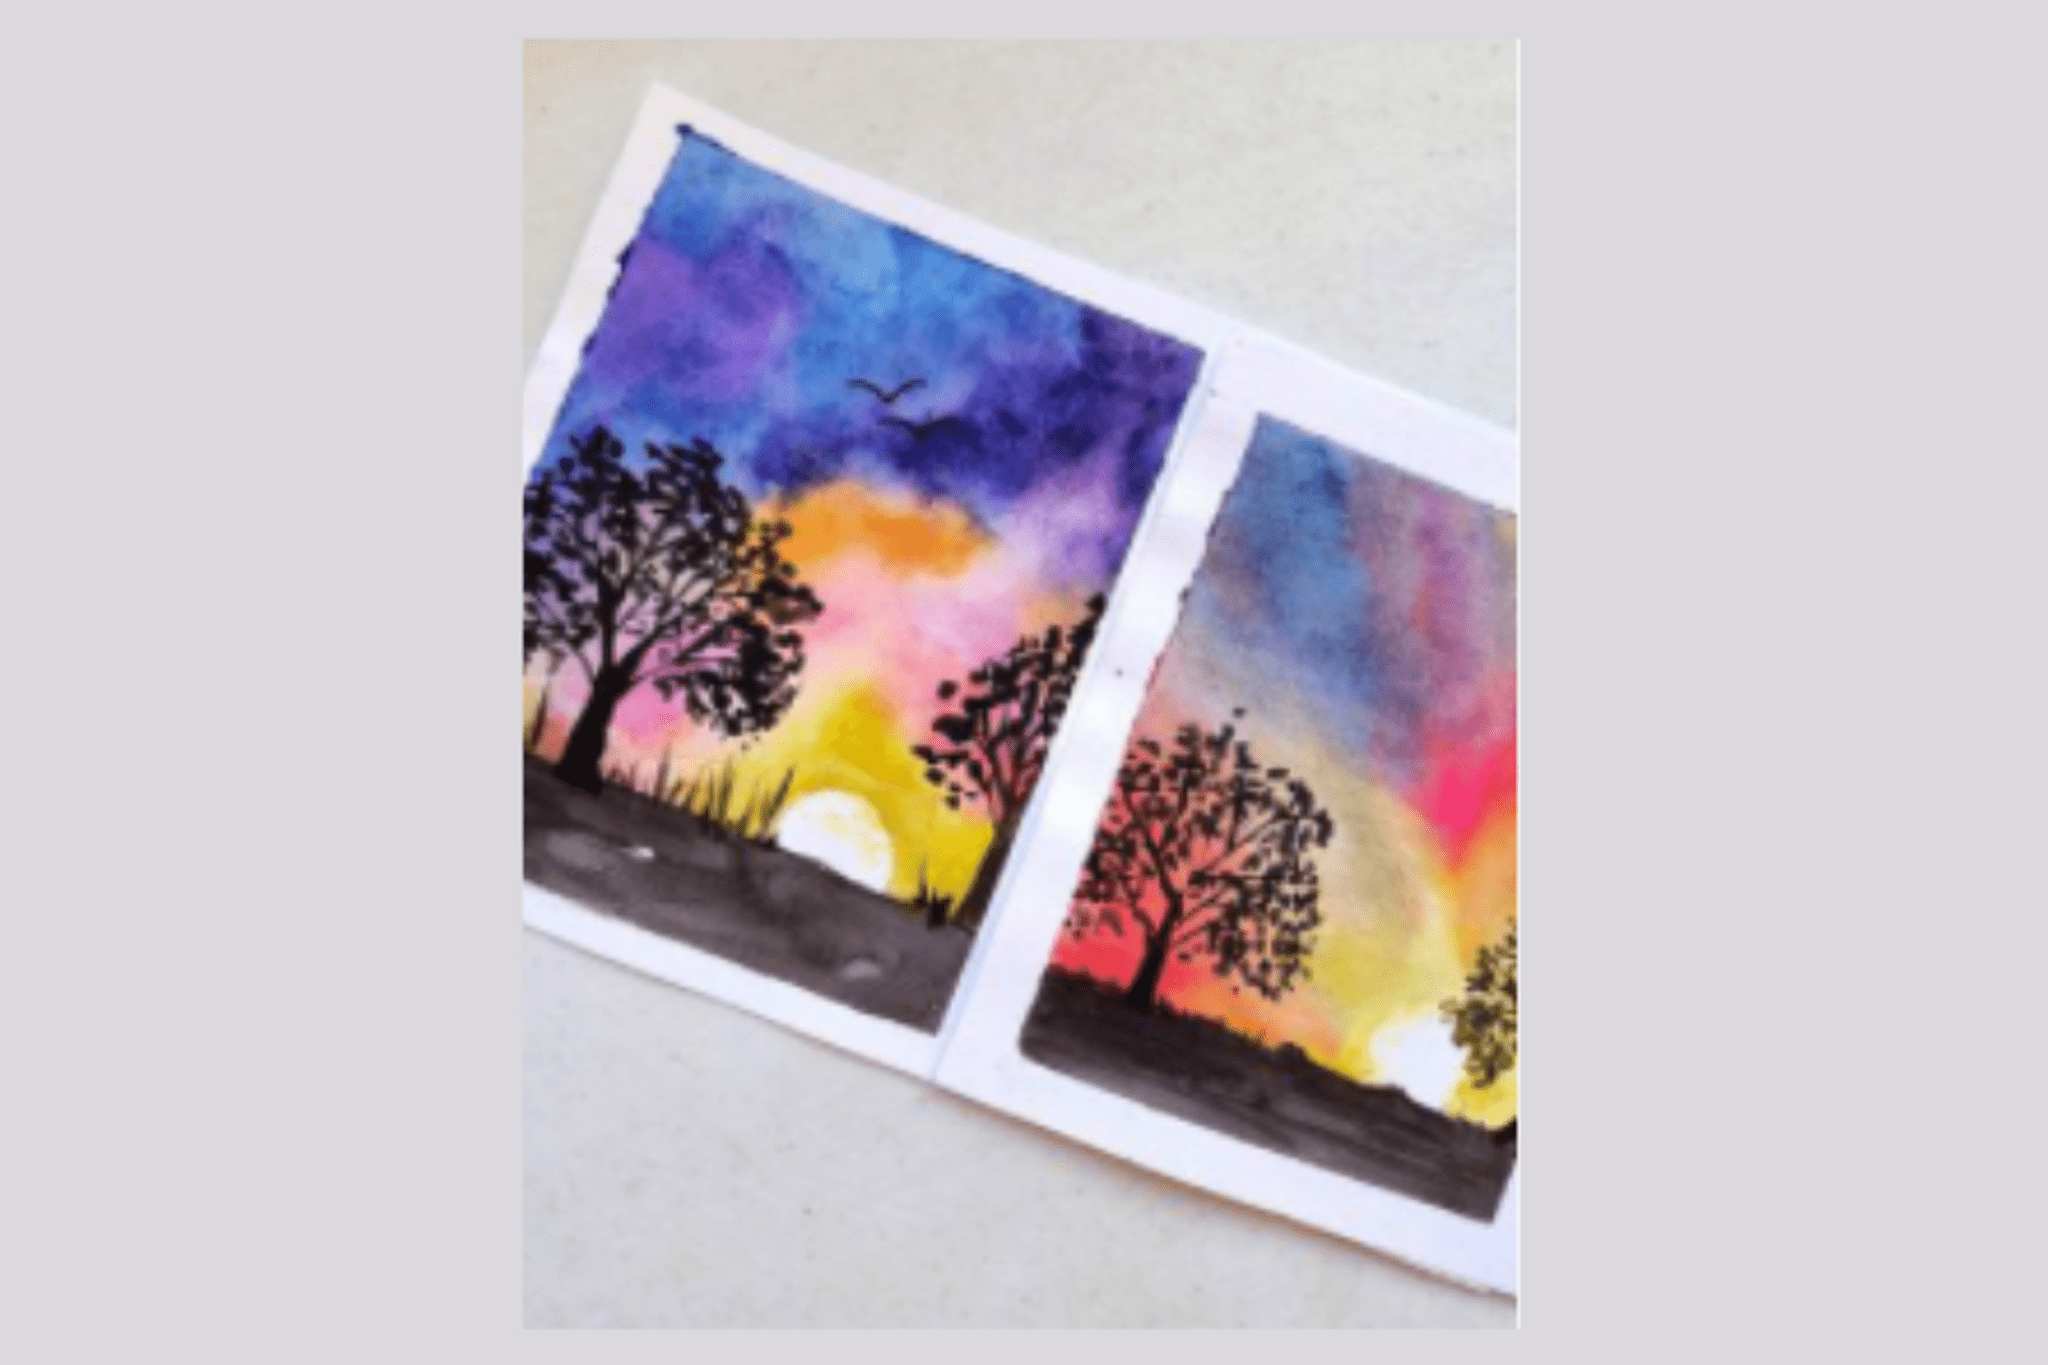
Step-by-step guide to paint silhouettes
Under the Sea Silhouette Art for Kids
Step 1
Spread newspaper over your table to protect it.
Step 2
Place your paper or canvas in the middle of the protected area.
Step 3
Put your paints brushes cup of water and paper towel within reach.
Step 4
Draw a simple shape on a scrap of cardboard or thick paper to make a stencil.
Step 5
Cut out the shape carefully to create your stencil.
Step 6
Position the stencil on your paper or canvas and tape the edges lightly.
Step 7
Choose one color for the background.
Step 8
Load your brush or sponge with the chosen background color.
Step 9
Paint around the taped stencil to cover the background area.
Step 10
Rinse your brush in the cup of water and dry it on the paper towel.
Step 11
Wait until the background paint is completely dry.
Step 12
Peel the stencil off gently to reveal the empty silhouette.
Step 13
Paint the silhouette with the dark color using a small brush for clean edges.
Step 14
Let the whole painting dry completely.
Step 15
Share your finished creation on DIY.org
Help!?
I don't have cardboard for the stencil—what can I use instead?
Use a cereal box, heavy construction paper, an old clear report cover or thin craft foam as the scrap material to draw and cut your shape for the stencil in step 4.
Paint is bleeding under the stencil—how do I stop that?
If paint seeps under the stencil while you paint around it in step 8, press the edges down more securely with tape, dab with a sponge or thicker paint instead of brushing, and be sure the background is completely dry before peeling in step 9.
How can I adapt the activity for younger or older kids?
For preschoolers, skip using scissors and instead use pre-cut foam shapes or let them paint around a taped shape (steps 4–7), while older kids can design intricate stencils and use a small brush for crisp silhouette edges in step 11.
How can we extend or personalize the finished silhouette project?
After peeling the stencil (step 9) and painting the silhouette (step 11), try layered stencils for multicolor backgrounds, add metallic paint or texture inside the silhouette, varnish the piece, and then share the finished creation on DIY.org (step 13).
Watch videos on how to paint silhouettes
THE BEST (AND EASIEST) DIY EVER: Kid's Silhouette Art
4 Videos
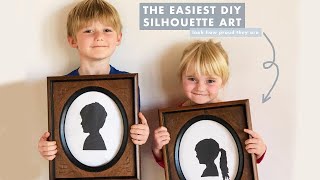
THE BEST (AND EASIEST) DIY EVER: Kid's Silhouette Art

Silhouette Art Ideas
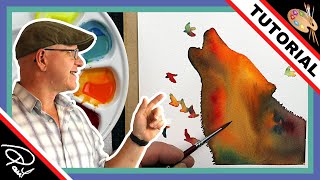
Silhouette PAINTING TUTORIAL for Beginners
The 7 Elements of Art Explained: A Fun and Easy Guide for Kids! 🎨
Facts about painting for kids
🎨 The word "silhouette" comes from Étienne de Silhouette, an 18th-century French finance minister—silhouette portraits were a cheap and popular alternative to painted miniatures.
✂️ Stencils let artists repeat crisp shapes quickly; famous street artist Banksy is known for using stencils to work fast and stay anonymous.
🕳️ Negative space (the empty areas around subjects) can create hidden images—designers use it to make clever double-meanings in logos and art.
💡 Chiaroscuro is the dramatic use of strong light and shadow to model form—masters like Caravaggio and Rembrandt used it to make scenes pop.
🖌️ Acrylic paint dries fast and layers well, which makes it perfect for building bold silhouette shapes and doing quick corrections.
How do I make bold silhouette paintings with stencils or cutouts?
What materials do I need for silhouette painting?
What ages is silhouette painting suitable for?
What are the benefits of painting silhouettes and how can I vary the activity?
