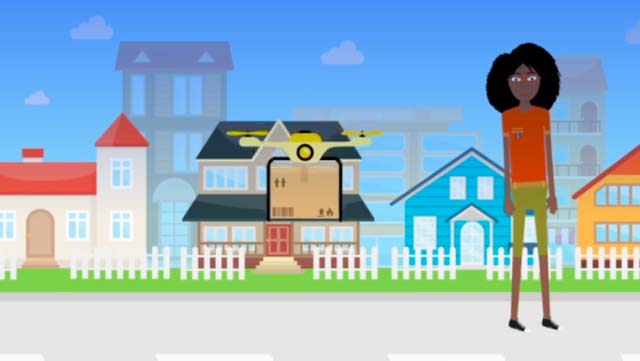
Sketch That Drone
Draw and design your own drone, label its parts, plan features, and make a simple paper model to test proportions and balance.

Drawing Apps
Step-by-step guide to Sketch That Drone
Step 1
Gather all the materials from the list and set them on a clear workspace.
Step 2
Choose one main purpose for your drone (for example: camera, delivery, racing, or rescue).
Step 3
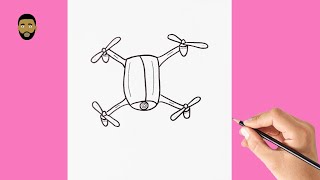
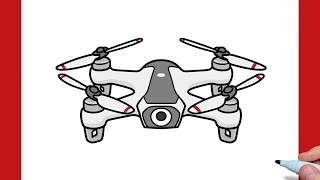
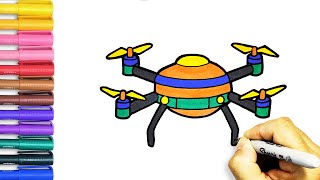
Draw a top-view outline of your drone on paper showing the body and where the arms and propellers will go.
Step 4
Draw a side-view outline of your drone to plan the height and landing gear proportions.
Step 5
On both drawings, mark and label the main parts like motor, propeller, battery, camera, and landing gear.
Step 6
Write down three special features your drone will have and draw a small symbol on your sketch showing where each feature goes.
Step 7
Use your sketches and a ruler to draw paper templates for each drone part on cardstock or extra paper to keep the sizes proportional.
Step 8
Cut out the paper templates carefully with scissors.
Step 9
Assemble the cut pieces into a simple paper model using tape or glue to match your drawn shapes.
Step 10
Test the model’s balance by placing small weights where the battery would sit and move them until the model rests level.
Step 11
Color the paper model to match your design choices.
Step 12
Add labels to the paper model so each part matches the labels on your drawings.
Step 13
Share a photo or description of your finished drone design and paper model on DIY.org
Help!?
What can I use if I don't have cardstock to make the paper templates?
Use lightweight cardboard from a cereal or shipping box or tape two sheets of printer paper together as a substitute when you 'draw paper templates' and 'cut out the paper templates' so the parts keep their shape.
My paper model keeps tipping over during the balance test—how can I fix it?
During the 'Test the model’s balance' step, move the small weights where the battery would sit, widen or reinforce the landing gear with extra cardstock, or shift the battery position on your assembled pieces until the model rests level, then re-glue or tape the parts.
How can I adapt this activity for different age groups?
For younger kids pre-draw the 'top-view' and 'side-view' outlines and pre-cut templates so they can color and label, for elementary kids have them use a ruler to draw, cut and assemble the paper model with tape or glue, and for older kids require precise measured templates, detailed labeling of motor/propeller/battery, and full balance testing.
What are easy ways to enhance or personalize our drone design?
Turn one of the 'three special features' into a real element—add a small LED as a camera or navigation light or a tiny hobby motor to spin a propeller, then color, label, and photograph the finished paper model to share on DIY.org.
Watch videos on how to Sketch That Drone
How To Draw A Simple Drone for kids step by step
4 Videos
How To Draw A Simple Drone for kids step by step
How to draw a DRONE easy / drawing drone tutorial for beginners

How Drones Fly: Easy Science for Kids | STEM Learning with Appsolute Kids
How to Draw a Drone for Beginners | Step-by-Step Easy Drawing Tutorials
Facts about drone design for kids
🚁 Drones come in all sizes — from tiny toy quadcopters you can hold in one hand to large drones used for movies and farming.
🌀 A quadcopter uses four rotors and steers by changing each rotor's speed to pitch, roll, and yaw.
⚖️ Balance is everything: if a drone's center of mass isn't near its lift center, it will wobble or tip.
📏 Designers often build paper or foam models first to test proportions and balance before making the real thing.
🌬️ Propellers create lift by pushing air downward — change the blade speed or angle and you change the lift.
How do I run the Sketch That Drone activity with my child?
What materials do I need for Sketch That Drone?
What ages is Sketch That Drone suitable for?
What are the benefits of designing your own drone?
