Sketch 3 things you like
Sketch three things you like using pencils, crayons, and simple shapes. Practice observation, proportion, and labeling to express personal interests and ideas.


Drawing Apps
Step-by-step guide to sketch 3 things you like
Step 1
Pick three things you like to draw such as a pet a favorite food or a fun toy.
Step 2
Choose whether your paper will be tall (portrait) or wide (landscape).
Step 3
Place your paper flat on the table in front of you.
Step 4
Lightly draw three simple shapes (circle square triangle or oval) to mark where each thing will go.
Step 5
Turn the first shape into your first object by adding an outline and the main details.
Step 6
Turn the second shape into your second object by adding an outline and the main details.
Step 7
Turn the third shape into your third object by adding an outline and the main details.
Step 8
Compare the sizes of your three drawings to check the proportions.
Step 9
Erase and correct any lines so each object looks the right size and shape.
Step 10
Write the name of each thing next to its drawing.
Step 11
Write one short sentence under each name saying why you like that thing.
Step 12
Color each drawing using your colouring materials.
Step 13
Add small details like texture lines spots or patterns to make your drawings look more interesting.
Step 14
Sign your name and write the date in a corner of the paper.
Step 15
Share your finished creation on DIY.org
Help!?
What can we use if we don't have the suggested paper, pencil, eraser, or colouring materials?
If you don't have drawing paper or traditional colouring materials, place a sturdy cereal-box scrap flat on the table as your paper, draw with a pen, marker, or crayon and soften or remove lines with a damp cloth or white correction tape, then color each drawing using crayons, markers, colored pencils, or glued magazine cutouts.
My drawings look uneven or the shapes don't look like the objects — what should I do?
If objects look out of proportion after adding details in steps 4–6, follow step 7 to compare sizes and use step 8 to lightly erase and correct outlines so each object looks the right size before you color in step 11.
How can I adapt this activity for younger or older children?
For younger children, have an adult pre-draw the three simple shapes and let them add big outlines and color while skipping the writing and sharing steps, and for older kids encourage choosing portrait or landscape, adding texture lines and patterns from step 12, and writing a fuller sentence under each name in step 10.
How can we make the finished drawings more special or shareable?
To enhance the finished creation, add a background or collage around each object before coloring (step 11), include extra texture lines and patterns from step 12, sign and date the paper in a corner as in step 13, then photograph and upload your piece to DIY.org to share.
Watch videos on how to sketch 3 things you like
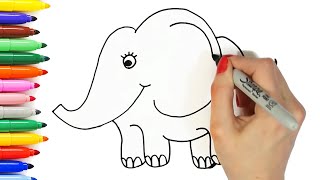
21 Easy Drawing Ideas for Kids!
4 Videos

21 Easy Drawing Ideas for Kids!
Easy drawings step by step for beginners | Cool Things to Draw: Easy, Cool, Cute and Fun Ideas
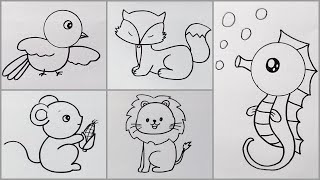
10 Easy Animal Drawings for Kids Vol. 1 | Step by Step Drawing Tutorials | How to Draw Cute Animals

How to ACTUALLY Start Drawing? (for beginners)
Facts about drawing and sketching for kids
✏️ A freshly sharpened pencil can draw a line almost 35 miles (56 km) long—plenty of sketching!
🖍️ Crayons have been a classroom favorite for over a century; Crayola started selling boxed crayons in the early 1900s.
🔺 Many artists 'block in' subjects with simple shapes (circles, squares, triangles) to get proportions right fast.
👀 Practicing careful observation—looking closely at edges, angles, and shadows—boosts drawing skills quicker than doodling.
📝 Labeling sketches (names, colors, notes) is a pro trick designers use to explain ideas and remember details.
How do I guide my child to sketch three things they like?
What materials are needed to sketch three things my child likes?
What ages is the 'sketch three things you like' activity suitable for?
What are the benefits and safe variations of sketching three favorite things?
