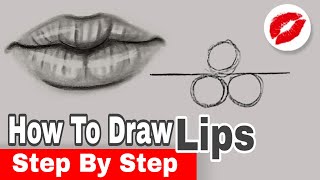
Sketch 3-D Arty Lips
Sketch realistic 3-D lips using simple shapes, shading, highlights, and blending techniques to practice observation, proportions, and creating depth on paper.

Drawing Apps
Step-by-step guide to Sketch 3-D Arty Lips
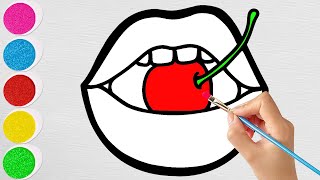
How to Draw Rainbow Lips | Easy Step by Step Tutorial | Made for Kids
Step 1
Choose a clear reference photo or hold a small mirror and pick the lip angle you want to draw.
Step 2
Lightly draw a horizontal center line to show where the mouth will sit on the paper.
Step 3
Mark the left and right corners of the lips with small tick marks to set the width and proportion.
Step 4
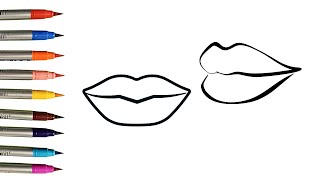
Sketch a light M-shape for the top lip and a soft rounded shape for the bottom lip to form the basic shapes.
Step 5
Draw a faint vertical center line and add two small curves to indicate the cupid’s bow.
Step 6
Smooth and refine the outer edges of each lip and draw the thin contact line between the lips.
Step 7
Draw a small arrow off to the side to show the direction of the light source you saw in your reference.
Step 8
Use the 4B pencil to add light shading to the deepest shadow areas under the bottom lip and at the mouth corners.
Step 9
Build mid-tones across the lip surfaces with gentle even pencil strokes while leaving the highlight areas lighter.
Step 10
Gently blend the shaded areas with your tissue or cotton swab to smooth transitions between light and dark.
Step 11
Darken the deepest shadows where the lips meet and under the lower lip using short soft strokes with the 4B pencil.
Step 12
Lift tiny highlights by dabbing with the kneaded part of your eraser to create shiny spots on the lips.
Step 13
Add very light vertical texture lines on the lips with a sharp HB pencil to suggest natural lip lines.
Step 14
Erase stray marks around the drawing and sign your name in a small corner.
Step 15
Take a photo of your finished 3-D lips and share your creation on DIY.org
Help!?
What can I use if I don't have the 4B pencil, kneaded eraser, or cotton swabs called for in the instructions?
Use a softer pencil like 6B or a charcoal stick instead of a 4B, a clean white vinyl eraser if you lack a kneaded eraser, and a folded tissue or a blending stump in place of a cotton swab for smoothing.
My lips look flat after blending—what should I do to fix the 3-D effect?
Darken the deepest shadows where the lips meet and under the lower lip with short soft 4B strokes, rebuild mid-tones across the lip surfaces, and lift tiny highlights with the kneaded eraser to restore depth.
How can I adapt this Sketch 3-D Arty Lips activity for younger children or older students?
For younger kids simplify by using a mirror and crayons to draw the light center line, M-shape top lip and rounded bottom lip and skip fine HB texture lines, while older students can refine outer edges, add delicate vertical HB lines for texture, and push stronger contrasts.
What are some ways to extend or personalize my finished 3-D lips before sharing on DIY.org?
Create a mini-series by drawing the same lips with different light-source arrows, add subtle colored-pencil glazes over your 4B shading, and photograph each version to compare and then share your favorites on DIY.org.
Watch videos on how to Sketch 3-D Arty Lips
How to Draw Lively Lips | Step by Step Drawing Tutorial
4 Videos
How to Draw Lively Lips | Step by Step Drawing Tutorial
How To Draw Lips With Teeth 👄 ✏️ | Step By Step Drawing For Beginners | Chiki Doodle
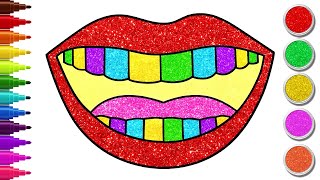
Lips drawing and colouring| how to Draw lips | Made for Kids
How to draw mouth step by step || Lips tutorial for beginners ✏️
Facts about drawing facial features for kids
💋 No two lips are the same — lip shape, size, and the Cupid's bow all vary wildly between people.
✍️ Professional artists often start lips with simple shapes (ovals, rectangles, triangles) before refining details.
💡 A tiny bright highlight on the lower lip can make a drawing look moist and three-dimensional.
🎯 Small changes in proportion (width, height, overlap) can turn a neutral mouth into a big smile or a pout.
🔍 Blending pencil strokes with a tortillon, tissue, or fingertip smooths transitions and creates realistic curved form.
How do I sketch realistic 3-D lips step by step?
What materials do I need to sketch 3-D lips with my child?
What ages is this 3-D lips sketch activity suitable for?
What are the benefits of practicing 3-D lips sketches with children?
