Show Us Your Paper Art
Make a colorful paper collage or pop up card using scissors, glue, and folding; explore patterns, textures, and proudly display your finished paper art.


Step-by-step guide to Show Us Your Paper Art
Step 1
Gather all your materials.
Step 2
Decide if you will make a colorful collage or a pop up card.
Step 3
Prepare your base by folding a sheet in half for a card or laying a larger sheet flat for a collage.
Step 4
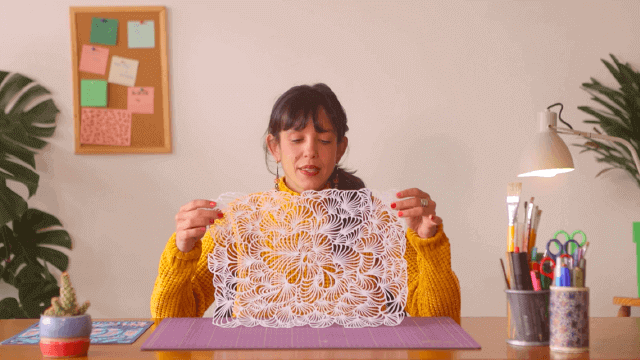
Choose three to five colors and textures you want to use.
Step 5
Lightly draw simple shapes or pictures on scrap paper to cut out.
Step 6
Carefully cut out each shape with your scissors.
Step 7
Arrange the cut shapes on your base until you like the layout.
Step 8
Glue the background pieces down one at a time.
Step 9
If making a pop up card cut two short parallel slits into the folded edge to create a tab.
Step 10
If making a pop up card fold the tab inward so it pops up when the card opens.
Step 11
Add texture and details by tearing small paper pieces or coloring with markers or crayons.
Step 12
Let the glue dry completely before you move your artwork.
Step 13
Clean up your workspace and put away your materials.
Step 14
Share your finished paper art on DIY.org
Help!?
What can we use if we don't have textured paper, special scissors, or white glue?
Use magazine pages, construction paper, fabric scraps or cardboard from a cereal box for texture, cut with safety scissors or tear by hand, and stick shapes to the folded card or collage base with a glue stick or double-sided tape.
My pop-up tab keeps tearing or the card won't close properly — what should I check?
Make sure you cut two short parallel slits into the folded edge as instructed, score and fold the tab inward sharply with a blunt tool so it pops up cleanly, and shorten the tab if it bumps when the card closes.
How can I adapt this activity for younger toddlers or older kids?
For toddlers, pre-cut large simple shapes from scrap paper and supervise scissors and glue use while older kids can choose three to five colors and textures, draw detailed shapes, use markers or crayons for fine details, and try more intricate pop-up folds.
What are some ways to extend or personalize our paper art project?
Add extra texture by tearing small paper pieces, layering fabric or stickers, create movable parts with brads, paint a watercolor background before gluing, write a personalized message inside the pop-up card, and then share your finished paper art on DIY.org.
Watch videos on how to Show Us Your Paper Art
Fold, Draw, and Play! Interactive Paper Crafts for Kids
3 Videos
Fold, Draw, and Play! Interactive Paper Crafts for Kids
7 Easy & Cute DIY Paper Crafts for Kids | Fun & Creative Paper Projects for Children
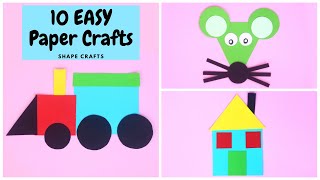
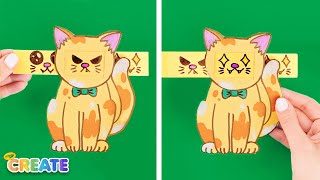
10 Easy Shape Crafts for Kids | DIY Paper Toys
Facts about paper crafts for kids
🎨 Henri Matisse created famous paper cut-outs called 'gouaches découpées' late in life when painting became difficult, and they’re now celebrated as bold paper art.
✂️ The word 'collage' comes from the French 'coller', which means 'to glue' — perfect for an activity all about sticking colorful paper pieces together!
📚 Pop-up books use 'paper engineering'—clever folds, tabs, and layers make scenes spring up when you open a page.
🧩 Tearing paper (instead of cutting) gives soft, textured edges that artists often use to add depth and interest to collages.
♻️ Old magazines, wrapping paper, and scrap paper make great collage materials—upcycling them turns trash into colorful art.
How do you make a colorful paper collage or pop-up card?
What materials do I need for the Show Us Your Paper Art activity?
What ages is this activity suitable for?
What are the benefits and safety tips for making paper collages and pop-up cards?
