Show Us Your Logo!
Design and create your own logo using paper, markers, and simple shapes; explore color, symbols, and meaning while presenting your brand idea to others.


Step-by-step guide to design and create your own logo
Step 1
Gather your Materials Needed and find a clear flat workspace to draw on.
Step 2
Think of a short brand name or word and say out loud what your brand stands for in one sentence.
Step 3
Look at five logos from magazines posters or things you like to get ideas about shapes and colors.
Step 4
Choose three simple shapes you want to use (circle square triangle star heart etc.).
Step 5
Sketch three tiny thumbnail logo ideas on your paper using pencil, one idea per small box.
Step 6
Pick the thumbnail you like best by circling it or pointing to it.
Step 7
Redraw your chosen thumbnail larger and neater on a fresh sheet using your pencil and ruler if you want straight lines.
Step 8
Add one simple symbol to the logo that shows your brand meaning (for example a leaf for nature or a lightning bolt for energy).
Step 9
Trace the final pencil lines with a marker to make the design bold and clean.
Step 10
Erase any remaining pencil marks so the logo looks tidy.
Step 11
Colour your logo using your colouring materials, choosing colors that match your brand idea.
Step 12
Write a one-sentence explanation of what your logo means on the back or beside the logo.
Step 13
Share your finished creation on DIY.org.
Help!?
What can we use if we don't have a marker, ruler, or colouring materials?
If you don't have a marker to trace the final pencil lines use a thin black pen, dark crayon, or felt-tip from another craft set, if you lack a ruler use any straight edge like a book spine, and if you need colouring materials substitute coloured pencils, crayons, watercolours, or glue magazine color cutouts onto your fresh sheet.
My thumbnails look messy and my redraw isn't neat—how can I fix this?
Make your three tiny thumbnail sketches lightly in pencil, pick your favorite by circling it, then redraw it larger and neater on a fresh sheet using a ruler for straight lines and wait for the traced marker to dry before erasing remaining pencil marks so the logo stays tidy.
How can I adapt the activity for younger kids or older kids?
For younger children use larger thumbnail boxes, stickers or pre-cut shapes and thick washable markers on a clear flat workspace, while older kids can use a ruler for precise lines, experiment with typography and symbols, and photograph the finished logo to edit digitally before sharing on DIY.org.
How can we enhance or personalize our logo beyond the basic steps?
To enhance the project add a meaningful symbol (like a leaf or lightning bolt) to show your brand meaning, make three color variations on separate fresh sheets, create a simple business card or sticker from your coloured logo, and include your one-sentence explanation as a tagline beside the design before posting on DIY.org.
Watch videos on how to design and create your own logo
Turning Kids Drawings Into Real Toys
4 Videos
Turning Kids Drawings Into Real Toys
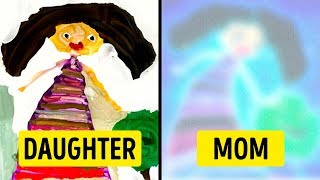
Parents Turned Their Kids' Drawing Into Artworks
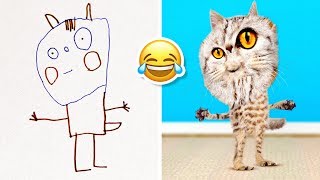
We Made Kids' Drawings Come to Life, the Result Is Hilarious!
Crafts for Kids | How to Make an Alphabet Activity Game
Facts about basic graphic design and branding for kids
🎨 The Nike Swoosh was designed in 1971 by Carolyn Davidson for just $35 — now it's one of the most famous symbols in the world.
🔵 About one-third of top global logos use blue because people often associate blue with trust, calm, and reliability.
✏️ Many iconic logos began as quick pencil sketches on paper—designers often draw hundreds of ideas before choosing one.
➡️ The FedEx logo hides a tiny arrow between the 'E' and the 'x' to symbolize speed and precision.
🥤 Coca-Cola's script logo has roots in the 1880s and remains one of the most recognized wordmarks worldwide.
How do I run the 'Show Us Your Logo!' activity with my child?
What materials do I need to design a simple logo with kids?
What ages is the 'Show Us Your Logo!' activity suitable for?
What are the benefits and easy variations of the 'Show Us Your Logo!' activity?
