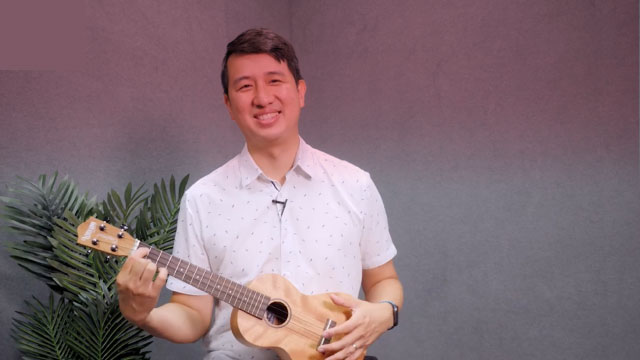
Show off your ukulele pose!
Learn basic ukulele posture, simple chords, and a signature performance pose. Practice strumming, play a short song, and strike your pose confidently.


Step-by-step guide to Show off your ukulele pose!
Step 1
Sit or stand tall with your back straight and both feet flat on the floor.
Step 2
Pick up the ukulele and rest its body against your chest or on your lap.
Step 3
Place your fretting hand thumb behind the neck and curve your fingers over the fretboard.
Step 4
Rest your strumming hand over the soundhole with a loose wrist.
Step 5
Look in the mirror to check that your posture and hand positions look comfy and natural.
Step 6
Make a C chord by pressing the 3rd fret on the A string with your ring finger.
Step 7
Strum down once across all four strings to hear the C chord clearly.
Step 8
Make an F chord by placing your middle finger on the 2nd fret of the G string and your index finger on the 1st fret of the E string.
Step 9
Strum down once across all four strings to hear the F chord clearly.
Step 10
Practice switching slowly between C and F by strumming C four times then switching to F and strumming four times.
Step 11
Create a signature performance pose (a proud stance a wink or a tilted head) and practice holding it for two counts.
Step 12
Play your short song by repeating C for four strums then F for four strums for eight measures.
Step 13
At the end of your song strike your signature pose and hold it for two big counts.
Step 14
Rehearse your whole performance a few times until you feel confident and smiley.
Step 15
Share a photo or video of your finished ukulele pose performance on DIY.org.
Help!?
What can we use instead of a ukulele if we don't have one?
Use a small nylon-string guitar, a toy ukulele, or a ukulele app and still follow steps like resting the instrument against your chest and placing your fretting thumb behind the neck.
My C chord sounds muffled — how can I fix it?
Make sure your ring finger presses down cleanly on the 3rd fret of the A string with your thumb behind the neck, curve your fingers so the tips touch the string, and strum down across all four strings with a loose wrist over the soundhole.
How can we adapt this activity for younger or older kids?
For younger kids, have them sit on a parent's lap and practice holding the ukulele, making one chord and holding the signature pose for two counts, while older kids can speed up the C-to-F switches and add extra measures or new chords.
How can we personalize or extend the performance?
Add simple lyrics or a two- or four-strum strumming pattern to the repeated C and F measures, decorate your ukulele or create a dramatic signature pose, and record a photo or video to share on DIY.org.
Watch videos on how to Show off your ukulele pose!
How to Play Ukulele Tutorial For KIDS! Beginner Lesson 2 of 5
4 Videos
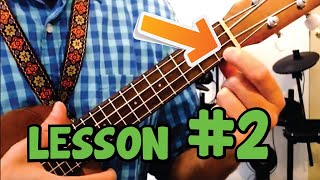
How to Play Ukulele Tutorial For KIDS! Beginner Lesson 2 of 5

Ukulele Lesson for Kids - Play With a "Real Band" #ukulele #lesson

EZ Ukulele Strumming - Soft Chuck - Teach Your Children Well
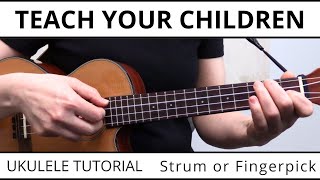
4 Beautiful Ways to Play Teach Your Children on Ukulele (Crosby, Stills, Nash & Young)
Facts about beginner ukulele skills for kids
🎶 The ukulele was adapted from Portuguese instruments and became popular in Hawaii in the late 1800s.
🎸 Most ukuleles have 4 strings, which makes learning basic chords faster for beginners.
🧍 Good posture — straight back, relaxed shoulders, uke close to your chest — helps you play longer without strain.
✋ A simple down-up strumming pattern (D-D-U-U-D-U) can power through many beginner songs.
✨ Finishing with a signature pose boosts confidence and makes your performance memorable.
How do you do the 'Show off your ukulele pose' activity with a child?
What materials do I need for the 'Show off your ukulele pose' activity?
What ages is the 'Show off your ukulele pose' activity suitable for?
What are the benefits of practicing the ukulele pose activity?
