Show Off Your Miniatures w/ Jr Mod Pandasparkle
Create and decorate a small display stage for your miniatures with Jr Mod Pandasparkle, design a backdrop, arrange figures, and photograph them.


Step-by-step guide to Show Off Your Miniatures w/ Jr Mod Pandasparkle
tutorial how to make 3d minecraft on scratch jr.
Step 1
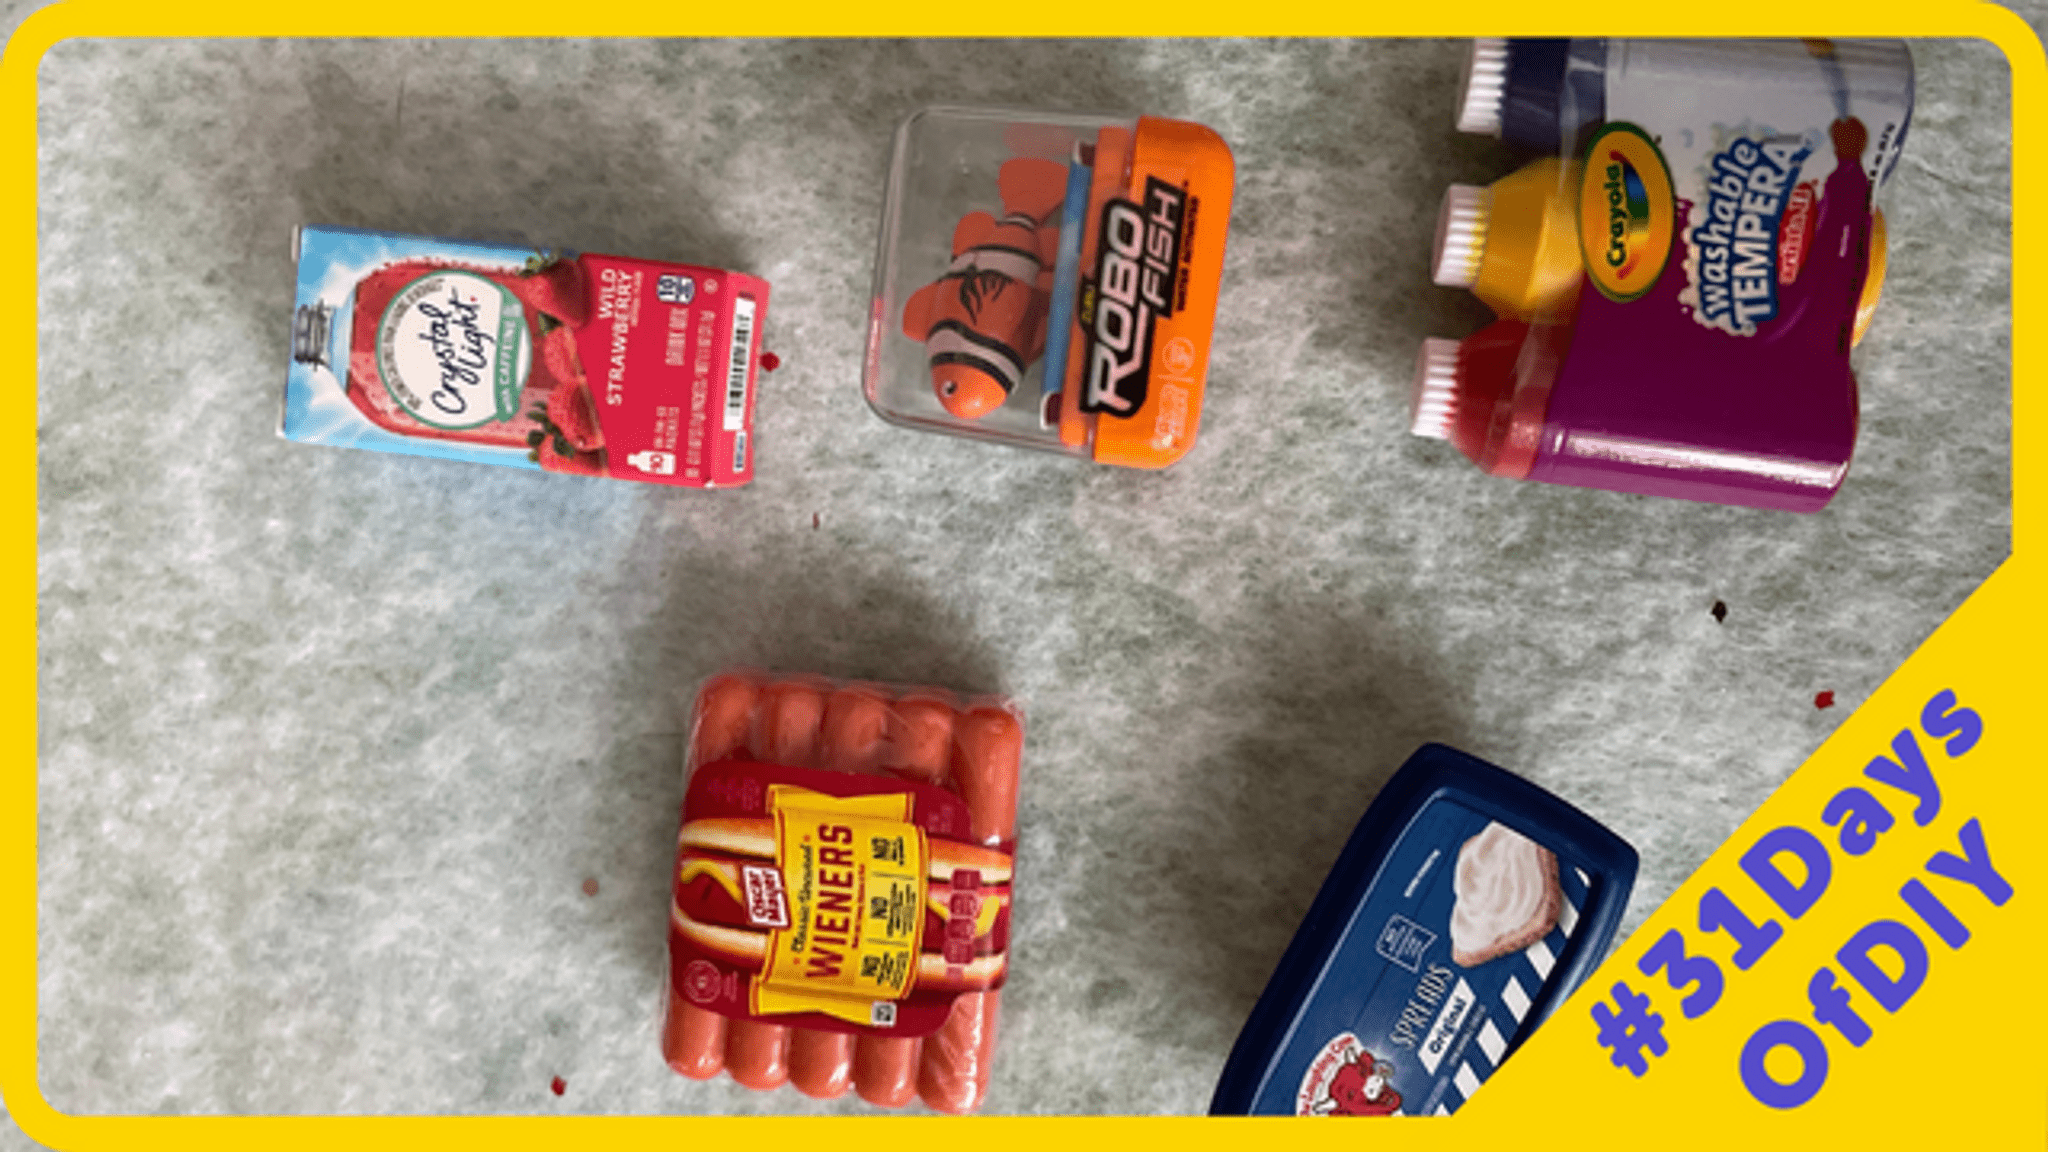
Pick a shoebox to be your mini stage and place it on a clear table.
Step 2
With adult help cut off the long front side of the shoebox so the stage is open to view.
Step 3
Cut a piece of colored paper to fit the inside back wall of the box.
Step 4
Glue the colored paper to the back wall so it stays flat and smooth.
Step 5
Draw a fun backdrop scene on the glued paper using your coloring materials.
Step 6
Cut a second piece of colored paper to fit the box floor and glue it down to make a stage floor.
Step 7
Make two small props by cutting and folding scrap paper or using fabric scraps.
Step 8
Place Jr Mod Pandasparkle on the stage in a spot you like.
Step 9
Add your other miniatures and move them around until the scene looks awesome.
Step 10
Move the stage near a window or lamp to give your scene bright even light.
Step 11
Take several photos of your mini stage from different angles so you have great shots.
Step 12
Share your finished mini stage and photos on DIY.org.
Help!?
What can we use if we don't have a shoebox or colored paper?
If you don't have a shoebox, use a cereal or shipping box turned on its side and replace colored paper with wrapping paper, magazine pages, or plain printer paper colored with markers, taping or gluing them to the back wall and floor.
My colored paper wrinkles when I glue it—how can I fix or avoid that?
To prevent or fix wrinkles when gluing the back wall or floor papers, apply glue thinly or use double-sided tape, press from the center outward with a ruler or a heavy book until dry, and trim any excess before decorating.
How can I adapt this project for younger or older kids?
For younger children, have an adult pre-cut the front and papers and provide stickers or fabric scraps for props, while older kids can paint detailed backdrops, add battery-operated fairy lights or hinged stage wings, and practice taking multi-angle photos for DIY.org.
How can we make the mini stage more interactive or personalized?
Personalize and enhance the stage by adding a fabric curtain glued to the top edge, creating movable props with brads or folded tabs, placing a lamp or LED strip behind a diffuser for even light, and shooting a short stop-motion scene to share on DIY.org.
Watch videos on how to Show Off Your Miniatures w/ Jr Mod Pandasparkle
DIY park model making for science project | Colorful park model | Paper park model | Miniature park
4 Videos
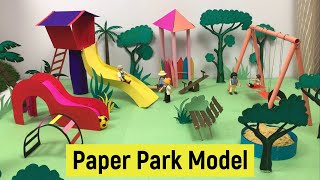
DIY park model making for science project | Colorful park model | Paper park model | Miniature park
![How to Print AMAZING FDM Miniatures! | A Complete Guide to FDM Minis [CHECK DESCRIPTION]](https://img.youtube.com/vi/UDxM9VsQrtM/mqdefault.jpg)
How to Print AMAZING FDM Miniatures! | A Complete Guide to FDM Minis [CHECK DESCRIPTION]

How to make diorama base | Tutorial for beginners
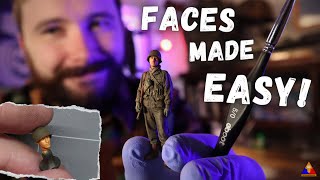
The EASIEST Way to Paint Realistic Scale Model Figure Faces
Facts about diorama building and toy photography
🏠 Dollhouses often use 1:12 scale — 1 inch represents 1 foot, so a 6-inch chair stands for a 6-foot chair.
🎨 Forced perspective tricks (like smaller background pieces) can make tiny stages look much deeper and grander.
📸 Toy photographers shoot from the toy's eye level and often use macro lenses or phone close-up modes for dramatic shots.
🪄 Miniature artists sometimes paint details smaller than a human hair — tiny food, books, and even faux rust add big realism.
📏 Common miniature scales are 1:6, 1:12, 1:24 and 1:48 — picking one keeps figures and props looking right together.
How do I create and decorate a small display stage for miniatures with Jr Mod Pandasparkle?
What materials do I need to build a Jr Mod Pandasparkle miniature display stage?
What ages is the Jr Mod Pandasparkle miniatures display suitable for?
What are the benefits of making a miniatures display stage with Jr Mod Pandasparkle?
