Share your gratitude
Make gratitude cards and a decorated jar to collect thankful notes, then share messages with family or friends to practice appreciation.


Step-by-step guide to make gratitude cards and a decorated jar
Gratitude for Kids - What is Gratitude? - How can kids practice gratitude -Mental Wellbeing for Kids
Step 1
Gather all your materials and bring them to a clear workspace.
Step 2
Wipe the jar and lid clean with a damp cloth so it is ready to decorate.
Step 3
Cut the cardstock into card-sized pieces to make your gratitude cards.
Step 4
Cut small rectangular slips from the scrap paper for thankful notes.
Step 5
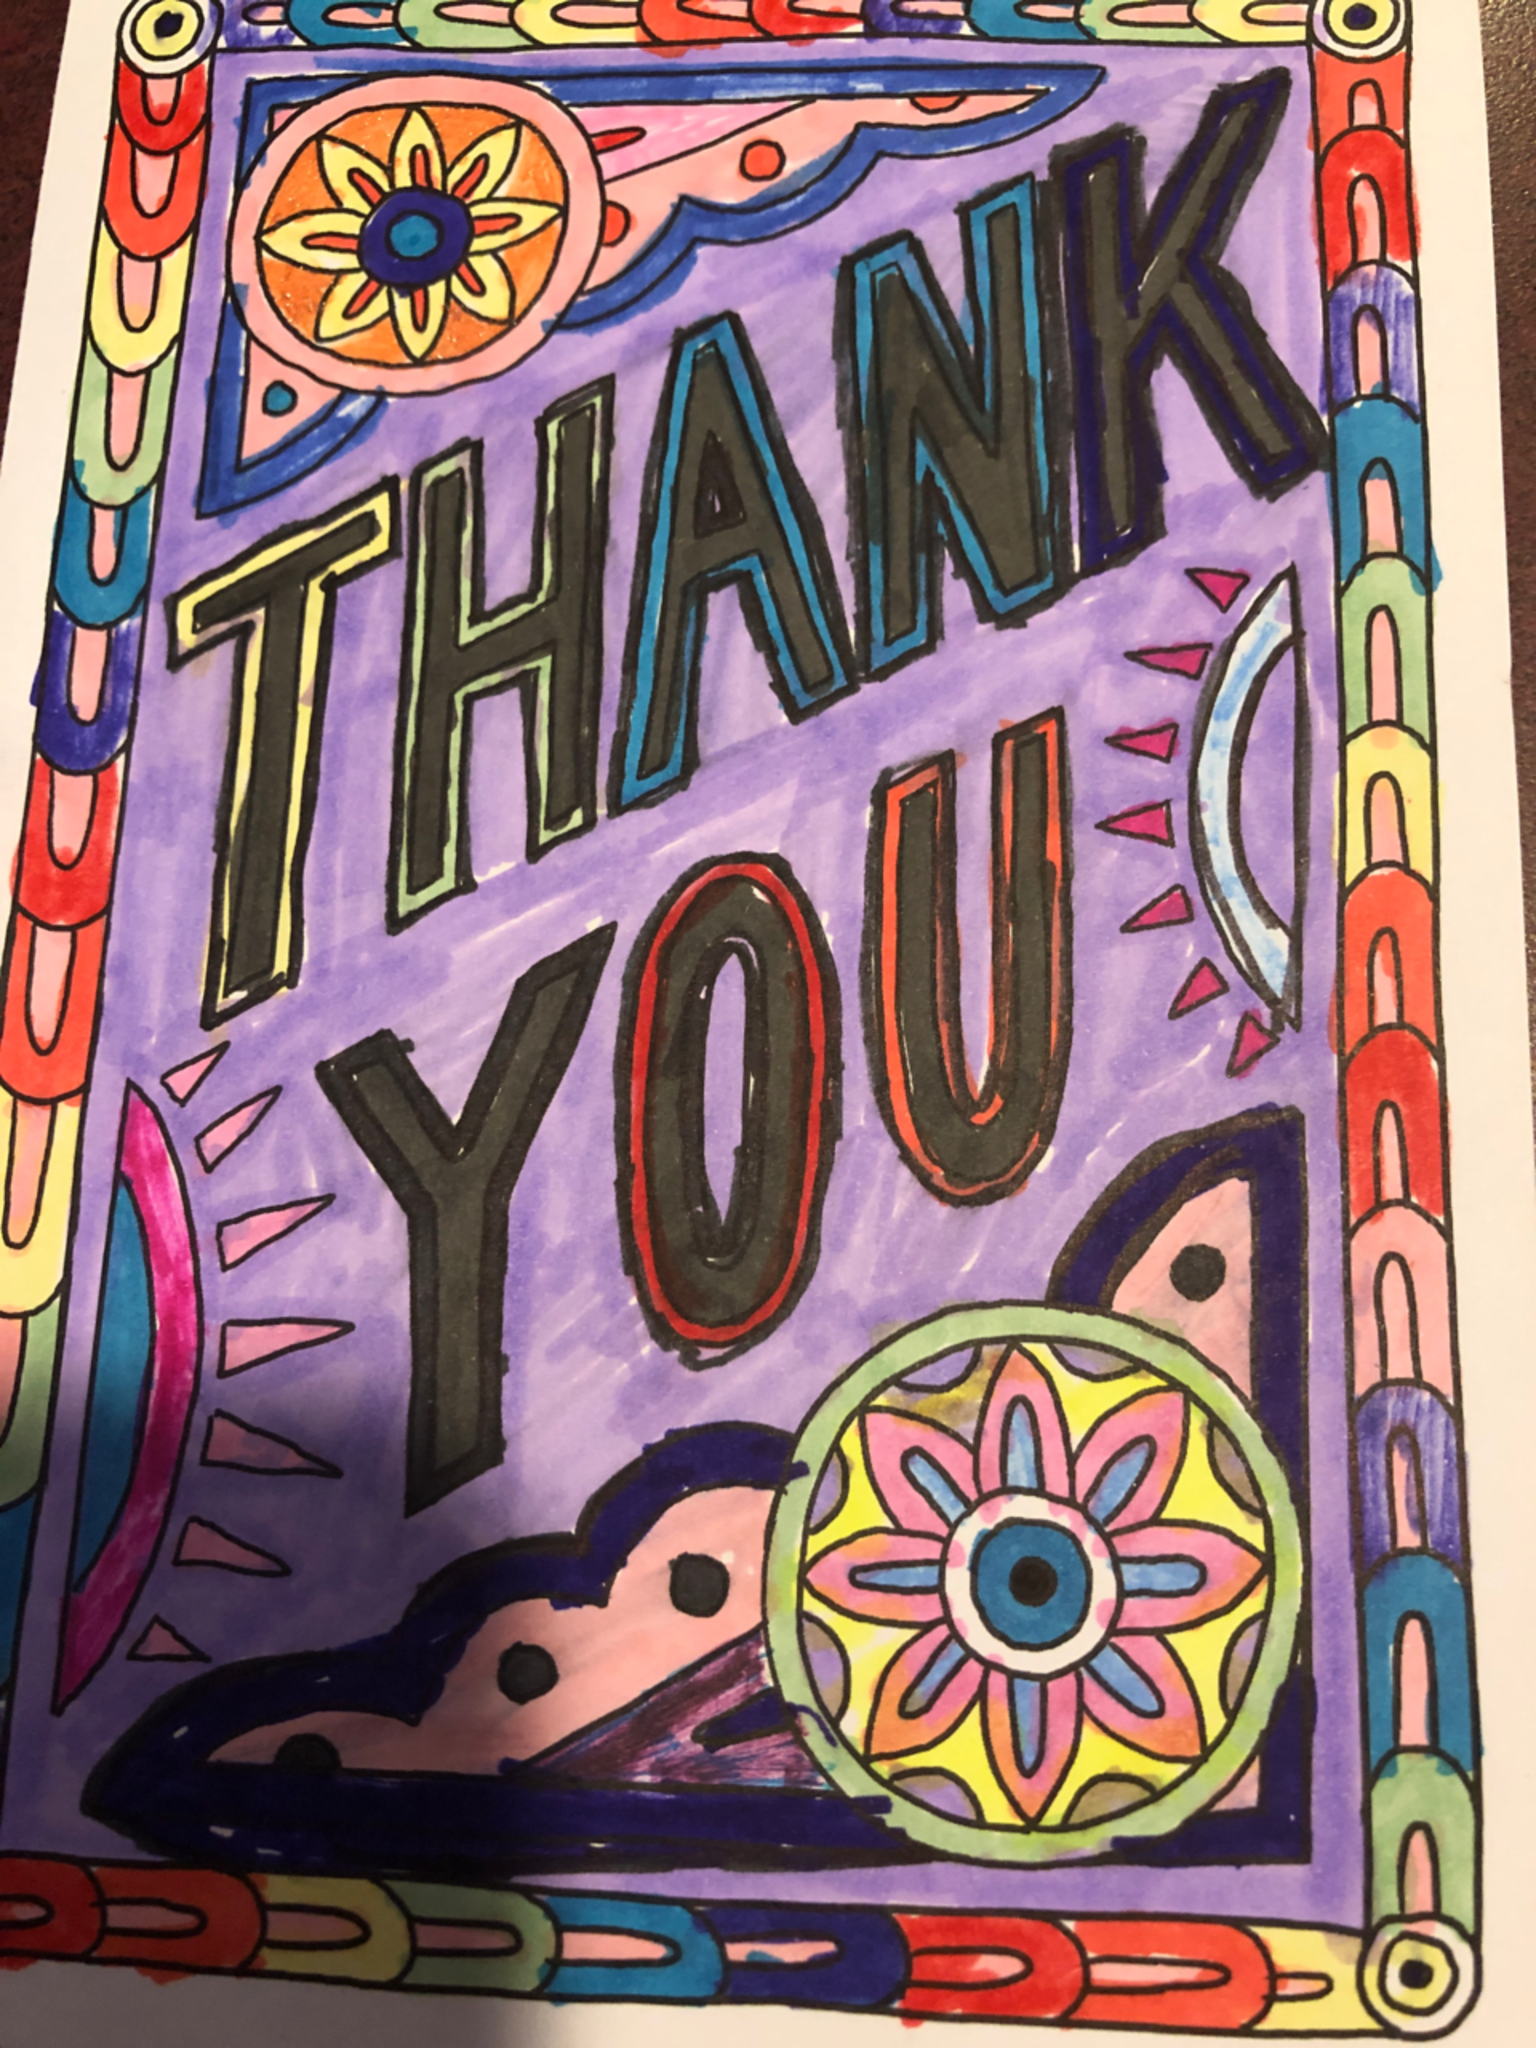
Decorate the front of each gratitude card with colours stickers or drawings.
Step 6
Write a different gratitude message on each card starting with "I am thankful for..."
Step 7
Write at least three short thankful notes on separate slips of paper.
Step 8
Fold each thankful slip once so it fits easily in the jar.
Step 9
Put the folded slips into the jar.
Step 10
Make a label that says "Thankful Jar" on a piece of paper.
Step 11
Stick the label to the jar using masking tape or a sticky label.
Step 12
Decorate the jar with stickers ribbon or doodles to make it look special.
Step 13
Give your decorated gratitude cards to a family member or a friend.
Step 14
Ask each person to add a short note to the jar to share what they are thankful for.
Step 15
Share a photo and a short story about your decorated jar and gratitude cards on DIY.org.
Help!?
What can we use if we don't have a jar, lid, or cardstock?
Use a cleaned empty peanut-butter jar or a small shoebox for the jar and substitute cardstock by cutting folded printer paper or cereal-box cardboard into card-sized pieces as in the cutting step.
What should we do if stickers or the label won't stick to the jar after wiping it?
If stickers or the 'Thankful Jar' label won't stick after step 2, re-clean the jar and lid with warm soapy water or rubbing alcohol, dry thoroughly, and then secure the label with masking tape or a sticky label as instructed.
How can we adapt this activity for different ages?
For younger kids, pre-cut the cardstock and scrap paper and let them draw or dictate 'I am thankful for...' notes, while older kids can write longer gratitude cards, fold at least three slips themselves, and create more detailed jar decorations or post the photo and story on DIY.org.
How can we extend or personalize the Thankful Jar project once it's finished?
Turn it into a weekly ritual by writing the date on each folded slip before putting it into the jar, decorate cards for holidays or people, and tie battery fairy lights under the ribbon for a special display.
Watch videos on how to make gratitude cards and a decorated jar
Being Thankful | GRATITUDE ❤️ Lesson for Kids
3 Videos

Being Thankful | GRATITUDE ❤️ Lesson for Kids

Kindness 101: A lesson in gratitude

💙 How to Show Gratitude for Kids | What is Gratitude? | Twinkl USA
Facts about gratitude and social-emotional learning
💌 Early printed greeting cards date back to 15th-century Europe — people have sent cards for hundreds of years!
🧠 Studies in positive psychology show that practicing gratitude can boost mood and help you feel more resilient.
🏺 The Mason jar was patented in 1858 and today people use jars for crafts, keepsakes, and gratitude collections.
🌙 People who write down things they're thankful for often report better sleep and fewer worries at night.
👪 Sharing thankful notes with family or friends can make relationships feel closer and more positive.
How do I make gratitude cards and a decorated jar activity for kids?
What materials do I need to make gratitude cards and a thankful jar?
What ages is the gratitude jar and cards activity suitable for?
What are the benefits and safety tips for doing a gratitude jar activity with children?
