Share Your Favorite Photo Cut
Cut a favorite photo into a creative shape, decorate the edges with markers or stickers, mount on cardstock, and share your story with others.


Step-by-step guide to Share Your Favorite Photo Cut
Step 1
Pick one favorite printed photo you want to turn into art.
Step 2
Choose a fun shape for your photo like a star heart cloud or animal.
Step 3
Flip the photo over and lightly draw your chosen shape on the back with your pencil.
Step 4
Cut out the shape carefully following your pencil line with scissors.
Step 5
Trim any rough edges so your cut shape looks neat.
Step 6
Lay the cut photo on the cardstock and choose where you want it to sit.
Step 7
Lightly mark the spot on the cardstock where the photo will go with your pencil.
Step 8
Spread glue evenly on the back of the cut photo using the glue stick.
Step 9
Press the photo onto the marked spot on the cardstock and smooth it flat.
Step 10
Decorate the edges of the photo with markers or stickers to make it pop.
Step 11
Write a short story or caption on the cardstock about why this photo is your favorite.
Step 12
Share your finished creation on DIY.org
Help!?
What can I use if I don't have a printed photo, cardstock, or a glue stick?
If you don't have a printed photo use a magazine cutout or a photo printed on plain paper from your phone, substitute cardstock with a cereal-box piece or construction paper, and replace a glue stick with double-sided tape or white school glue when you complete the glue-and-press step.
My photo keeps tearing when I cut the shape—how can I avoid that?
If the photo rips while cutting in step 4, flip it face-down on a cutting mat and use small sharp scissors or an adult-handled craft knife to cut slowly along the pencil line and then trim rough edges in step 5.
How can I adapt this activity for different age groups?
For younger kids, simplify steps by pre-tracing the shape on the photo and letting them stick and decorate with stickers while an adult cuts, and for older kids encourage intricate shapes, layered photos on the cardstock, and a longer written story before sharing on DIY.org.
What are some ways to enhance or personalize the finished photo cut artwork?
To personalize your piece, add a washi-tape or marker border on the cardstock, glue on sequins or layered cut-outs for 3D texture, laminate or frame it, and write a creative caption in step 11 before sharing on DIY.org.
Watch videos on how to Share Your Favorite Photo Cut
How To Create A Collage
4 Videos
How To Create A Collage
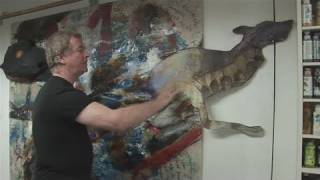
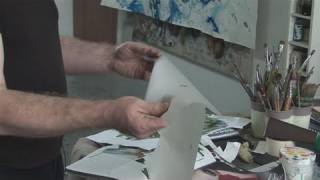
How To Create A Canvas Collage

How to create a Henri Matisse collage for kids | Art Tales
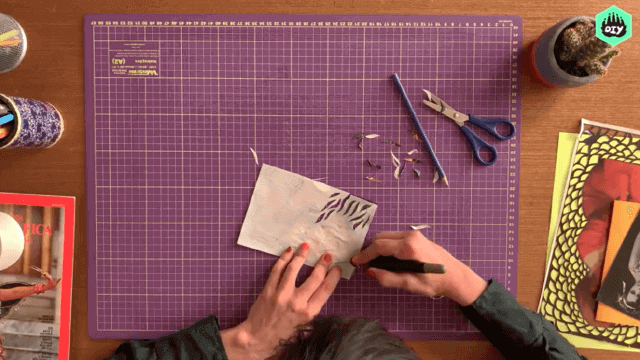
Explore the Art of Paper Cutting | Arts and Crafts For Beginners | Fun Activities For Kids
Facts about photo crafts for kids
📸 Photography started in the 1820s — today kids use phones to turn everyday moments into keepsakes.
✂️ Scherenschnitte is the art of decorative paper cutting from 16th-century Switzerland and inspires modern photo-cut designs.
🖼️ Collage artists like Picasso and Braque used cut-and-paste techniques to invent whole new pictures — just like a photo cut!
📒 Scrapbooking blends photos, journaling, and decorations so families can save stories and memories for years.
🎨 Cardstock is thicker than regular paper, so it holds photos, markers, and stickers without bending or warping.
How do I do the Share Your Favorite Photo Cut activity?
What materials do I need for a Share Your Favorite Photo Cut?
What ages is the Share Your Favorite Photo Cut activity suitable for?
What are the benefits of doing a Share Your Favorite Photo Cut?
