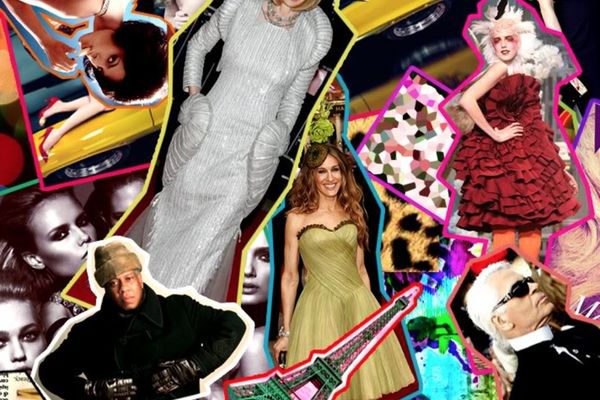
Share Your Fashion Inspiration
Create a mini fashion mood board using drawings, magazine clippings, and fabric swatches, then present your inspiration and explain your favorite design choices.


Step-by-step guide to Share Your Fashion Inspiration
Fashion Design for Kids, Teachers and Parents
Step 1
Choose a fashion theme or mood for your board like sunny colors retro vibes sporty chic or nature inspired.
Step 2
Put your poster paper flat on the table so you have a clear workspace.
Step 3
Write the name of your theme at the top of the poster in big letters.
Step 4
Flip through magazines and cut out pictures colors and patterns that match your theme.
Step 5
Select fabric swatches that fit your theme and set them beside your pictures.
Step 6
Arrange the magazine cutouts and fabric swatches on the poster without gluing so you can test different layouts.
Step 7
Draw small sketches or color blocks to add original ideas and fill empty spaces on your board.
Step 8
Glue the pictures and fabric swatches onto the poster when you are happy with the layout.
Step 9
Use coloring materials to add short labels or words that explain each picture or swatch.
Step 10
Highlight your favorite design choices by drawing frames around them or adding little stars.
Step 11
Practice presenting your mood board out loud two times and explain why you chose your favorite pieces.
Step 12
Share your finished fashion mood board and your presentation on DIY.org
Help!?
What can we use instead of poster paper, magazines, or fabric swatches if we can't find them?
Use a piece of cardboard or large construction paper instead of poster paper, print images from the internet or use old catalogs in place of magazines, and cut fabric from an old T‑shirt or use colored paper squares as fabric swatch substitutes.
My layout keeps shifting when I try arranging pieces before gluing — how can I stop that?
When you 'arrange the magazine cutouts and fabric swatches on the poster without gluing', secure them temporarily with small pieces of removable painter's tape or repositionable glue dots so they stay put while you test layouts.
How can I adapt this activity for different age groups?
For younger kids pre‑cut the magazine pictures and provide stickers and chunky crayons for the 'draw small sketches or color blocks' step, while older kids can add detailed sketches, sew edges on fabric swatches, and refine the 'practice presenting your mood board out loud two times' presentation.
What are some ways to extend or personalize the mood board after it's finished?
After you 'highlight your favorite design choices', personalize the board by adding sewn or glued ribbon loops to hold extra fabric samples, creating small pockets for swatches or notes, and recording a short video of your practiced presentation to upload to DIY.org.
Watch videos on how to Share Your Fashion Inspiration
Can These Fashion Designers Turn This Kid's Drawing Into A Real Dress?
4 Videos
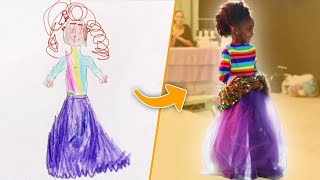
Can These Fashion Designers Turn This Kid's Drawing Into A Real Dress?

Fast Fashion: The Environmental Impact | Geography, Life Skills | ClickView
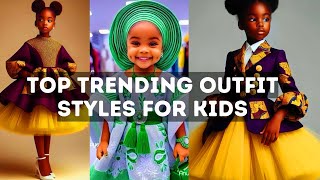
Top Trending Outfit Styles for Kids | Must-have Kids Fashion styles
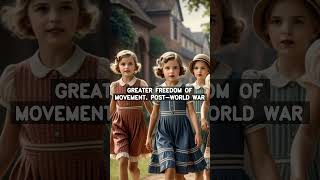
Evolution of Childrens Fashion A Journey Through Time
Facts about fashion design for kids
🎨 Mood boards are a favorite tool for designers to mix colors, textures, and images before making real clothes.
✂️ The word "collage" comes from the French verb "coller" meaning "to glue" — artists like Picasso used it to invent new visual styles.
👗 Coco Chanel helped make the little black dress a timeless fashion staple in the 1920s.
🧵 It takes about 2,700 liters of water to grow the cotton for one T-shirt — tiny fabric choices can have big environmental impacts!
🖊️ Fashion illustrators can sketch a new outfit idea in just a few minutes, and that quick doodle can spark whole collections.
How do we make a mini fashion mood board and present our inspiration?
What materials are needed for a mini fashion mood board?
What ages is the Share Your Fashion Inspiration activity suitable for?
What are the benefits of creating a mini fashion mood board?
