Share a game you've made on Scratch
Create a short Scratch game, test it, and share the project link with classmates while describing controls and design choices in a short summary.


Step-by-step guide to create, test, and share a Scratch game
Step 1
Log into your Scratch account.
Step 2
Click Create to start a new project.
Step 3
Remove the default sprite if you want a different main character.
Step 4
Use the Paint or Choose tool to make or pick your main character sprite.
Step 5
Add scripts so the sprite moves with arrow keys using when [key] pressed and change x by or change y by blocks.
Step 6
Create a backdrop and add at least one goal or obstacle sprite.
Step 7
Add a score or win/lose condition using a variable and if touching [sprite] then change score by or broadcast blocks.
Step 8
Add a sound or visual effect for when the player scores or loses.
Step 9
Click the green flag to play and test one full round of your game.
Step 10
Make one improvement to fix a problem you noticed during testing.
Step 11
Write a short 1-2 sentence summary that explains the controls and one design choice you made.
Step 12
Click the orange Share button on Scratch to publish your project.
Step 13
Send the project link to your classmates using your class chat or email with your short summary.
Step 14
Post your published project link on DIY.org so everyone can see and try your finished creation.
Help!?
What can we use if we don't have a Scratch account or reliable internet to publish and share the project?
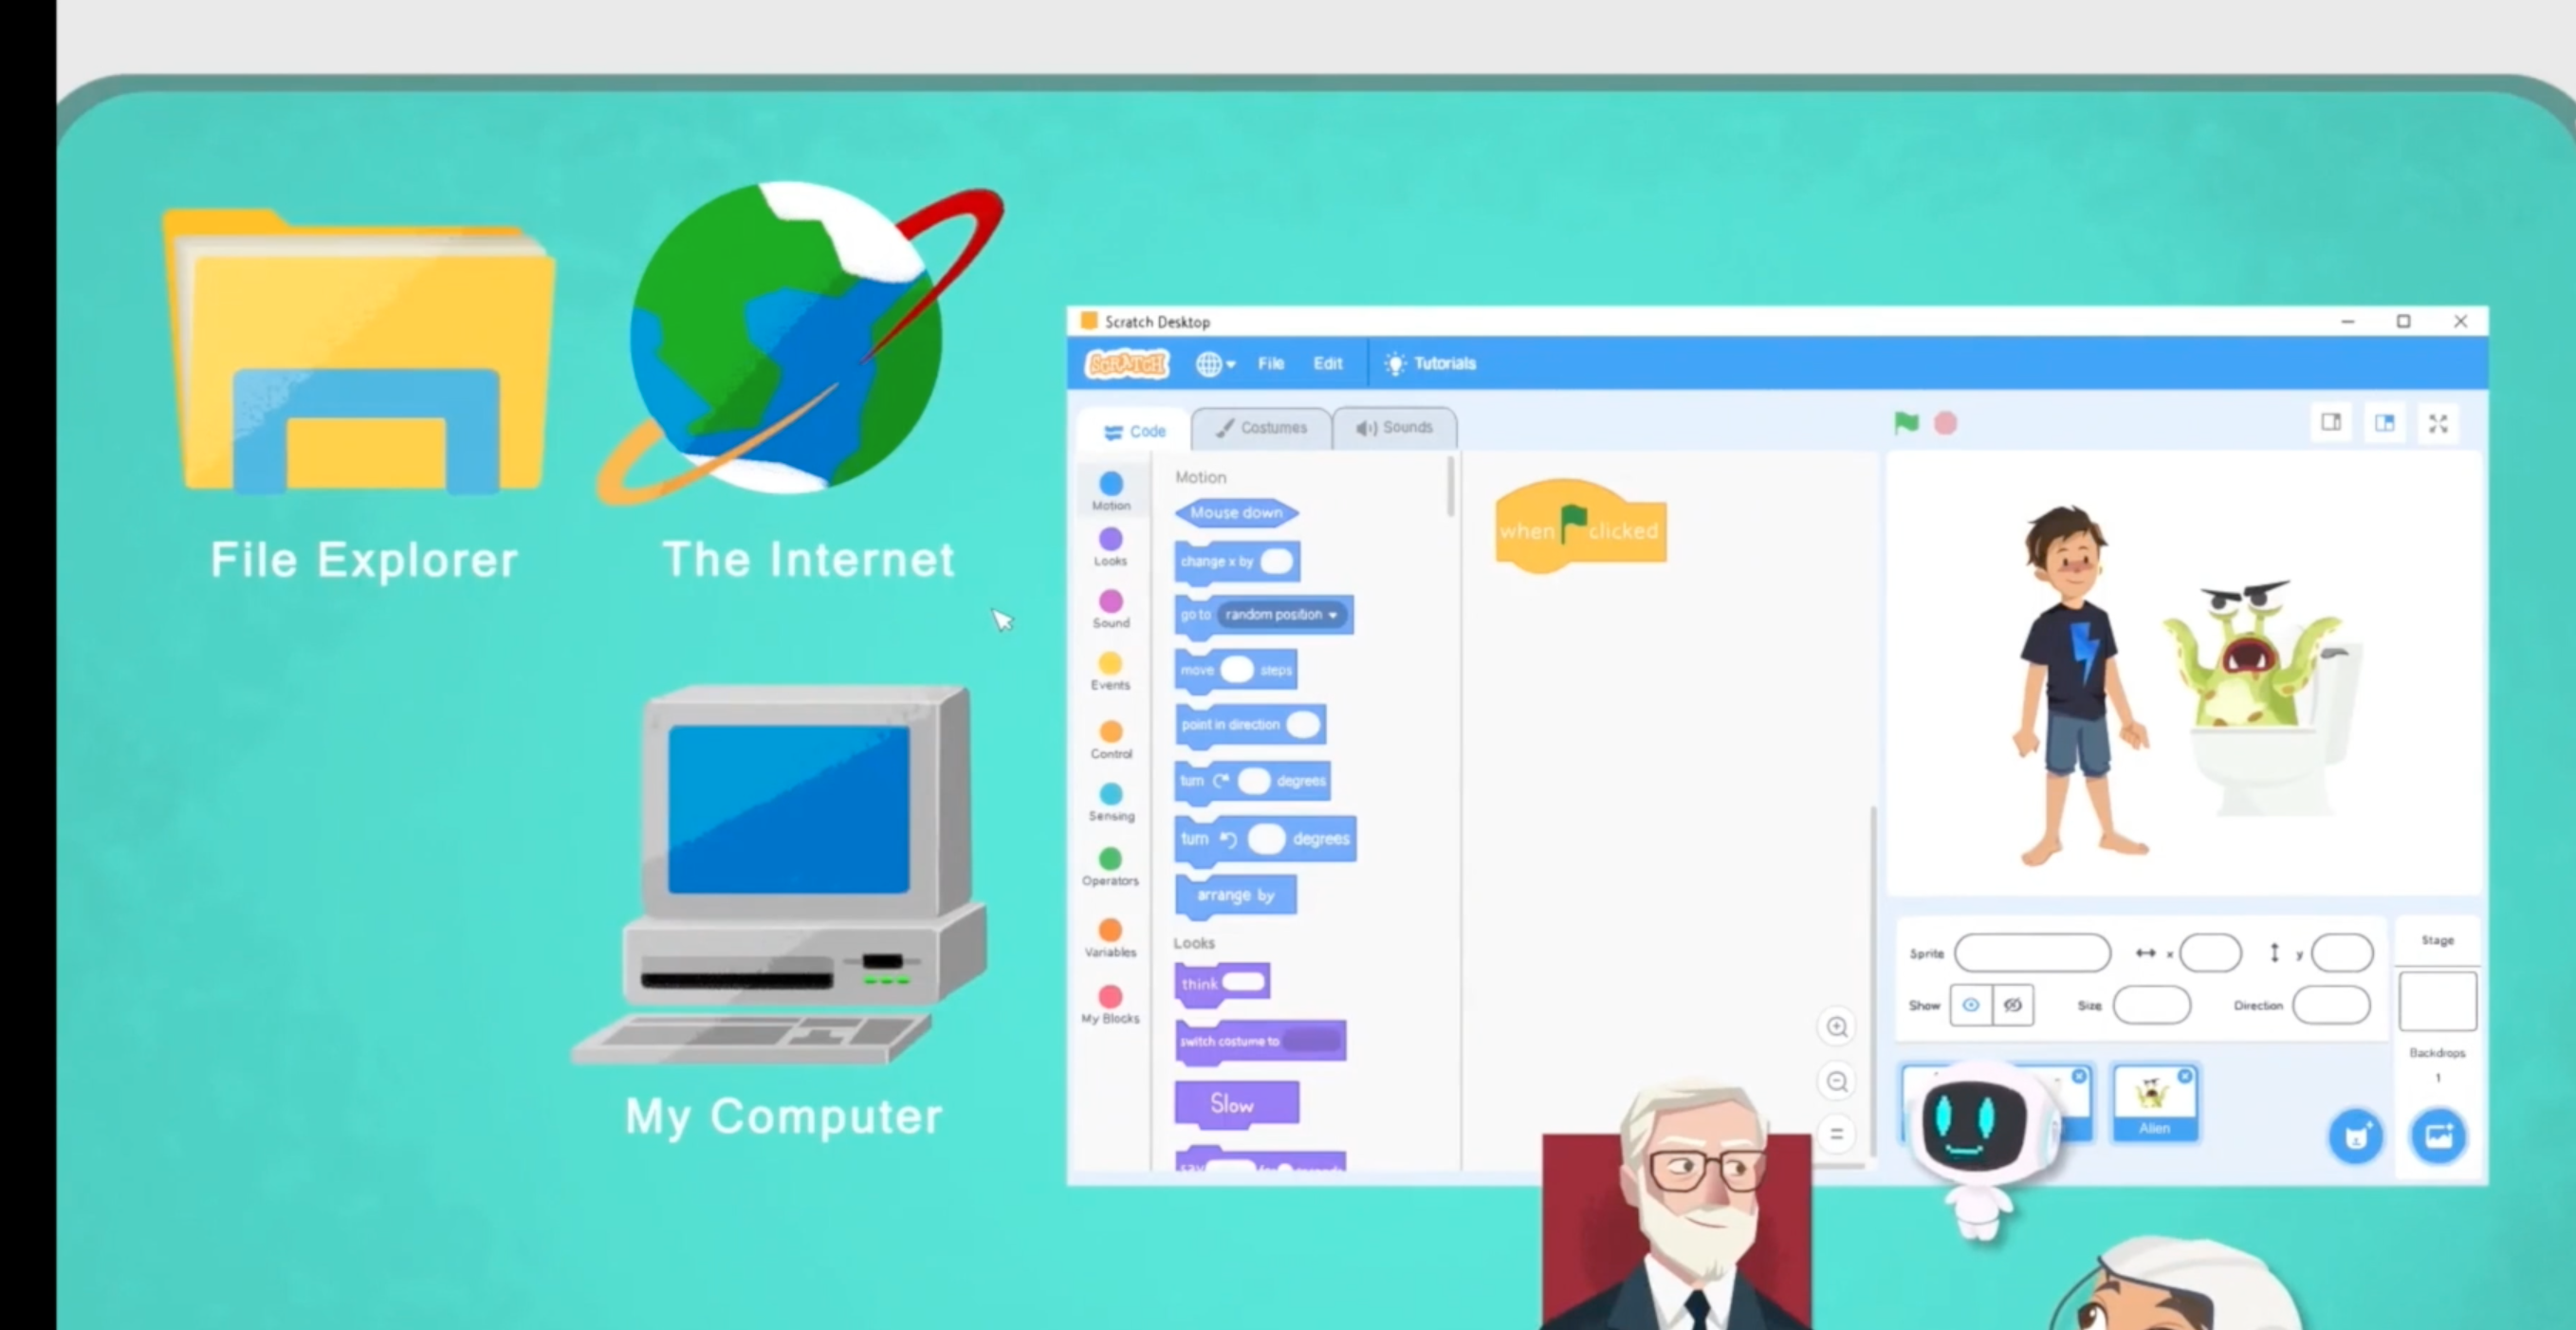
Use Scratch Desktop to build and test your game offline, save the .sb3 project file to your computer, and later upload or email that file instead of using the orange Share button and DIY.org posting.
My sprite doesn't move when I press arrow keys or the score never changes—what should I check?
Verify you used the correct when [key] pressed blocks connected to change x by or change y by with the right positive or negative values and that you start scripts with when green flag clicked or run them in a loop, and ensure your score variable was created, initialized, and the if touching [sprite] block that changes the score is inside a running script.
How can this activity be adjusted for different age groups?
For younger kids simplify by using the Choose tool for a ready sprite, only arrow key movement, one goal sprite and no variables, while older kids can add variables, broadcasts, clones for obstacles, timers, multiple levels, and make the improvement step more challenging.
What are quick ways to personalize or extend the game after the basic version is working?
Paint custom sprites and backdrops, add extra goals or obstacles using clones, trigger a sound or visual effect when if touching [sprite] occurs, use broadcast to show a win/lose screen, and then republish the improved project link to class chat and DIY.org.
Watch videos on how to create, test, and share a Scratch game
Scratch Tutorial | Introduction to Scratch | Part 1 | Scratch Easy Beginner Tutorial
4 Videos
Scratch Tutorial | Introduction to Scratch | Part 1 | Scratch Easy Beginner Tutorial
Scratch maze game project for beginners | How to make an easy game for kids in 10 minutes
How to Make a Catch Game in Scratch | Tutorial
Beginners Guide To Scratch (VERY Simple)
Facts about block-based coding and game design for kids
🐱 Scratch’s mascot is the Scratch Cat, and the community has millions of shared projects you can remix.
🧩 Scratch uses colorful puzzle-like code blocks so you can snap commands together instead of typing syntax.
🕹️ You can build lots of game types in Scratch — platformers, quizzes, mazes, shooters, and more — with the same basic blocks.
🌐 Scratch was created at the MIT Media Lab and the first public version launched in 2007.
🔁 Every shared Scratch project has a “See inside” and remix button so classmates can learn by copying and changing your code.
How do I create, test, and share a short Scratch game with my classmates?
What materials do I need to make and share a Scratch project?
What ages is this Scratch game activity suitable for?
What safety steps should I follow when sharing Scratch projects with a class?
