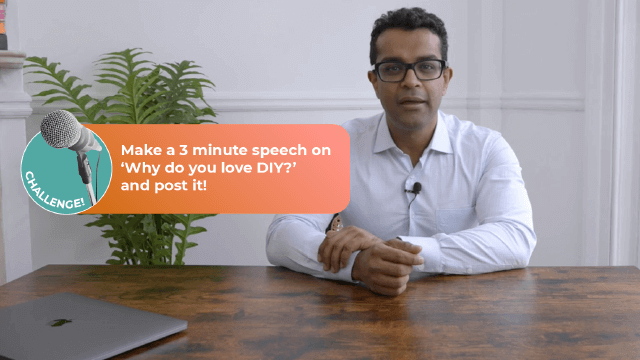
Share a 3 Minute Speech on What You Love About DIY!
Prepare and deliver a three minute speech about what you love about DIY, practicing voice, timing, and a simple prop or visual.


Step-by-step guide to share a 3-minute speech on what you love about DIY
Step 1
Write your main idea about what you love most about DIY at the top of a sheet of paper.
Step 2
Write three short reasons you love DIY each on its own line underneath your main idea.
Step 3
Choose one simple prop or draw a small visual that will help explain one of your reasons.
Step 4
Make your prop or draw your visual using paper and coloring materials.
Step 5
Write a short speech that starts with your main idea then explains each of your three reasons.
Step 6
Break your speech into 3 to 6 index card prompts with one key word or short sentence per card.
Step 7
Practice your speech aloud using a clear voice and steady pace while reading your index card prompts.
Step 8
Use a timer to rehearse and change your words so the speech fits about three minutes.
Step 9
Practice the speech again while holding or showing your prop so the timing and gestures feel natural.
Step 10
Perform your final three-minute speech for a family member or in front of a mirror.
Step 11
Share your finished three-minute speech and your prop or visual on DIY.org
Help!?
What can we substitute if we don't have index cards, coloring materials, or a timer?
Use cut-up paper or sticky notes instead of index cards, colored pencils or markers instead of crayons for your paper prop (step 4), and a phone or kitchen timer to rehearse timing for about three minutes.
My speech keeps running over three minutes or I forget parts—how can I fix that?
Shorten your written speech (step 5), reduce each index card to a single keyword or short phrase (step 6), rehearse with your phone timer (step 7), and practice holding or showing your prop while speaking (step 9) so gestures and timing become natural.
How can I adapt this activity for younger children or older kids?
For younger kids, simplify to one main idea and one clear reason with a large visual and 1–2 big cards plus an adult to time rehearsals, while older kids can expand to richer reasons, refine the written draft into a precise three-minute script, and build a sturdier cardboard prop (step 4) to record for DIY.org.
How can we enhance or personalize the speech and prop?
Decorate or strengthen your paper prop with cardboard, photos, or stickers (step 4), add a short personal anecdote in your speech draft (step 5), practice matching gestures to each reason (step 8), and include a descriptive caption when you share the performance on DIY.org.
Watch videos on how to prepare and deliver a 3-minute speech about what you love about DIY
11 DIY - FANTASTIC DIY PROJECTS YOU CAN DO IN 5 MINUTES - School Supplies, Room Decor, Gift Ideas
4 Videos
11 DIY - FANTASTIC DIY PROJECTS YOU CAN DO IN 5 MINUTES - School Supplies, Room Decor, Gift Ideas
10 DIY Hacks that TRANSFORM Basic Homes! *Budget Friendly & Easy*

MUST TRY 10 quick & easy sewing projects to sew, sell and gift in 2024!
16 Easy and Practical DIY Home Hacks You'll Love to Try Today
Facts about public speaking for kids
🎤 Public speaking is one of the most commonly reported fears — many people rank it near the top of their anxieties.
🛠️ The modern DIY movement has roots in earlier eras (like the Great Depression) and saw big revivals in the 1970s and beyond.
⏱️ The Three Minute Thesis (3MT) is an international contest started in 2008 that challenges researchers to explain their work in just 3 minutes.
🎨 Using a simple prop or visual can make a speech far more memorable — visuals help audiences grasp and recall ideas faster.
🗣️ Practicing your speech out loud improves timing, projection, and confidence; many great speakers rehearse multiple times.
How do I prepare and deliver a three-minute speech about what I love about DIY?
What materials do I need for a 3-minute DIY speech and prop?
What ages is this three-minute DIY speech suitable for?
What are the benefits of giving a three-minute speech about DIY?
