Sew a basic stitch
Learn to sew a basic running stitch to join fabric edges or make a simple felt bookmark using a blunt needle, thread, and safety scissors.


Step-by-step guide to sew a basic running stitch
Learn to Sew with Debbie Shore, Kids! Lesson 1
Step 1
Lay out all your materials on a clean flat table.
Step 2
Measure and mark a rectangle 6 inches by 2 inches on the felt using the ruler and marker.
Step 3
Cut out the rectangle along your marks using the safety scissors.
Step 4
Cut a length of thread about as long as your arm from fingertip to shoulder.
Step 5
Push one end of the thread through the eye of the blunt needle.
Step 6
Tie a small knot at the thread end opposite the needle.
Step 7
Turn the felt so the wrong (back) side faces you and push the needle up through the felt about 1 cm from the top edge.
Step 8
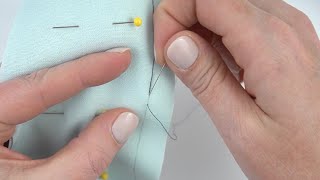
Make the first running stitch by pushing the needle down about 1 cm from where it came up and pull the thread through.
Step 9
Continue making evenly spaced running stitches about 1 cm long down the edge until you reach the bottom.
Step 10
Tie a small knot close to the felt to secure the thread when you finish stitching.
Step 11
Trim the extra thread close to the knot with the safety scissors.
Step 12
Press a sticker or attach a small button to decorate your bookmark.
Step 13
Share a photo of your finished felt bookmark on DIY.org.
Help!?
What can we use instead of felt or a blunt needle if those are hard to find?
If you don't have felt, use craft foam or a scrap of sturdy cotton fabric and if you can't find a blunt sewing needle, use a large plastic or yarn needle with thicker thread so it passes easily through the material.
My needle won't go through the felt or my stitches are uneven—what should I try?
If the needle is hard to push through or the 1 cm running stitches are uneven, pre-mark the stitch spacing with the ruler, pre-poke tiny holes 1 cm apart with the tip of the safety scissors or a pin (adult help), and switch to a thicker needle or thread so it moves more smoothly.
How can I adapt this activity for younger or older kids?
For younger children, pre-cut the 6×2-inch rectangle, use a large plastic needle and yarn and have an adult tie the knots, while older kids can use finer embroidery floss, practice smaller even stitches, or increase the rectangle size to make a bigger bookmark.
How can we personalize or extend the bookmark after finishing the basic stitch?
Personalize the finished bookmark by embroidering initials with embroidery floss, gluing or sewing extra felt shapes or sequins before tying the final knot, adding a ribbon loop at the top, and then share a photo on DIY.org.
Watch videos on how to sew a basic running stitch
Trixi's Guide to Teaching Kids to Sew: Running Stitch
4 Videos

Trixi's Guide to Teaching Kids to Sew: Running Stitch
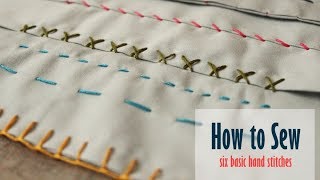
Learn How to Sew by Hand: Six Basic Hand Stitches
How to Sew by Hand for BEGINNERS!
Sewing Tutorial-How to do a basic running stitch.
Facts about hand sewing for kids
🧵 The oldest known sewing needles are over 30,000 years old — people stitched animal skins long before woven fabric!
🪡 The running stitch is one of the simplest hand stitches and is used worldwide for mending, quilting, and decoration.
✂️ Kid-safe blunt-tip scissors and plastic or blunt needles dramatically reduce accidents, making them perfect for beginner sewers.
🧷 Felt doesn't fray at the edges, so beginners can cut and sew it without hemming — ideal for bookmarks and small projects.
⏱️ A simple felt bookmark sewn with a running stitch can be completed in about 15–30 minutes — quick and rewarding!
How do you sew a basic running stitch to join fabric edges or make a felt bookmark?
What materials do I need to teach a child to sew a running stitch and make a felt bookmark?
What ages is learning a basic running stitch suitable for?
What are the benefits, safety tips, and fun variations for a simple running stitch project?
