Sculpt the land
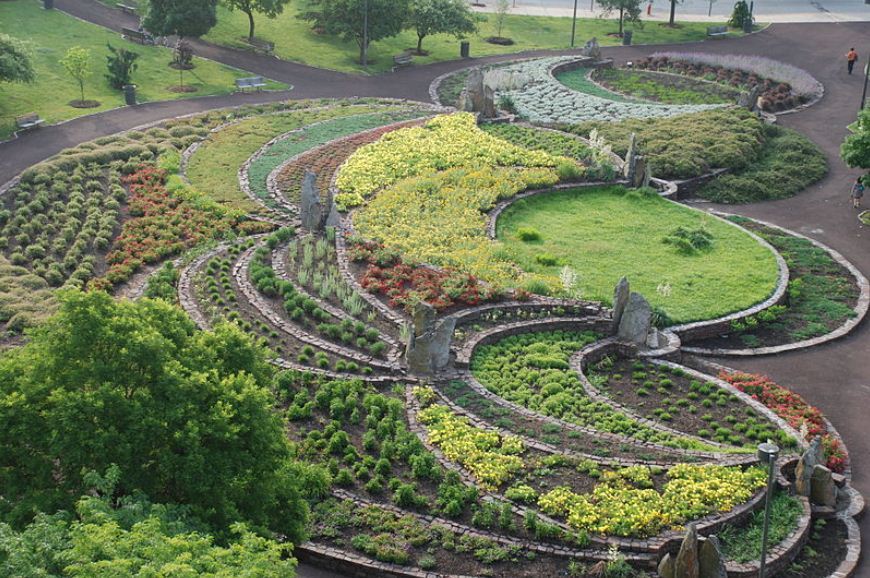
Create a miniature landscape diorama using clay, sand, and natural materials. Shape hills, valleys, rivers, and learn erosion and landform basics.

Step-by-step guide to Sculpt the land
How To Sculpt A Person For Young Artists
Step 1
Put the shallow tray on a flat workspace where you can make a little mess.
Step 2
Press a big flat piece of air dry clay into the tray to make the land base.
Step 3
Push up some clay bumps for hills and press down other areas to make valleys.
Step 4
Sprinkle play sand over the hills and valleys to give the ground a sandy texture.
Step 5
Use the plastic spoon or tool to carve a shallow groove from one edge of the tray to the other to make a river channel.
Step 6
Stick pebbles twigs and leaves into the clay to add rocks trees and plants to your landscape.
Step 7
Press gently around the hills river and decorations to make sure everything stays in place.
Step 8
Ask an adult to stay with you and help for the water test.
Step 9
Have the adult slowly pour a small cup of water at the highest point of your river channel to start the flow.
Step 10
Watch how the water moves the sand and clay and notice any places that wear away or change.
Step 11
Change your landscape by reshaping clay or adding pebbles or sand to fix or highlight the erosion patterns you observed.
Step 12
Take a photo and share your finished miniature landscape on DIY.org
Help!?
What can we use if we don't have air-dry clay or play sand?
Use homemade salt-dough (flour, salt, water) or oven-bake modeling clay pressed into the tray for the land base, and substitute play sand with fine sandbox sand or dry coffee grounds sprinkled over the hills and valleys for texture.
What should we do if the water just floods the tray edges or the river doesn't flow?
Press up higher edges around the tray, deepen and smooth the river channel with the plastic spoon, and retest by having an adult slowly pour a small cup of water at the highest point so the flow follows the groove instead of spilling over.
How can we change the activity for different ages?
For toddlers use soft playdough, larger pebbles, and let the adult pour the water while supervising closely; for school‑age kids add measuring cups, paint, and a time‑lapse to study erosion; and for older kids introduce dye in the water and challenge them to design a dam and record results.
How can we extend or personalize our miniature landscape after the basic test?
Add painted details or small figurines, build multiple channels or a dam to test different erosion outcomes, and take photos or a time‑lapse to document changes before sharing on DIY.org.
Watch videos on how to Sculpt the land
Unorthodox Sculpting | National Geographic
4 Videos
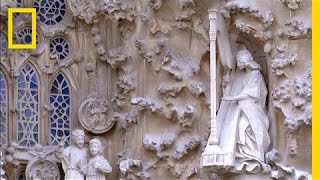
Unorthodox Sculpting | National Geographic
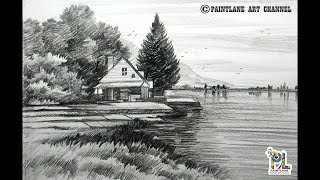
Learn Scribble Scenery Drawing with Pencil for Beginners | Easy Pencil Art

How to draw Landscape Art for Beginners | Children Scenery Art

How to Teach Kids 2D and 3D shapes? | Square, Cube | Easy Way to Learn Faces, Edges, Vertices
Facts about landforms and erosion
🏞️ Landforms like hills, valleys, and plateaus form from a mix of uplift, weathering, and erosion over long time scales.
🌊 Rivers are nature's sculptors — flowing water carves valleys, builds deltas, and transports sediment downstream.
🧱 Clay stays soft and very moldable when wet, making it ideal for shaping miniature cliffs, riverbeds, and terraces.
🌱 Plant roots help hold soil together — vegetation is one of the best natural defenses against erosion.
⏳ You can simulate slow Earth processes fast: a few pours of water on sand in your diorama shows erosion in minutes.
How do you make a miniature landscape diorama by sculpting the land?
What materials do I need to sculpt a landscape diorama with clay, sand, and natural items?
What ages is sculpting a miniature landscape diorama suitable for?
What are the benefits of making a miniature landscape diorama and are there safety tips?
