Sculpt Eevee from Pokemon
Sculpt Eevee from soft air-dry clay, shaping body, tail, ears, and fur details, then paint and display your finished Pokémon figure.

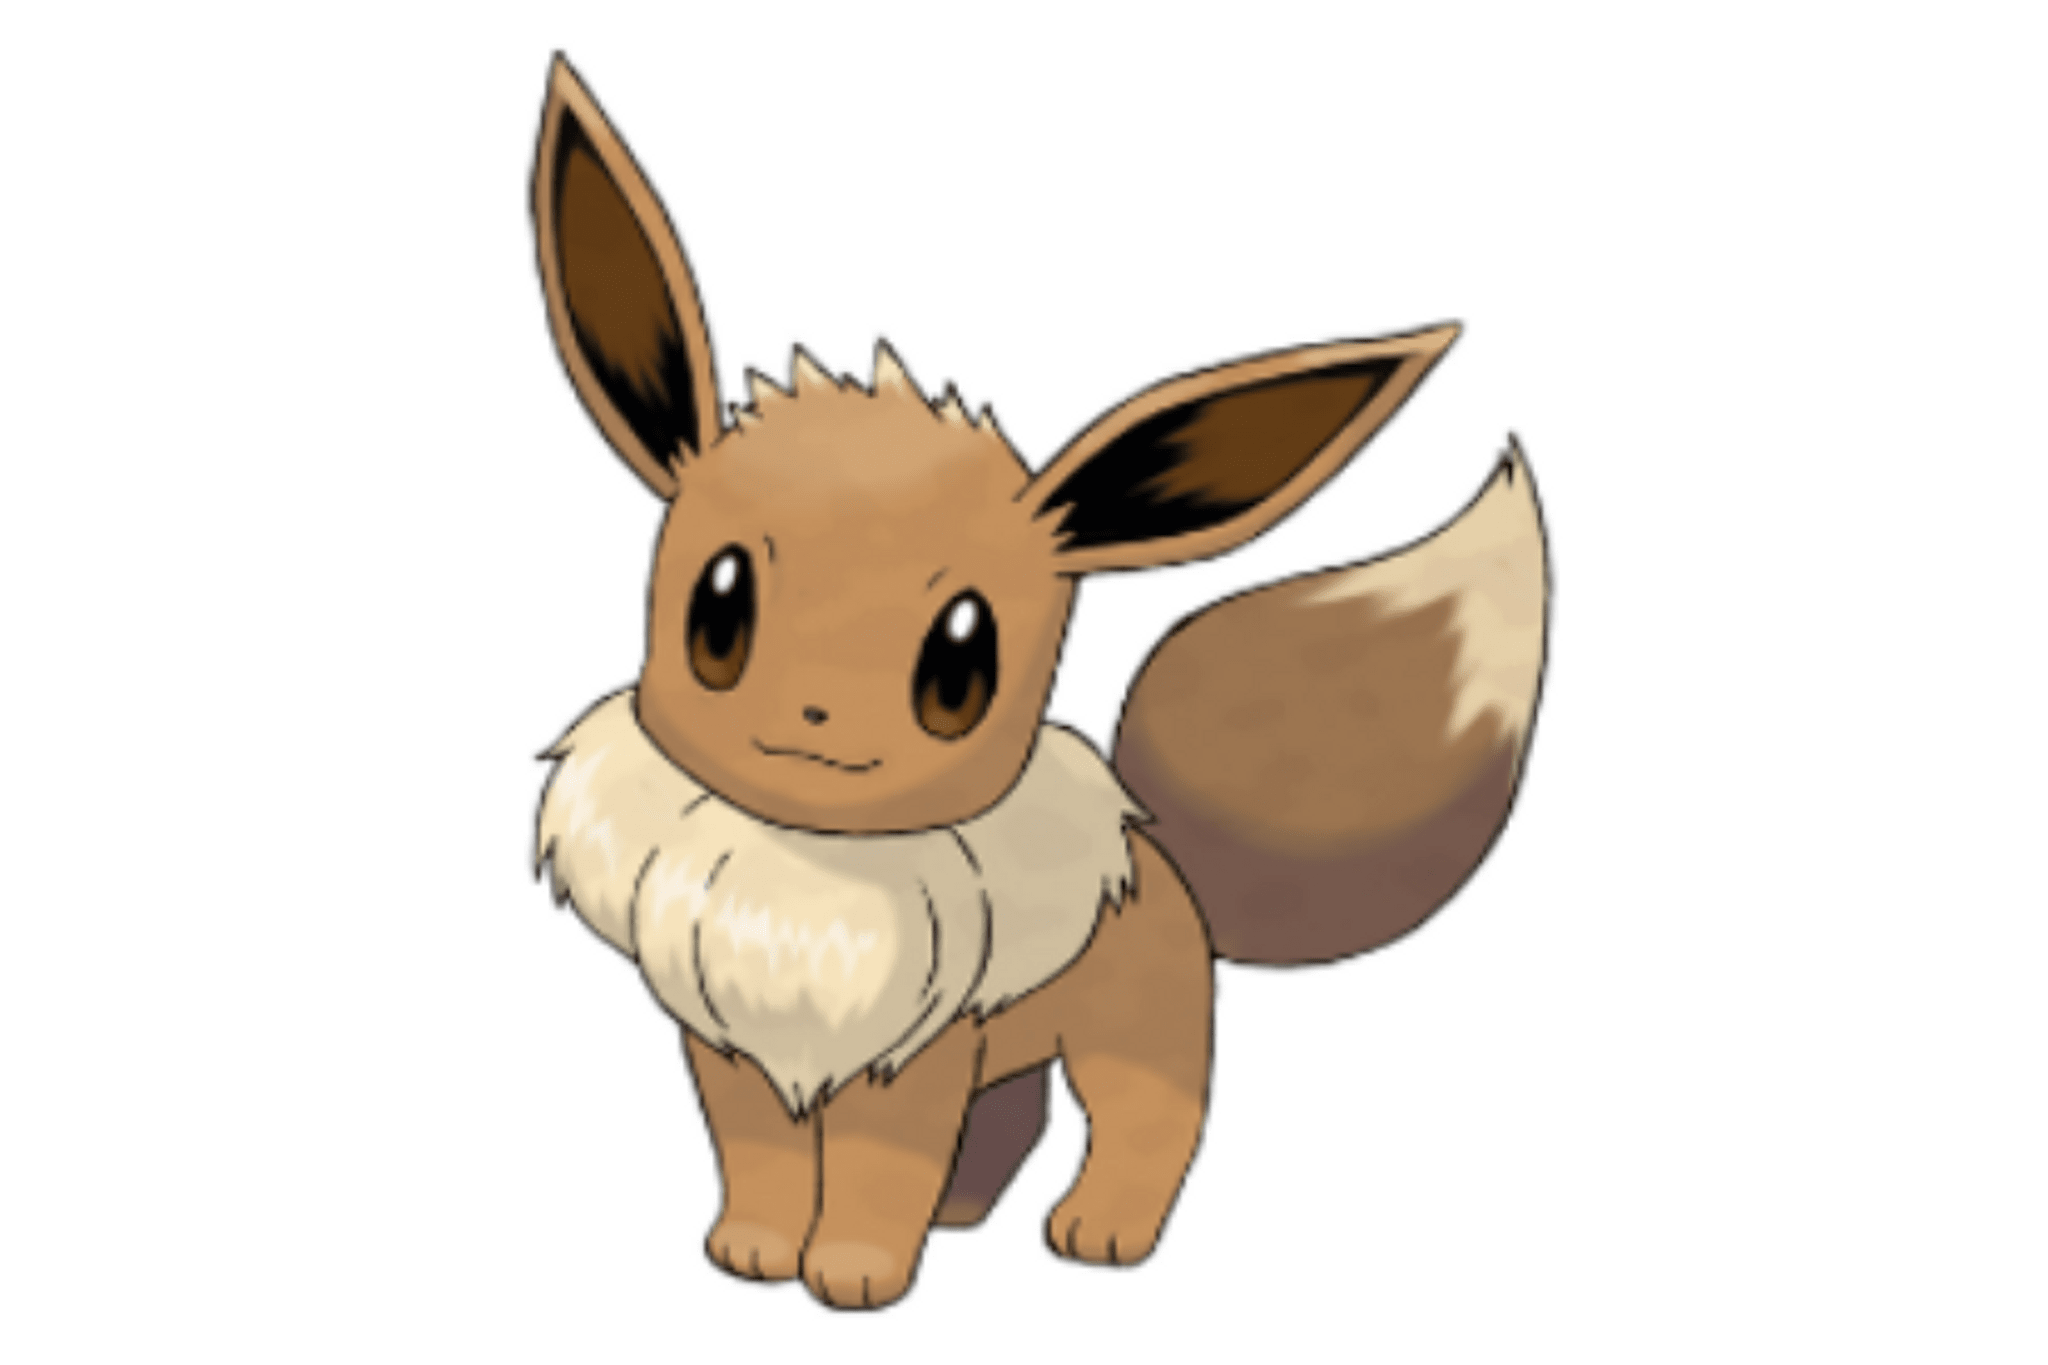

Step-by-step guide to sculpt Eevee from Pokemon
Pokémon Clay Art: Eeveelution!! Satisfying video
Step 1
Clear a flat workspace and lay down a paper towel to keep things tidy.
Step 2
Break off a large chunk of clay and roll it into a smooth oval to make Eevee’s body.
Step 3
Roll a smaller ball of clay to make Eevee’s head.
Step 4
Press the head ball onto the top front of the body to attach it.
Step 5
Smooth the seam between the head and body with your finger until it looks joined.
Step 6
Roll four short cylinders for legs and press them under the body to attach them.
Step 7
Shape a long teardrop of clay for the tail and press it onto the back of the body.
Step 8
Flatten two triangle ear shapes and press them onto the top sides of the head.
Step 9
Roll a thin rope of clay for the fluffy collar and press it around Eevee’s neck.
Step 10
Use a toothpick to add short fur texture lines on the collar tail and ear edges.
Step 11
Use a small tool or toothpick to make two small eye indents a tiny nose dimple and a little mouth line.
Step 12
Lightly dab a damp fingertip over the sculpture to smooth fingerprints and refine shapes.
Step 13
Set your sculpture on a flat plate and let it dry completely according to the clay package instructions.
Step 14
Paint your dry Eevee with acrylic paints using base colors and then add small details; let the paint dry fully.
Step 15
Share a photo of your finished Eevee on DIY.org.
Help!?
What can I use if I don't have the exact materials like acrylic paints, a toothpick, or a flat plate?
If you don't have acrylic paint use washable tempera or craft paint to paint your dry Eevee, substitute a sewing needle or the blunt end of a pencil for the toothpick to add fur lines and indents, and dry the sculpture on a ceramic saucer, cardboard covered with foil, or a clean paper plate instead of the flat plate.
My Eevee's head keeps falling off—what should I do during the attachment steps?
When the head ball won't stay, press it firmly onto the top front of the body, smooth and blend extra clay into the seam with your finger as in step 5, and support the join with a small dab of damp clay or a temporary prop until it dries fully per the clay package instructions.
How can I change the activity for different ages or skill levels?
For younger kids, simplify by rolling pre-made balls and having them press on the head, legs, tail, and ears (steps 2–8), while older kids can add fine fur texture with a toothpick, refine shapes with small tools in step 11, and practice shading when painting in step 13.
How can we extend or personalize the Eevee project after finishing the basic sculpture?
After drying and painting in steps 12–13, personalize your Eevee by painting unique markings, adding a protective varnish, mounting it on a decorated base, or creating other Pokémon variants and then share your favorite version on DIY.org.
Watch videos on how to sculpt Eevee from Pokemon
I SCULPT EEVEE THE POKEMON (polymer clay time lapse)
4 Videos
I SCULPT EEVEE THE POKEMON (polymer clay time lapse)
EP1: How to make Eevee from clay | Pokémon Clay Tutorial
HOW TO MAKE ALL 9 EEVEELUTIONS POKEMON DIY craft polymer clay tutorial miniature
![Making a Figure of an Eevee on Halloween | Pokémon [Clay]](https://img.youtube.com/vi/-wuYZfcZ82k/mqdefault.jpg)
Making a Figure of an Eevee on Halloween | Pokémon [Clay]
Facts about clay modeling for kids
🦊 Eevee can evolve into eight official "Eeveelutions" in the main Pokémon games: Vaporeon, Jolteon, Flareon, Espeon, Umbreon, Leafeon, Glaceon, and Sylveon.
🎨 Air-dry clay hardens without baking—many projects become touch-dry in 24–72 hours depending on thickness and humidity.
🖌️ Acrylic paints are kid-friendly, dry fast, and stick well to dried air-dry clay; a clear varnish helps protect your finished figure.
🧩 Adding a simple wire armature or toothpicks inside your clay sculpture gives extra support for long ears, tails, or thin legs.
✍️ Ken Sugimori illustrated many of the original Pokémon designs and helped give Eevee its iconic, friendly look.
How do I sculpt an Eevee from soft air-dry clay?
What materials do I need to sculpt Eevee from soft air-dry clay?
What ages is sculpting Eevee from clay suitable for?
What are the benefits and safety tips for sculpting Eevee with kids?
