Score your bread
Learn to score and cut bread dough using safe tools, create patterns before baking, and observe how scoring affects loaf shape and crust.


Step-by-step guide to score your bread
A Bread Baking Tutorial | Bread Baking Basics for Beginners | Homemaking Basics
Step 1
Wash your hands with soap and water so everything stays clean.
Step 2
Set up your materials neatly on a clean work surface so they are easy to reach.
Step 3
Lightly sprinkle flour across the work surface to stop the dough from sticking.
Step 4
Place the risen loaf of bread dough gently onto the floured surface.
Step 5
Gently press the dough once to pop any very large air bubbles without squashing it flat.
Step 6
Use a toothpick or ruler to lightly mark the pattern you want on the dough's top.
Step 7
With adult help if needed hold the knife or bread lame at about a 30-degree angle to the dough.
Step 8
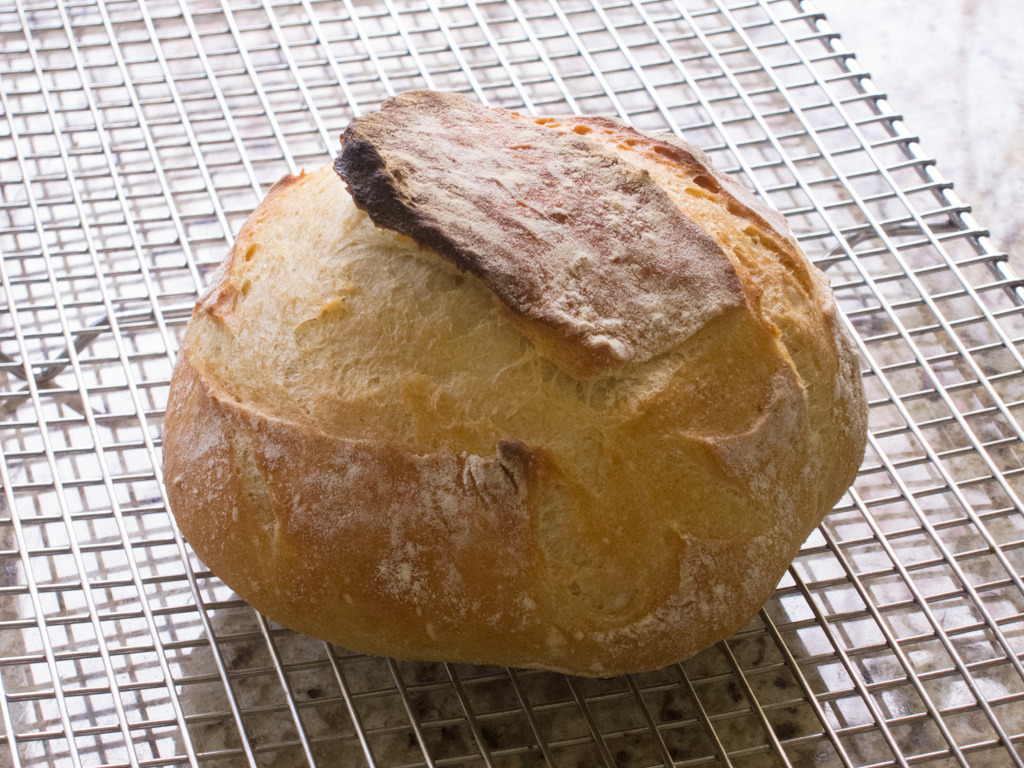
Make quick shallow cuts along your marked lines to score the dough and create your pattern.
Step 9
Dust a little flour over the scored surface so your pattern stands out.
Step 10
Place the scored dough onto the baking tray or into the Dutch oven for baking.
Step 11
Bake the dough following your recipe's temperature and time so the loaf cooks properly.
Step 12
Use oven mitts to remove the hot loaf from the oven safely.
Step 13
Place the hot loaf on a cooling rack and let it cool for at least 20 minutes before touching.
Step 14
Look at and draw or write one thing you notice about how scoring changed the loaf's shape and crust.
Step 15
Share a photo of your finished loaf and one thing you learned about scoring on DIY.org.
Help!?
What can I use if I don't have a bread lame or a very sharp knife for scoring?
If you don't have a bread lame, use a very sharp, clean kitchen knife held at about a 30-degree angle for the scoring step with an adult helping to make the quick shallow cuts.
My cuts didn't open or the pattern wasn't visible after baking—what went wrong and how can I fix it?
If the scores don't open, make quicker, shallower cuts at the instructed 30-degree angle with your knife or bread lame, and dust a little flour over the scored surface before baking so the pattern stands out.
How can I adapt this activity for younger kids and for older kids?
For younger children let them wash hands, sprinkle flour, place the dough, press once to pop large bubbles, and mark patterns with a toothpick or ruler while an adult handles the 30-degree scoring and oven steps, and for older kids have them practice the quick shallow cuts (with supervision) and record observations afterward.
How can we extend or personalize the scored loaf to make it more creative or flavorful?
To personalize and enhance the loaf, brush the scored surface with a little water or egg wash, sprinkle seeds along your scored lines before baking for extra crunch and visible pattern, and then share a photo and one thing you learned about scoring on DIY.org.
Watch videos on how to score your bread
How To Make Homemade Bread | Easy Bread Recipe, Fun Bread Shaping | Kids Are Great Cooks
4 Videos
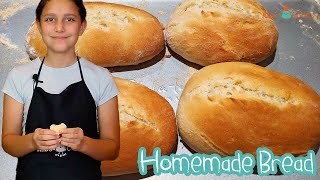
How To Make Homemade Bread | Easy Bread Recipe, Fun Bread Shaping | Kids Are Great Cooks

Easy Homemade Bread for Beginners, 100% NEVER FAIL Bread Recipe, Who Love Fresh Loaves !
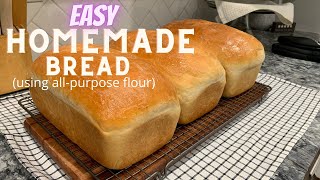
HOW TO MAKE BREAD // STEP BY STEP INSTRUCTIONS // USING ALL-PURPOSE FLOUR //

How to Make THE BEST Homemade Bread | Homemaking Basics
Facts about bread baking
🥖 Scoring guides where a loaf expands in the oven so it doesn't burst in surprise spots while baking.
🔪 Bakers often use a razor-like tool called a "lame" to make clean, artistic cuts in dough.
💨 Steam in the oven during the first minutes helps scores open up and creates a glossy crust.
🎨 Many bakers use signature scoring patterns—like a painter's signature—to make loaves unique.
📏 The depth and angle of a cut (often just a few millimeters at a shallow tilt) changes how the bread rises and its final shape.
How do you score and cut bread dough with a child?
What materials do I need to score bread with my child?
What ages is scoring bread suitable for with supervision?
What safety tips and fun variations should we try when scoring bread?
