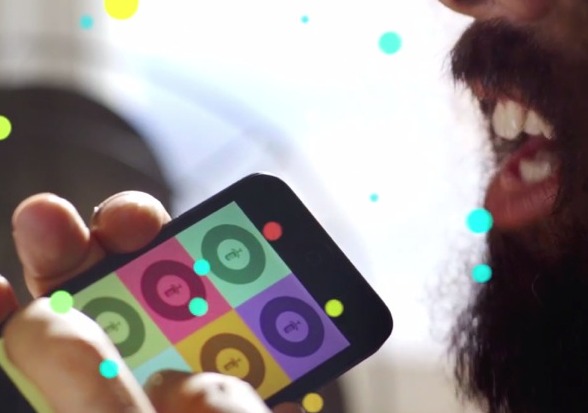
Sample a real instrument or voice
Record short sound samples from a real instrument or voice using a phone or recorder, label them, and explore differences in pitch, volume, and tone.


Step-by-step guide to record short sound samples from instruments and voices
Guitar For Kids Lesson 1
Step 1
Gather your materials and bring them to a table or floor space.
Step 2
Move to a quiet spot where you will not be interrupted.
Step 3
Pick three different sounds to record (for example one instrument note one voice sound and one object sound).
Step 4
Use a sticky note or tape to mark a spot about 30 cm away from where the sound will come from for your recorder to sit.
Step 5
On the paper draw a simple chart with three rows and columns labeled Name Pitch Volume Tone.
Step 6
Open the voice recorder app or program you will use and make a 1-second test recording to check the sound is clear.
Step 7
Put the recorder at the marked spot and record the first sound for about 3 seconds.
Step 8
Play back the first sample and write its name and what you hear for Pitch Volume and Tone in the first row of your chart.
Step 9
Put the recorder at the marked spot and record the second sound for about 3 seconds.
Step 10
Play back the second sample and write its name and what you hear for Pitch Volume and Tone in the second row of your chart.
Step 11
Put the recorder at the marked spot and record the third sound for about 3 seconds.
Step 12
Play back the third sample and write its name and what you hear for Pitch Volume and Tone in the third row of your chart.
Step 13
Listen to all three samples one after the other and write two clear differences you notice between them on your paper.
Step 14
Share your finished chart and the three labeled sound samples on DIY.org.
Help!?
What can we use if we don't have a smartphone voice recorder or a sticky note to mark the 30 cm spot?
Use a tablet, laptop with a microphone, or a cheap handheld digital recorder for recording, and substitute a folded piece of paper, a coin, or a small toy to mark the 30 cm spot.
My recordings sound too quiet or noisy—what steps from the instructions should I check or change?
Redo the 1-second test recording from step 5, move to a quieter spot as in step 2, make sure the recorder is sitting exactly at the marked 30 cm position from step 4, and then adjust the sound source or recorder distance before re-recording the 3-second samples.
How can I adapt this activity for different ages?
For younger children simplify the paper chart into picture labels and have an adult hold the recorder for quick 1–2 second samples, while older kids can lengthen recordings to 5–10 seconds, use a pitch or decibel app, and write more detailed Pitch/Volume/Tone notes in the chart.
How can we extend or personalize the activity after finishing the chart and samples for DIY.org?
Create a labeled sound collage or mashup from the three samples, test and record the same sound at different distances to compare results, add photos and a short description to your DIY.org post, or use a free audio editor to visualize pitch and tone before sharing.
Watch videos on how to record short sound samples from instruments and voices
Guitar Lesson For Kids - Part 1 - Absolute Beginner Series #guitar #kids
4 Videos

Guitar Lesson For Kids - Part 1 - Absolute Beginner Series #guitar #kids
Starter Guitar Lessons Song For CHILDREN AND PARENTS
15 Kids Songs For Beginner Guitarists

Teach Your Children | Easy Acoustic Guitar Lesson (Crosby, Stills, Nash & Young)
Facts about audio recording and sound exploration for kids
🎤 Modern smartphone microphones can record real instruments and voices clearly enough for comparing pitch, volume, and tone.
🎵 People typically hear pitches from about 20 Hz to 20,000 Hz, which is why very low or very high sounds can seem faint or sharp.
🔊 Volume is measured in decibels (dB) and uses a logarithmic scale, so a small dB change can sound much louder.
🎻 Timbre (also called tone color) is the reason you can tell a violin from a flute even when they play the exact same note.
📼 The phonograph, invented by Thomas Edison in 1877, was the first device to record and play back sound.
How do I help my child record short sound samples from a real instrument or their voice?
What materials do I need to record instrument or voice samples with my child?
What ages is this sound-sampling activity suitable for?
What are the benefits, safety tips, and variations for recording sound samples with kids?
