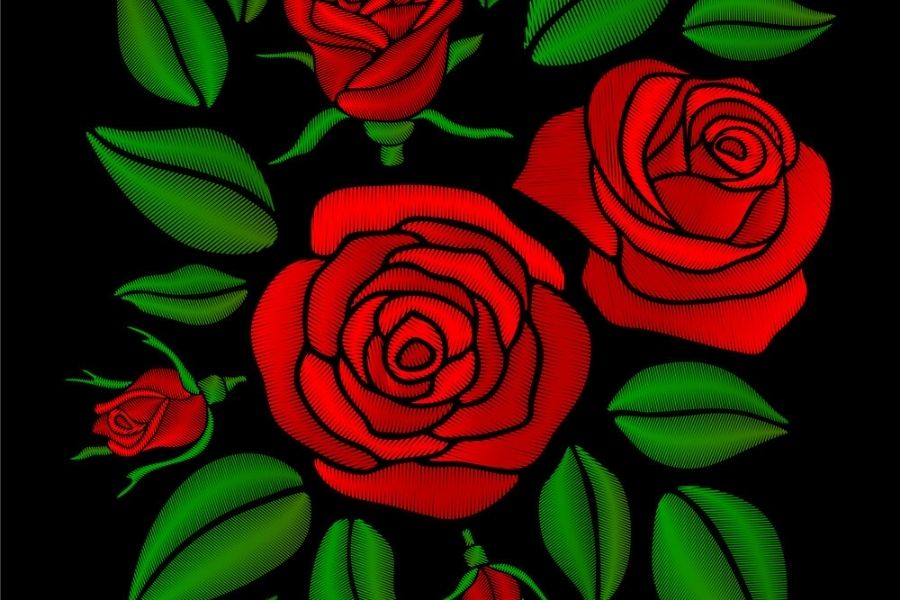
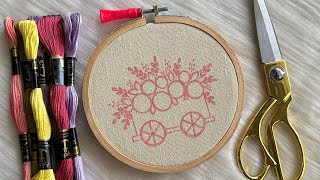
Rose Embroidery
Embroider a colorful rose on fabric using simple stitches, a needle and thread; practice patience, fine motor skills, and basic sewing techniques.


Step-by-step guide to embroider a rose
Step 1
Gather all the Materials Needed and sit at a clean well-lit table.
Step 2
Place your fabric in the embroidery hoop and tighten the screw so the fabric is smooth and flat.
Step 3
Use the pencil or washable marker to draw a simple rose shape: a small spiral for the center and a few teardrop petals and two leaves.
Step 4
Prepare the petal thread by cutting a single 18-inch length of petal-colored floss separating it to three strands threading your needle and tying a small knot at the end.
Step 5
Sew the petals using lazy daisy stitches around the spiral by bringing the needle up at the petal base making a loop laying the loop into the petal shape and tacking the loop with a tiny stitch.
Step 6
Prepare the center thread by cutting a 12-inch length of a contrasting color threading your needle and tying a small knot at the end.
Step 7
Make several French knots in the spiral center by bringing the needle up pulling the thread close to the fabric wrapping the thread around the needle twice and pushing the needle back down close to the starting point while holding the wraps tight.
Step 8
Prepare the green thread by cutting a 12-inch length of green floss threading your needle and tying a small knot at the end.
Step 9
Sew the stem with short backstitches by bringing the needle up a little ahead and down behind then bringing it back up ahead again to make a neat continuous line.
Step 10
Sew each leaf with satin stitch fills by outlining the leaf with small stitches then filling the inside with close parallel stitches from the base to the tip.
Step 11
Tie off each thread on the back of the fabric with a small knot and trim the excess thread close to the knot with the scissors.
Step 12
Remove the fabric from the hoop gently and erase any visible pencil or marker lines with a damp cloth if needed.
Step 13
Share a clear photo of your finished embroidered rose on DIY.org so everyone can see your beautiful sewing work.
Help!?
What can we use if we don't have an embroidery hoop or embroidery floss?
If you don't have an embroidery hoop, stretch the fabric over an old picture frame or a cardboard ring and tape it tight, and if you lack embroidery floss use two strands of regular cotton sewing thread doubled for the petal and center threads as you prepare them in the instructions.
My lazy daisy petals keep slipping or pulling through—how do I fix that?
If lazy daisy loops slip, follow the petal step exactly by laying the loop into the petal shape and tacking the loop with a tiny stitch while gently snugging the loop (not pulling it tight) before tying off.
How can I adapt this rose embroidery for different ages and skill levels?
For younger children pre-draw the rose and use a blunt plastic needle and thicker yarn for large lazy daisy petals, while older kids can separate floss to three strands and practice the French knots, backstitches, and satin stitch fills for finer detail.
What are simple ways to personalize or extend the finished embroidered rose?
To personalize the project, use variegated petal-colored floss or sew a few tiny seed beads into the French knot center after making the center knots, then trim and frame the fabric or share a clear photo on DIY.org.
Watch videos on how to embroider a rose
How to Embroider a Rose: Beginner Friendly Step-by-Step Tutorial
4 Videos
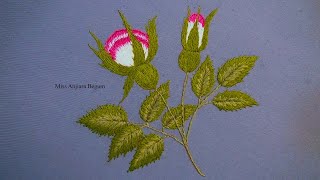
How to Embroider a Rose: Beginner Friendly Step-by-Step Tutorial
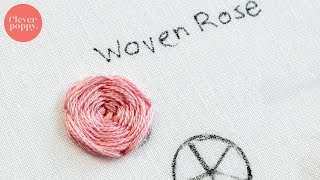
How to stitch a woven rose | Beginner Embroidery Techniques
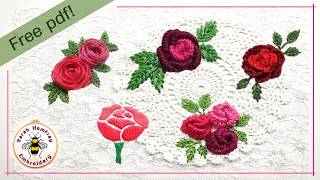
5 ways to embroider roses tutorial with free pdf rose designs!
VERY EASY!! A CART FULL OF LAVENDERS Easy Woven Rose Embroidery Tutorial ❤️ Free Printable Pattern
Facts about embroidery and hand-sewing for kids
🌹 Roses come in over 300 species and thousands of cultivated varieties — lots of color inspiration for your embroidered blooms!
🧵 Embroidery dates back thousands of years; archaeologists have found stitched textiles over 2,000 years old.
🪡 Finer needles make smaller, neater stitches — pick a thin needle for delicate rose petals and a thicker one for bold stems.
🎨 Stranded cotton thread (like DMC) can be split into thinner strands so you can make petals look soft or bold depending on how many strands you use.
⏳ Practicing hand embroidery builds fine motor skills and patience — even 10–20 minutes a day helps your control improve fast.
How do I embroider a colorful rose on fabric step by step?
What materials and tools do I need for rose embroidery?
What ages is rose embroidery suitable for?
What are the benefits and safety tips for children doing rose embroidery?
