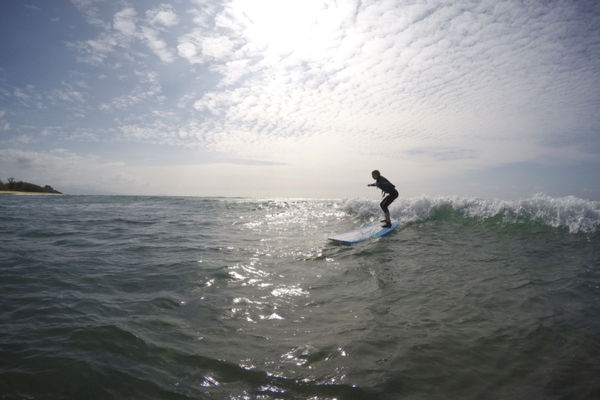
Ride a wave
Create a small toy surfboard and test it in a bathtub or tray, making waves to explore how water movement pushes and carries objects.

Step-by-step guide to ride a wave with a toy surfboard
Learn to Surf for Kids | Surfing Adventure at Wave Park
Step 1
Ask an adult to help set up the activity area near the bathtub or a large tray and to watch while you work.
Step 2
Fill the bathtub or tray with about 3 to 5 centimeters of water while the adult watches to make a safe testing pool.
Step 3
Put your craft foam or plastic sheet on a flat table or counter so you have a steady place to work.
Step 4
Use a pencil and ruler to draw a surfboard shape about 10 to 15 centimeters long on the sheet.
Step 5
Carefully cut out the surfboard shape with scissors following the lines you drew.
Step 6
Wrap the edges of your surfboard with waterproof tape to help it stay dry and last longer in the water.
Step 7
Decorate the top of your surfboard with colouring materials and stickers to make it look awesome.
Step 8
Attach a small toy or pebble to the center of the surfboard with tape to act as weight and help it balance.
Step 9
Gently place your surfboard on the water surface and watch if it floats and sits level.
Step 10
Make a small wave by sweeping your hand through the water toward the surfboard and watch how the board moves with the wave.
Step 11
Try making bigger or quicker waves and move the weight forward or back on the board to see how that changes its ride.
Step 12
Share a photo or a short note about your finished surfboard and what you learned on DIY.org
Help!?
What can I use instead of craft foam or a plastic sheet if I can't find them?
If craft foam or a plastic sheet isn't available, use stiff cardboard cut into the surfboard shape (step 4) and seal both sides with clear packing tape or cling film before wrapping the edges with waterproof tape (step 5).
My surfboard keeps tipping or sinking — what should I try to fix it?
If the surfboard sinks or tips when placed on the water (step 8), try moving the small toy or pebble forward or back (step 11), swap in a lighter weight such as a coin or washer, and re-seal any gaps in the waterproof tape (step 5).
How can I adapt the activity for different ages?
For younger children (3–5), have an adult pre-cut the surfboard (step 4), let them decorate (step 6) and place the weight (step 7) using a shallow tray (step 2), while older kids can use the pencil and ruler to design 15 cm boards (step 3) and systematically move the weight (step 11) to test effects on wave performance.
How can we extend or personalize the surfboard project to make it more challenging or unique?
To extend the activity, add removable fins cut from craft foam and taped on during step 5, try attaching a paper sail to explore wind plus waves (steps 9–11), and keep a log of which designs float and ride best to share a photo and findings on DIY.org (step 12).
Watch videos on how to ride a wave with a toy surfboard
How to Ride a Wave | Simple Tips for Beginners Surfers
4 Videos
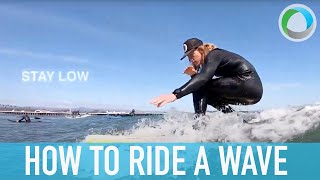
How to Ride a Wave | Simple Tips for Beginners Surfers
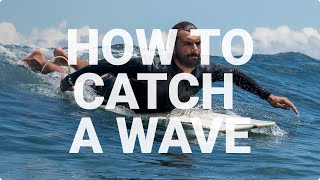
How to catch waves - (A Comprehensive Guide for Beginners)
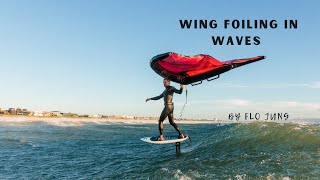
THE ULTIMATE GUIDE TO LEARN WING FOILING IN WAVES

7 tips to transition from beginner to intermediate | How to Surf
Facts about water movement and buoyancy
🏄♂️ Early surfboards were heavy wooden logs; modern boards use foam and fiberglass so they're much lighter and easier to ride.
🌊 In waves, water particles move in tiny circles — that circular motion is what lifts and pushes floating toys along.
⚖️ Archimedes' principle says an object floats when it displaces a volume of water equal to its weight — that’s why shape and size matter for toy boards.
🛠️ Adding a small fin or making the board wider helps a toy surfboard go straighter and resist spinning in choppy water.
🛁 Different ways of making waves (sliding your hand, tapping, or moving the tray) change a toy's speed and direction — perfect for experiments!
How do I do the 'Ride a Wave' activity using a small toy surfboard in a bathtub or tray?
What materials do I need to make a toy surfboard and test waves in the tub or tray?
What ages is the 'Ride a Wave' bathtub surfboard activity suitable for?
What safety tips should parents follow for the bathtub wave experiment?
