Revive stale bread
Revive stale bread by using steam, a quick oven or microwave method with adult supervision, observe texture differences, and learn simple food science.


Step-by-step guide to revive stale bread
HOW TO REVIVE STALE BREAD | Quick stale bread hack you definitely need to know!
Step 1
Wash your hands with soap and water so your bread stays clean.
Step 2
Gently press the stale bread with one finger to feel how hard it is.
Step 3
Ask an adult to help you choose either the microwave method or the oven method.
Step 4
If you chose the microwave method dampen one paper towel by dipping a corner into the bowl of water and squeezing once.
Step 5
If you chose the microwave method wrap the bread fully in the damp paper towel.
Step 6
If you chose the microwave method place the wrapped bread on the microwave-safe plate.
Step 7
If you chose the microwave method ask an adult to microwave the wrapped bread for 10 seconds then stop the microwave.
Step 8
If you chose the microwave method carefully unwrap the bread and press it gently to test softness.
Step 9
If you chose the microwave method and the bread is still hard ask the adult to microwave it again in 5-second bursts until it feels soft.
Step 10
If you chose the oven method ask an adult to preheat the oven to 350°F or 175°C.
Step 11
If you chose the oven method lightly sprinkle a few drops of water onto both sides of the bread.
Step 12
If you chose the oven method place the bread on the oven tray.
Step 13
If you chose the oven method ask the adult to bake the bread for 5 minutes and then remove it using oven mitts.
Step 14
After your bread is warm gently press it to feel the new texture and write one sentence about how it changed.
Step 15
Share your finished creation on DIY.org.
Help!?
What can we use instead of a paper towel, microwave-safe plate, or oven mitts if we don't have them?
If you don't have a paper towel, use a clean, lint-free kitchen cloth dampened in the bowl of water and wrap the bread, swap a verified microwave-safe ceramic plate for the microwave-safe plate listed in the instructions, and use a thick heatproof towel or potholder instead of oven mitts to remove the oven tray.
What should we do if the bread is still hard after the first microwave try or if it becomes too wet in the oven method?
If the bread stays hard after the 10-second microwave step, ask an adult to heat it in extra 5-second bursts and press gently after each burst as the instructions say, and if it becomes too wet with the oven method use only a few drops of water and bake the 5 minutes as directed before testing texture.
How can this activity be adapted for different age groups?
For toddlers have an adult do the microwave or oven heating and let them do the pressing and one-sentence writing, while older kids can dampen and wrap the bread, time the 10-second and 5-second microwave bursts, and record more detailed observations before sharing on DIY.org.
How can we extend or personalize the revive stale bread activity after following the steps?
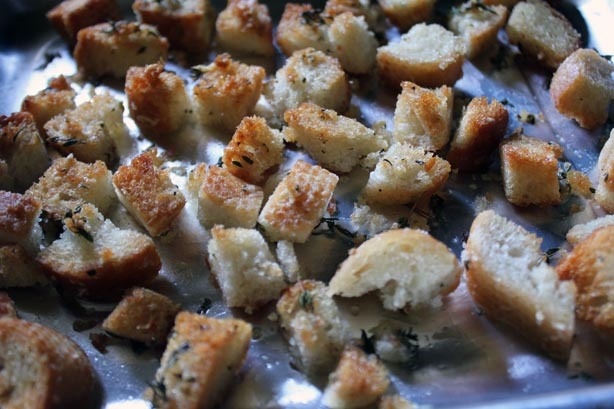
After warming and pressing the bread and writing how it changed, personalize the activity by trying different revival times or dampening amounts to compare textures, adding favorite toppings or turning pieces into croutons, and photographing the results to share on DIY.org.
Watch videos on how to revive stale bread
How To Revive Stale Bread
3 Videos
How To Revive Stale Bread

How to Revive Stale Bread | Mad Genius Tips | Food & Wine
Revive Stale (or Gluten-Free) Bread - Better than the microwave!
Facts about food science for kids
💧 Steam rehydrates crumb quickly — a few seconds of steam can make stale bread feel soft again by adding moisture back in.
🔥 A short blast in a hot oven (around 175°C / 350°F for 5–10 minutes) crisps the crust and revives texture without needing new ingredients.
⚡️ Microwaving makes bread soft very fast, but it can speed up starch changes that make bread go stale again more quickly.
🧪 Bread stales mainly because starch molecules recrystallize (retrogradation), not just because it ‘dries out.’
❄️ Freezing bread almost stops staling — frozen bread that’s properly wrapped can taste fresh when thawed or reheated.
How do I revive stale bread using steam, the oven, or a microwave with my child?
What materials do I need to revive stale bread at home?
What ages is this activity suitable for?
What safety tips should I follow when reviving stale bread with children?


