Repair an engine or motor
Safely disassemble and inspect a small battery-powered motor, clean contacts, replace simple parts like brushes or wires, then reassemble and test it with adult supervision.


Step-by-step guide to repair a small battery-powered motor
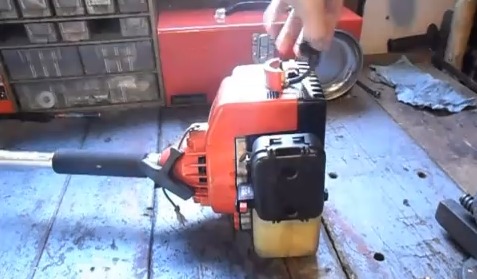
Visit a Mechanic | Kids Cars
Step 1
Ask an adult to supervise you while you work on the motor.
Step 2
Put on your safety goggles to protect your eyes.
Step 3
Remove the batteries from the toy or motor and set them aside.
Step 4
Set up a clean workspace by laying a soft cloth on the table and placing a small bowl for screws.
Step 5
Gather your screwdrivers pliers replacement parts and cleaning supplies on the cloth so they are easy to reach.
Step 6
Use the correct screwdriver to remove the screws that hold the housing together.
Step 7
Carefully lift the housing open to reveal the motor inside.
Step 8
Unscrew or unclip the motor mounting and gently lift the motor out of the housing.
Step 9
Inspect the commutator brushes wires and contacts for dirt worn brushes frayed wires or corrosion.
Step 10
Clean the commutator and electrical contacts with a cotton swab lightly moistened in rubbing alcohol.
Step 11
Lightly sand any rough or burned spots on the commutator with fine sandpaper until it looks smooth.
Step 12
With adult help replace worn brushes or reconnect replacement wires so the connections are solid.
Step 13
Put the motor back into its spot inside the housing and tuck wires neatly away.
Step 14
Screw the housing closed by replacing all screws then insert fresh batteries.
Step 15
Ask your adult to help you test the motor briefly and then share your finished repair on DIY.org.
Help!?
What can we use if we can't find safety goggles, cotton swabs, or fine sandpaper?
Use adult-sized safety glasses instead of safety goggles, a lint-free cloth in place of a cotton swab to apply rubbing alcohol when cleaning the commutator, and 600–800 grit sandpaper if your labeled 'fine' sandpaper is unavailable.
The housing won't open or a screw is stripped—what should we try?
If the housing is stuck or a screw strips while using the correct screwdriver, have an adult hold the motor, try a different sized screwdriver, keep any loose screws in the small bowl, and gently pry the housing open with a plastic spudger or pliers to avoid damaging the motor.
How can I adapt the steps for younger or older kids?
Younger children can prepare the soft cloth, sort screws into the small bowl, and watch while an adult cleans the commutator with a cotton swab, whereas older kids can remove the housing, sand the commutator with fine sandpaper, and replace brushes under supervision.
How can we extend or personalize the repair project after finishing?
After inserting fresh batteries and testing the motor with an adult, photograph the before-and-after repair for DIY.org, label the replaced parts, or decorate the housing to personalize the finished toy.
Watch videos on how to repair a small battery-powered motor
Car Engines (1/3) - an intro for kids - Sanger Academy
4 Videos
Car Engines (1/3) - an intro for kids - Sanger Academy

Every Part of an Engine Explained (in 15 minutes)

Understanding How Car Engines Work | Fun and Educational Animation
Engine Overhaul 101: A Complete Guide to Rebuilding Your Engine from Scratch!
Facts about small motor repair and basic electronics safety for kids
⚡ Many small battery-powered DC motors can spin at over 10,000 revolutions per minute (RPM) — that's faster than a blender!
🧰 Carbon brushes slowly wear away and leave dark dust inside the motor housing, which is a common sign they need replacement.
🔧 Replacing a worn brush or a frayed wire often brings a dead motor back to life without needing a whole new unit.
🧽 Even a thin film of dirt or light corrosion on contacts increases resistance and heat—careful cleaning can boost performance.
🔋 A single AA (1.5 V) battery can run tiny hobby motors, but higher voltages make them spin faster and hotter—always match the motor's rated voltage.
How can I safely teach my child to disassemble, inspect, and repair a small battery-powered motor?
What tools and materials do I need to repair a small battery-powered motor with my child?
What ages are appropriate for a child to help repair a battery-powered motor?
What safety precautions and benefits should I know before doing motor repair with my child?
