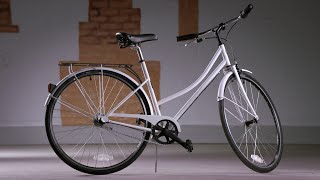
Repair a bike
Learn to repair a bicycle by inspecting tires, fixing a flat, adjusting brakes, and lubricating the chain with adult supervision for safety.


Step-by-step guide to repair a bike
How to Fix Your Bike on the Trail | Get Out: A Guide to Adventure
Step 1
Put the bike on a flat surface and flip it upside down or place it on a stand so the wheels can spin freely.
Step 2
Use the pump gauge to check each tire's pressure and note if any tire is soft.
Step 3
Look closely along the tire tread and sidewall for cuts thorns or stuck objects.
Step 4
With adult supervision remove the wheel using the quick-release or loosen the axle nuts with a wrench.
Step 5
Slide a tire lever under the tire bead and pry one side of the tire off the rim to expose the inner tube.
Step 6
Pull the inner tube out of the tire and inflate it slightly to find any air leaks.
Step 7
Hold the tube in the bowl of soapy water and watch for bubbles to locate the puncture.
Step 8
Replace the damaged tube with the spare inner tube and tuck it evenly inside the tire.
Step 9
Push the tire bead back onto the rim all the way around so the tire sits snug and even.
Step 10
Inflate the tire to the pressure written on the tire sidewall using the pump gauge.
Step 11
Squeeze the brake lever while spinning the wheel to check braking and use the barrel adjuster to tighten cable tension until the pads contact the rim correctly.
Step 12
Wipe the chain with a clean rag to remove dirt and grime.
Step 13
Apply one drop of bike lubricant to each chain link while slowly pedaling the bike backward.
Step 14
Wipe off any extra lubricant from the chain with a clean rag.
Step 15
Take a photo or write about your repaired bike and share your finished creation on DIY.org.
Help!?
What can we use if we don't have a pump gauge, tire lever, or spare inner tube?
If you don't have a pump gauge, use a floor pump with a built-in gauge or check firmness against the tire sidewall number by hand; substitute a sturdy plastic spoon or buy a replacement tire lever for prying the bead, and use a patch kit to repair the removed inner tube instead of installing a spare inner tube.
My tire won't come off or the wheel still rubs after reassembly—what should I check?
If the tire won't come off, fully deflate the tube and use additional tire levers while loosening the quick-release or axle nuts with a wrench under adult supervision, and if the wheel rubs after reassembly squeeze the brake lever while spinning the wheel and use the barrel adjuster to tighten the cable until the pads contact the rim correctly.
How can I adapt this bike repair activity for younger or older kids?
For younger children focus on safe tasks like flipping the bike, using the pump to reach the pressure on the tire sidewall, wiping the chain with a clean rag, and watching the inner tube in soapy water for bubbles with close supervision, while older kids can remove the wheel with a wrench, replace the inner tube, push the tire bead back on, and use the barrel adjuster to set brake tension.
How can we extend or personalize the finished repair beyond the basic steps?
After inflating the tire to the pressure on the sidewall, wiping off extra lubricant, and checking brakes, personalize the project by taking a photo and writing about your repaired bike to share on DIY.org, adding decorative rim tape or spoke beads, or keeping a maintenance log of tire pressures and lubrication dates.
Watch videos on how to repair a bike
How Steel Bicycles Are Made | How It's Made
4 Videos
How Steel Bicycles Are Made | How It's Made
Learning Construction Vehicles For Kids With Blippi | Trucks For Kids
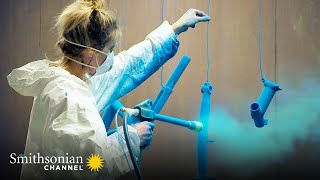
Assembling Luxury Bicycles Takes a High Level of Skill 🚲 Inside the Factory | Smithsonian Channel
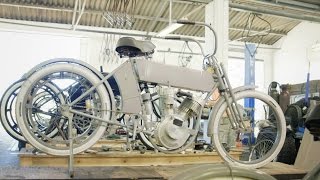
Recreating the World’s Earliest Motorcycles
Facts about bicycle maintenance for kids
🚲 Bicycles trace back to the early 1800s — more than 200 years of two-wheeled history!
🕒 A typical tire patch job takes about 10–20 minutes, so you can be back riding before snack time.
⚡ About 70% of a bike's stopping power comes from the front brake, so checking it is especially important.
🧴 Keeping your chain clean and lightly lubricated makes pedaling smoother and helps parts last longer.
🦺 Wearing a helmet and having adult supervision while learning bike repair keeps the project safe and fun.
How do I teach my child to repair a bicycle (inspect tires, fix a flat, adjust brakes, lubricate the chain)?
What tools and materials do I need to repair a bike with my child?
What ages is learning bicycle repair suitable for?
What are the benefits and safety tips when teaching a child bike repair?
