Recreate Flower Pop Up Card on Paper
Make a flower pop-up greeting card from paper, scissors, and glue, learning folding, cutting, and decorating to create a three dimensional surprise.


Step-by-step guide to make a flower pop-up greeting card
Step 1
Gather all the materials and place them on a clear flat workspace.
Step 2
Fold one sheet of plain paper in half portrait style to make the card base.
Step 3
Use a pencil and ruler to draw two short parallel lines about 2 inches apart and 1 inch long at the center of the folded edge.
Step 4
Carefully cut along the two pencil lines with scissors to form a rectangular pop-up tab.
Step 5
Open the card and push the cut rectangle inward so it folds into a step shape when you close the card.
Step 6
Draw a flower shape on colored paper roughly the same width as the pop-up tab.
Step 7
Cut out the flower shape with scissors.
Step 8
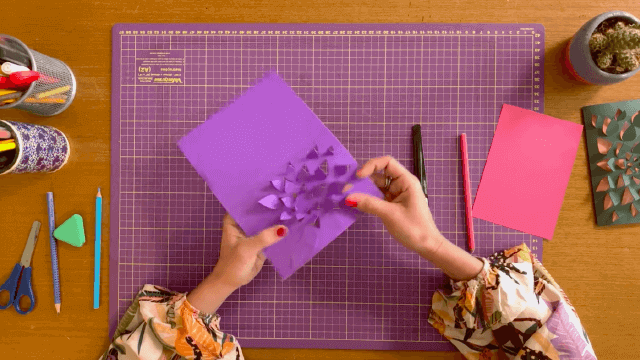
Fold the flower in half and crease it to make a 3D petal shape.
Step 9
Apply glue to one half of the folded flower and stick that glued half onto the front of the pop-up tab inside the card.
Step 10
Decorate the rest of the card with colouring materials and stickers.
Step 11
Write a friendly message inside the card for the person you will give it to.
Step 12
Share a photo of your finished pop-up flower card on DIY.org
Final steps
You're almost there! Complete all the steps, bring your creation to life, post it, and conquer the challenge!


Help!?
What can I use if I don't have colored paper or craft glue?
Use plain paper colored with markers or a magazine page cut to the same width as the pop-up tab, and attach the folded flower half with double-sided tape or a glue stick.
My pop-up tab won't fold into a step shape or the flower lays flat—what should I check?
Make sure your two pencil lines are about 2 inches apart and 1 inch long at the center of the folded edge, recut if needed, push the cut rectangle inward to form the step, and glue only one half of the folded flower to the inside of the tab so petals stay 3D.
How can I adapt this activity for different ages?
For preschoolers, pre-cut the rectangular pop-up tab and pre-draw the flower for them to color and stick, for school-age kids let them draw, cut, and crease the flower themselves with scissors, and for older kids challenge them to make multiple pop-up tabs or more detailed layered flowers matching the tab width.
How can I enhance or personalize my pop-up flower card?
Create a bouquet by cutting two or three rectangular pop-up tabs along the folded edge and attaching different-sized folded colored-paper flowers to each tab, add stems and leaves with markers, and finish with stickers or a handwritten message inside before sharing a photo on DIY.org.
Watch videos on how to make a flower pop-up greeting card
Pop Up Flower Card Tutorial | Handmade Greeting Card | Handmade Birthday Card
4 Videos
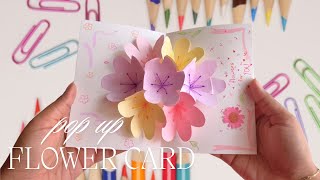
Pop Up Flower Card Tutorial | Handmade Greeting Card | Handmade Birthday Card

DIY Flower Pop Up Card (Very Easy) | How to make Pop-Up Cards | Handmade Cards
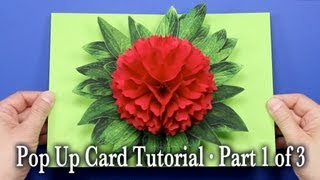
Flower Pop Up Card Tutorial Part 1 of 3
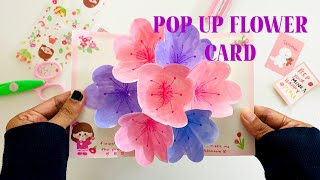
DIY POP UP FLOWER CARD 🌸💌 (diy gift idea | handmade gifts)
Facts about paper crafts and card making
🌸 Pop-up cards use the same paper-engineering tricks as pop-up books, turning flat pages into moving 3D scenes.
✂️ Kirigami (from Japanese kiru "cut" + kami "paper") adds cuts to folded paper to create complex pop-out shapes.
📐 A classic V-fold or box pop-up can be made with just a few straight folds and two carefully placed cuts.
💌 People around the world send billions of greeting cards each year — handmade pop-up cards make those greetings extra special!
♻️ Many craft papers are recyclable or made from recycled fibers, so you can make eco-friendly pop-up cards.
How do I make a flower pop-up greeting card?
What materials do I need to recreate a flower pop-up card?
What ages is this activity suitable for?
What are the benefits of making a flower pop-up greeting card?


