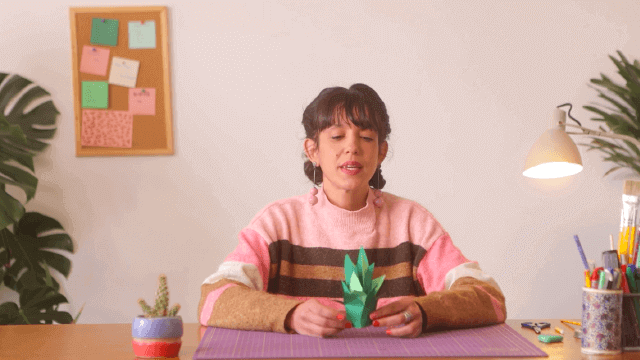
Recreate Bromelia Flower on Paper
Draw and craft a colorful Bromelia flower on paper using pencils, markers, scissors, and glue; learn observation, layering, and simple collage techniques.


Step-by-step guide to Recreate Bromelia Flower on Paper
Step 1
Gather all Materials Needed.
Step 2
Pick a photo or real bromelia plant to use as a reference.
Step 3
Look closely at your reference and notice the layered petal shapes and main colors.
Step 4
Lightly sketch a small circle for the center of the flower on your paper.
Step 5
Lightly draw the first outer row of large leaf-like petals around the center.
Step 6
Lightly draw a second row of smaller petals inside the outer row to show layering.
Step 7
Add pencil lines for veins and small details in the center of the flower.
Step 8
Choose two or three colors from your reference for the outer and inner petals.
Step 9
Color the drawn petals with your coloring materials using the chosen colors.
Step 10
Cut matching petal shapes from scrap colored paper for extra layered pieces.
Step 11
Glue the cut paper petals onto the drawn petals starting with the largest pieces.
Step 12
Outline the petals and add bold veins and dots with a marker to make the flower pop.
Step 13
Share your finished Bromelia flower on DIY.org.
Help!?
What can I use if I don't have scrap colored paper or markers?
If you don't have scrap colored paper or a marker, tear colored magazine pages or tissue paper to cut petal shapes for Step 9–10 and use colored pencils or a dark crayon to Outline the petals and add veins in Step 11.
My glued petals are wrinkling or not lining up—how do I fix this?
If the cut paper petals wrinkle or don't line up when you Glue them in Step 10, apply a thin even layer of glue, align pieces starting with the largest as instructed in Step 10, press them flat with a clean scrap paper, and dry under a heavy book until set.
How should I change the steps for different ages?
For toddlers, skip detailed pencil veins and provide pre-cut large petals to Glue in Step 10; for early elementary, have them Lightly sketch the center and outer petals in Steps 3–4 and color in Step 8; for older kids, encourage detailed pencil veins in Step 6, color-mixing in Step 7, and bold marker outlining in Step 11.
How can we make this Bromelia flower more unique or advanced?
To personalize and extend the activity, fold or curl the cut paper petals before gluing in Step 10 for 3D texture, add metallic or white gel pen highlights to veins in Step 11, experiment with layered painted papers for richer color in Step 9, and mount and photograph the final piece for sharing on DIY.org in Step 12.
Watch videos on how to Recreate Bromelia Flower on Paper
6 Easy Paper Flowers | How To Make Easy Paper Flowers | Flower Making
4 Videos
6 Easy Paper Flowers | How To Make Easy Paper Flowers | Flower Making

How to make EASY Paper Flowers | Easy and beautiful paper flower DIY Paper Craft Ideas Tutorial
Easy Paper Flower Tutorial for Kids | DIY Mother's Day Craft Using Paper, Glue, and Gel Pens 🌸
30 Easy Paper Flower Crafts To Do When You're Bored
Facts about flower drawing and paper crafts
🍍 Pineapple is actually a bromeliad — it's a tasty member of the Bromeliaceae family!
🌸 Many bromeliads show bright colorful bracts (modified leaves) that look like petals to attract pollinators.
✂️ Collage as an art form became famous in the early 20th century when artists like Picasso started cutting and pasting paper.
✏️ Quick gesture drawings (1–5 minutes) help artists spot the main shapes and proportions before adding details.
🎨 Using contrasting colors (like red and green) in layers makes a paper flower look bold and 3D without paint.
How do I recreate a Bromelia flower on paper with my child?
What materials do I need to draw and craft a Bromelia flower?
What ages is this activity suitable for?
What are the benefits and safe variations of making a Bromelia flower on paper?
