Quill Amazing Artwork!
Make feather quill artworks by dipping cleaned feathers into washable ink or watercolor to draw and stamp patterns, exploring texture, line, and creativity.


Step-by-step guide to make feather quill artwork
Easy Home Crafts with Kids: Kids Quill! Beginner Paper Quilling
Step 1
Spread newspaper over your table to protect it before you start.
Step 2
Put your thick paper in the middle of the covered area and arrange your paints dishes water and paper towels nearby.
Step 3
Ask an adult to check that the feathers are clean and dry before you use them.
Step 4
Pour a small amount of washable ink or watercolor paint into a shallow dish or paint tray.
Step 5
Dip the tip of one feather gently into the paint so it picks up a little color.
Step 6
Press the feather tip onto a scrap piece of paper to test how the mark looks.
Step 7
Hold the feather like a pen and drag it across your paper to draw thin flowing lines.
Step 8
Press the feather flat onto the paper and lift straight up to stamp textured shapes.
Step 9
Try holding the feather at different angles and using different amounts of paint to make new textures.
Step 10
Use markers or a brush to add small details or extra colors to your feather patterns.
Step 11
Let your artwork dry flat until the paint is not tacky to the touch.
Step 12
Clean the feathers dishes and workspace with water and paper towels with an adult helping you.
Step 13
Share your finished feather quill artwork on DIY.org.
Final steps
You're almost there! Complete all the steps, bring your creation to life, post it, and conquer the challenge!


Help!?
What can we use instead of clean feathers or washable ink if we can't find them?
If clean dry feathers are hard to find, use synthetic craft feathers or cut feather shapes from sponge or cardboard and dip their tips into your shallow dish of watercolor paint to follow the same dipping, testing, and stamping steps.
My feather isn't leaving a clear mark or is smudging — what should I try?
If the feather leaves faint marks or smears, press the feather tip more firmly into the shallow dish to pick up more paint, blot excess on a paper towel, and always press once on a scrap piece of paper to test before drawing on your thick paper.
How can I adapt this activity for younger or older kids?
For younger children have an adult pre-dip feathers, use thicker washable paint and large thick paper for simple stamping, while older kids can experiment with different angles, paint amounts, and add fine details with markers or a brush as described in the instructions.
How can we extend or personalize the feather quill artwork after the basic steps?
After letting the paint dry flat, personalize the piece by adding marker details or a watercolor background, stamping with different feather types for varied textures, and framing or photographing the finished work to share on DIY.org.
Watch videos on how to make feather quill artwork
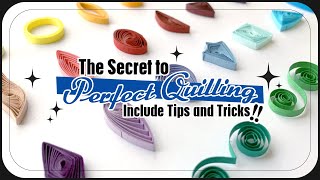
Easy Paper Quilling for Beginners: Shapes & Monogramming | Papercraft | Create and Craft
4 Videos

Easy Paper Quilling for Beginners: Shapes & Monogramming | Papercraft | Create and Craft
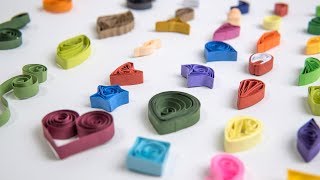
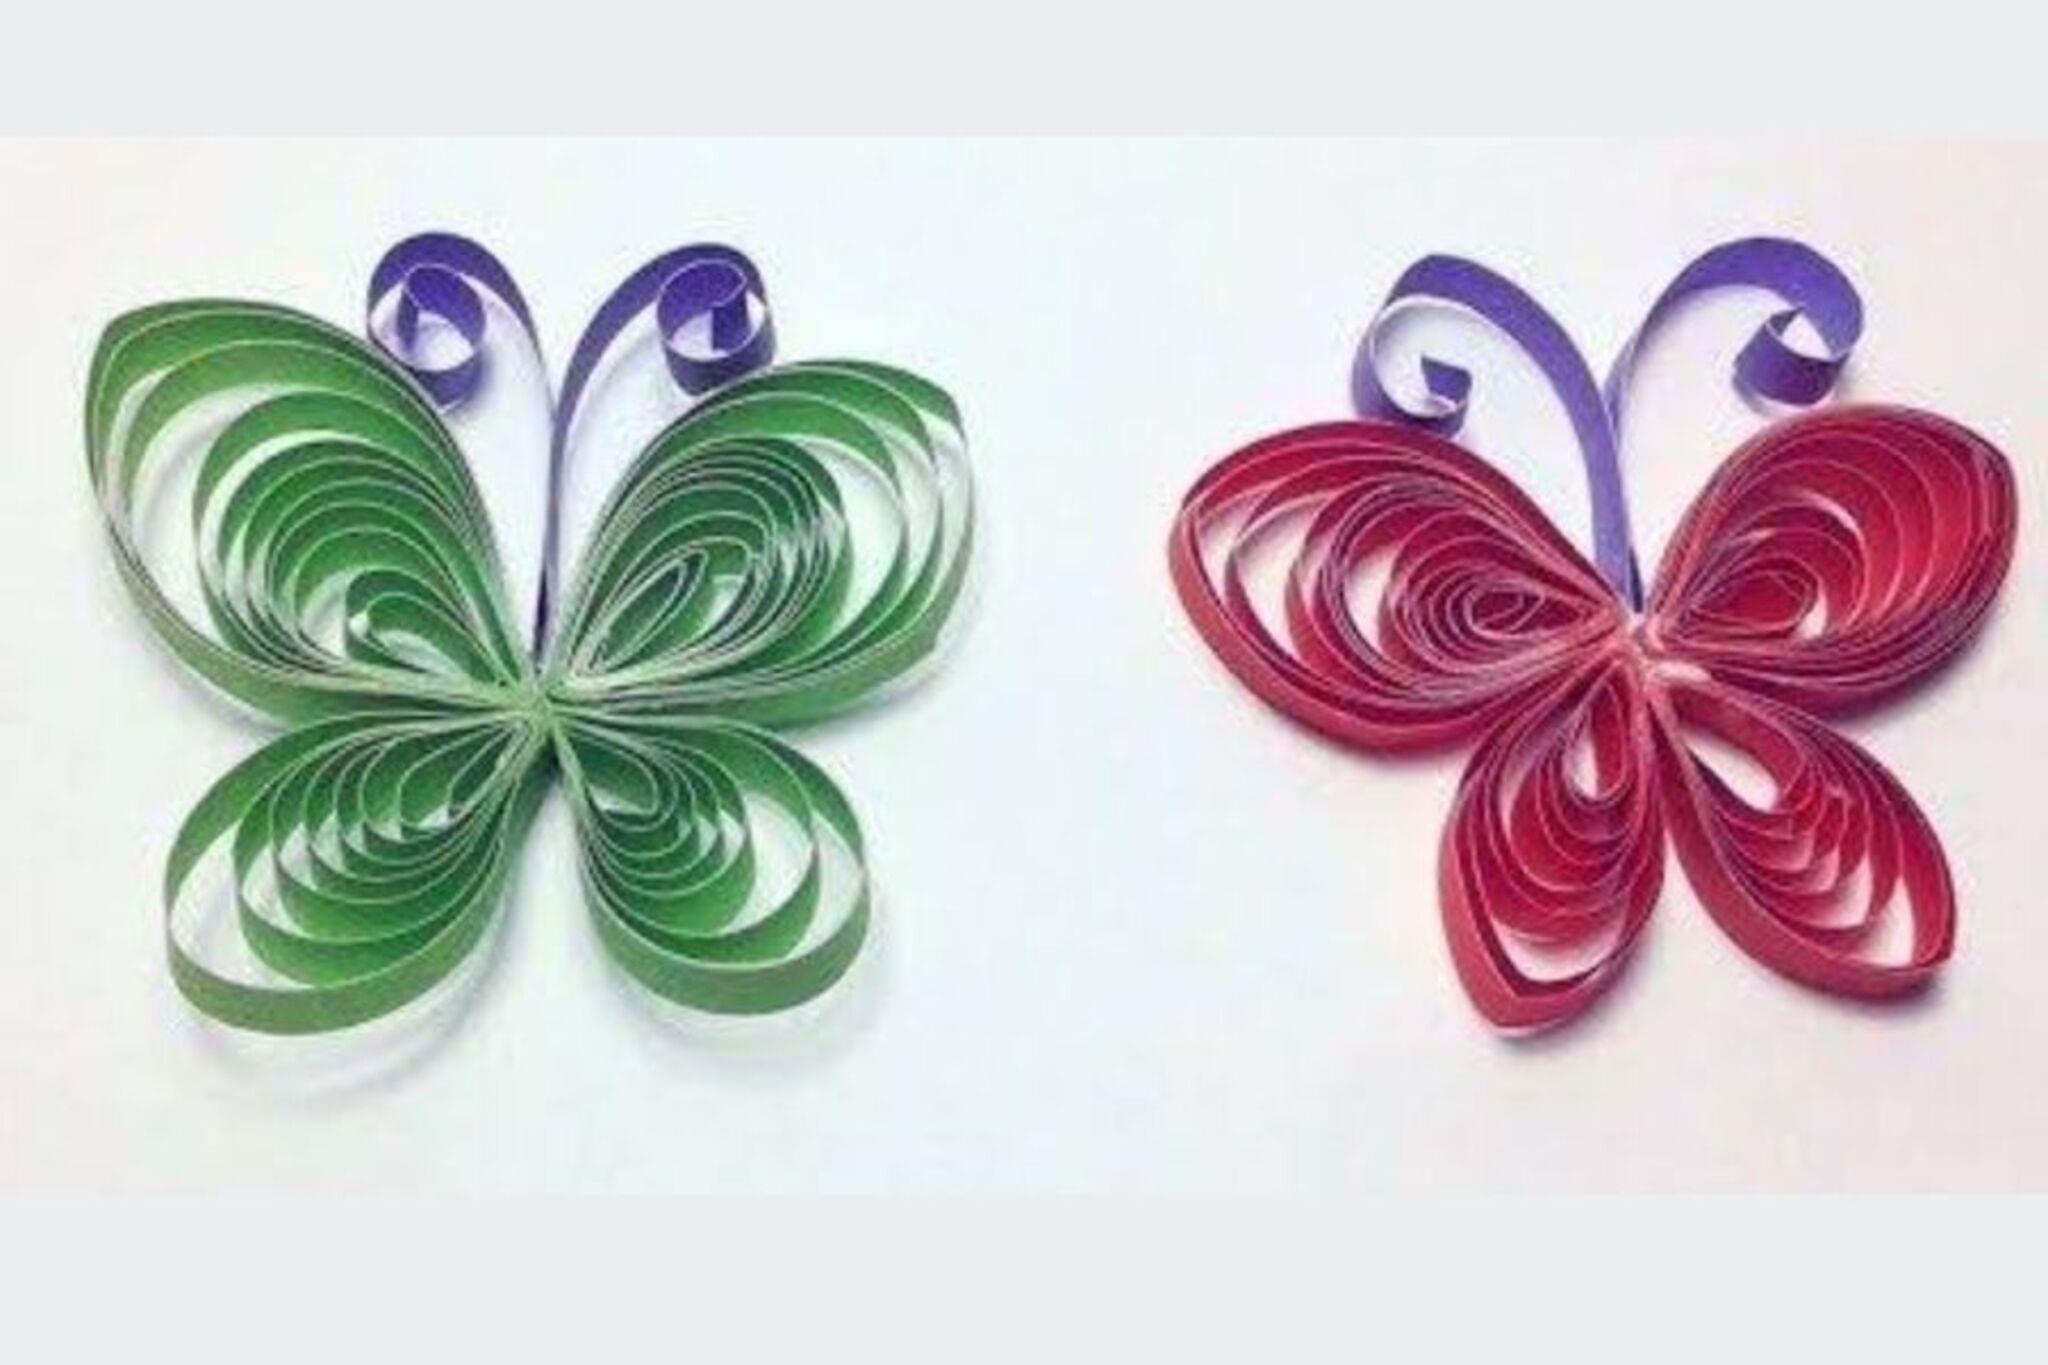
35 Paper Quilling Shapes: Art & Craft Tutorials by HandiWorks
How to quill the Basic Shapes of Paper Quilling for Beginners & The Tips and Tricks of Quilling

Paper Quilling for Beginners | Paper Crafts
Facts about painting and printmaking for kids
🪶 Many traditional quill pens were made from goose, swan, or turkey feathers because their large shafts make sturdy nibs!
✒️ Quill pens were used for more than a thousand years and wrote everything from love letters to important documents.
🎨 Washable ink and watercolors are perfect for feather stamping — they mix easily and clean up quickly from hands and paper.
🔬 A feather is mostly keratin (the same material as hair and nails), which gives it flexibility for fun textures when stamping.
📜 Famous historical documents, like drafts of the Declaration of Independence, were written with quill pens — you're trying a historic tool!
How do I make quill feather artwork using washable ink or watercolor?
What materials do I need for quill feather art?
What ages is quill feather artwork suitable for?
What are the benefits and safety tips for quill feather art with kids?


