Prep your merch on a display
Build and decorate a small cardboard display stand, arrange and label simple merch items, and learn about presentation and organization.


Step-by-step guide to build and decorate a cardboard merch display
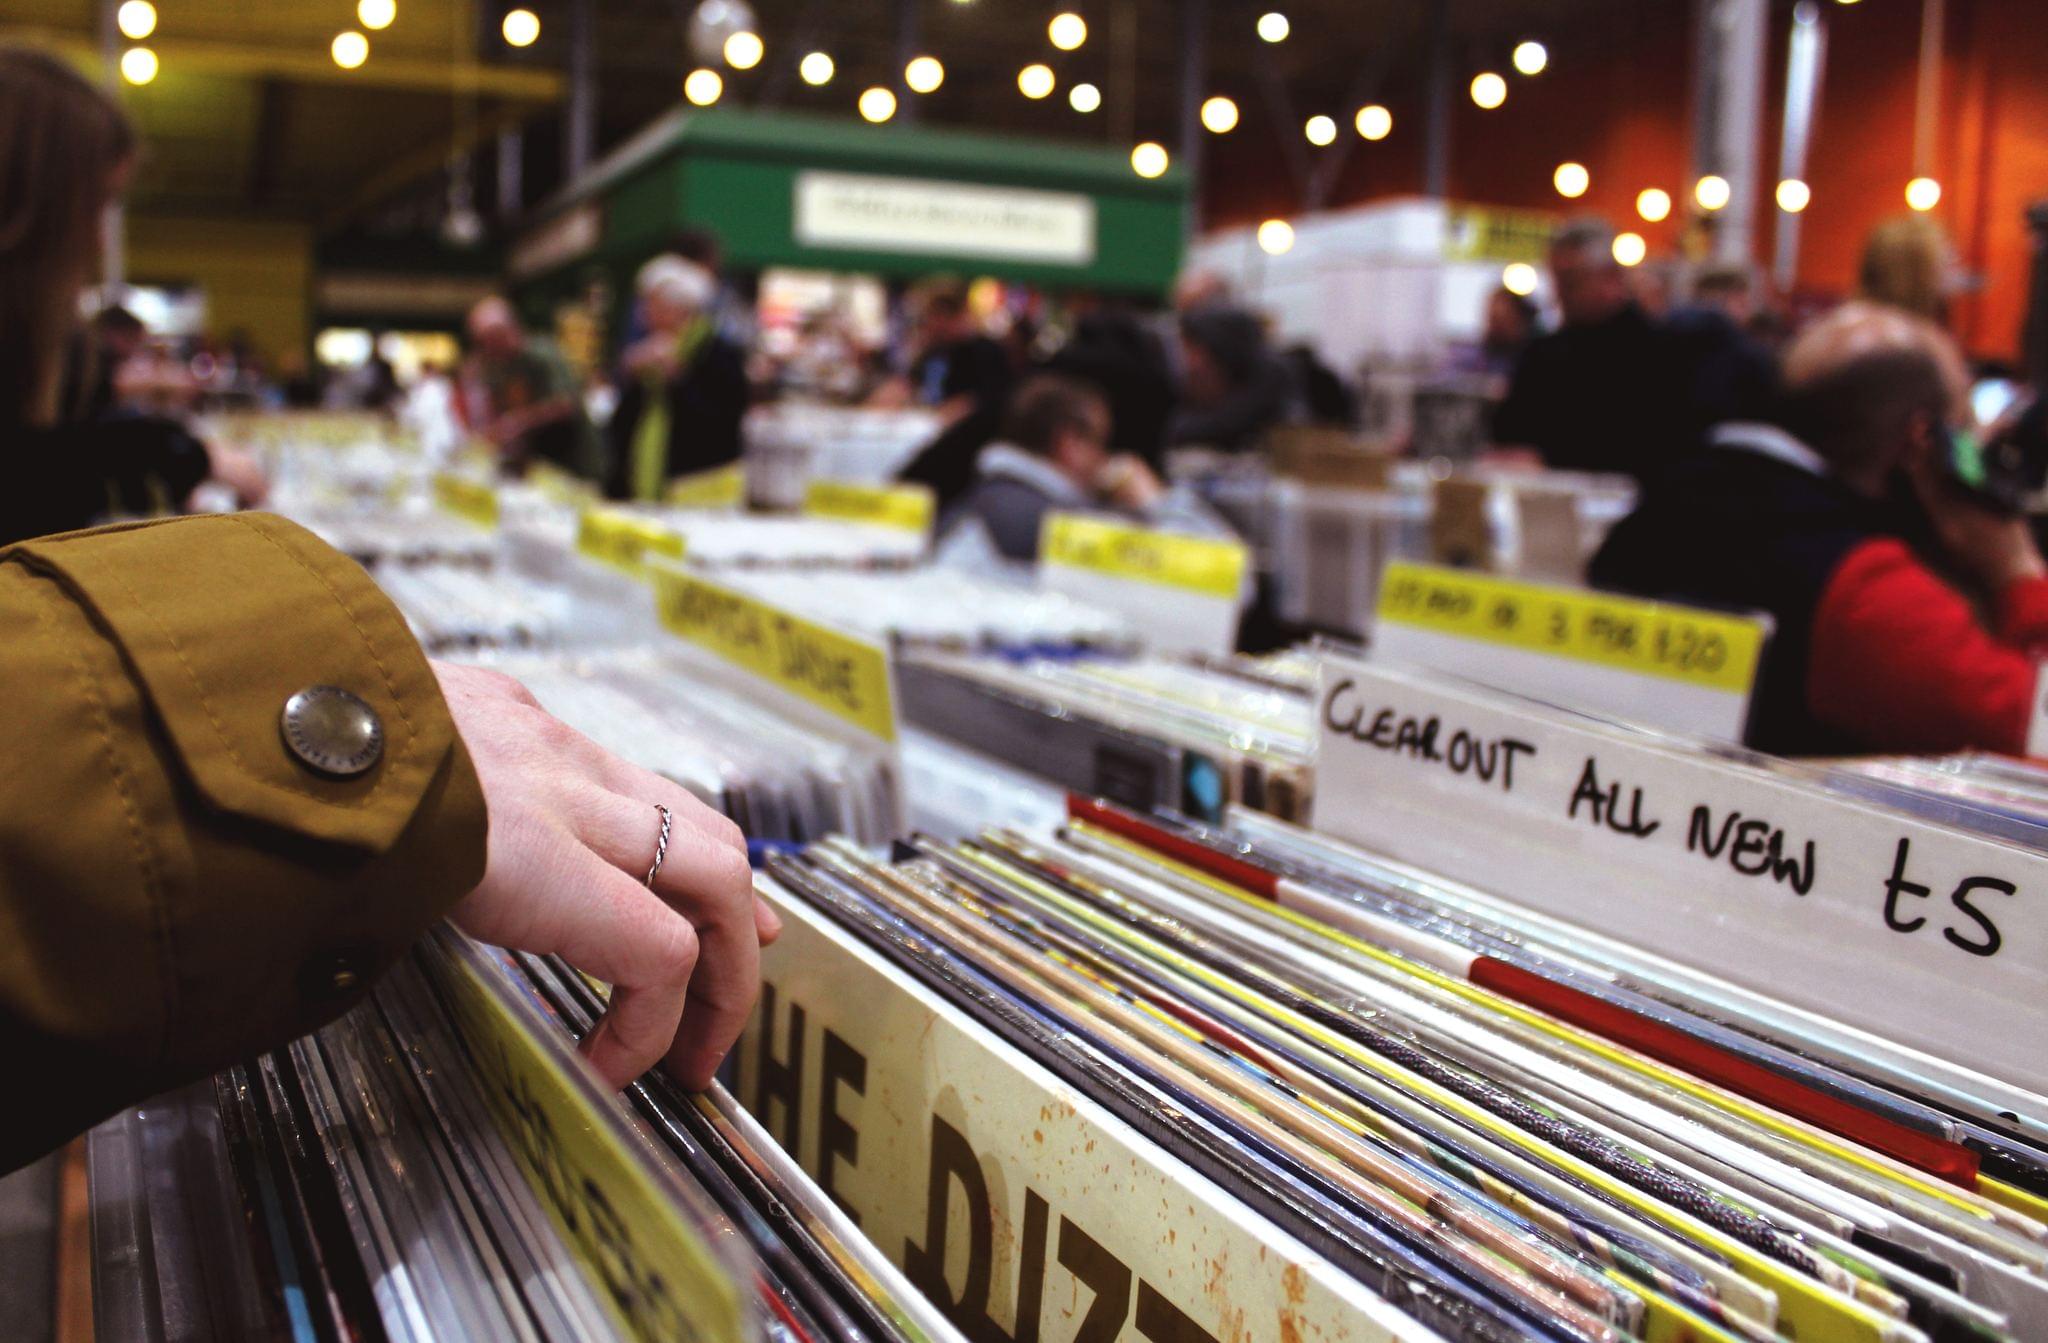
10 Craft Fair Display Tips For Beginners (ep. 3)
Step 1
Gather all the materials listed and bring them to your workspace.
Step 2
Measure the widest merch item with the ruler and pick the display width so all items fit.
Step 3
Use the pencil and ruler to draw a back panel rectangle on the cardboard using the chosen width and a height you like.
Step 4
Use the pencil and ruler to draw a base rectangle on the cardboard that matches the back panel width and is about half the depth of your merch.
Step 5
Cut out the back panel and the base rectangle carefully with scissors.
Step 6
Draw and score a 1 centimeter flap along the bottom edge of the back panel using the ruler and pencil.
Step 7
Fold the 1 centimeter flap on the back panel so it can attach to the base.
Step 8
Glue or tape the folded flap to the base so the back panel stands upright on the base.
Step 9
Cut two shelf strips from cardboard slightly shorter than the display width.
Step 10
Fold a small front lip on each shelf strip to stop items from sliding off.
Step 11
Glue or tape the shelves inside the stand evenly spaced so items can sit on them.
Step 12
Decorate the stand with coloring materials and stickers to make it eye catching.
Step 13
Arrange your merch on the shelves and move pieces until the display looks neat and balanced.
Step 14
Make small labels with stickers or label paper and stick them next to each item with names or prices.
Step 15
Share a photo of your finished display stand and a short description on DIY.org.
Help!?
What can we use if we don't have a ruler or cardboard listed in the materials?
Use a straight-edged book or the long side of a cereal box as a ruler for measuring, and substitute sturdy cereal boxes or frozen-pizza boxes for the cardboard to cut the back panel, base, and shelf strips.
What should we do if the back panel won't stay upright or the shelves sag after assembly?
Re-score and fold the 1 centimeter flap more sharply, reinforce the glued or taped connection between the flap and the base with extra tape or a small strip of cardboard underneath, and add small folded-support braces behind each shelf strip where you glued or taped them.
How can we adapt the project for different age groups?
For preschoolers let an adult pre-cut the back panel and base and have them decorate and place merch, for elementary kids let them measure with the ruler and cut shelf strips with supervision, and for older kids give full responsibility for measuring, cutting, folding the 1 centimeter flap, and gluing for a sturdier display.
What are easy ways to enhance or personalize the finished display stand?
Decorate the back panel with paint or patterned paper, add LED battery lights along the top edge, make custom sticker labels for names and prices, and vary shelf heights or add a front lip on each shelf strip to better showcase different merch.
Watch videos on how to build and decorate a cardboard merch display
10 Easy School Market Day Ideas to Make & Sell
4 Videos
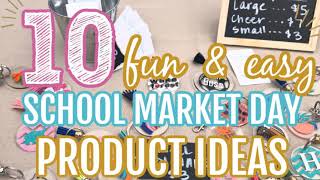
10 Easy School Market Day Ideas to Make & Sell
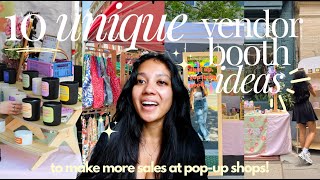
10 unique vendor booth display ideas to MAKE MORE SALES! /pop-up shop ideas, my fave market displays
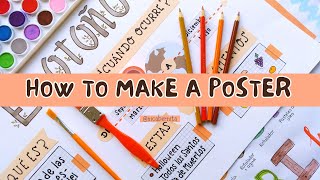
HOW TO MAKE A POSTER FOR SCHOOL PROJECT 💥 ⚡ CREATIVE POSTER PRESENTATION IDEAS
Vendor Booth Inspiration: Tent Edition for Craft Fairs, Festivals, Markets, and More Pop Ups!
Facts about visual merchandising and presentation for kids
📦 Cardboard is lightweight, strong, and easy to cut — that's why it's a favorite for DIY display stands!
🛍️ Visual merchandising uses colors, height, and spacing to make products stand out and invite people to explore.
🎨 Clear labels and a consistent color theme help shoppers understand items quickly and make choices faster.
♻️ Reusing boxes for displays is a great upcycling trick — it saves materials and sparks creative design ideas.
🧾 Setting prices and arranging merch teaches counting, organization, and the basics of running a tiny shop.
How do I help my child build and set up a cardboard merch display?
What materials do I need to make a small cardboard display stand for kids' merch?
What ages is this cardboard merch display activity suitable for?
What are the benefits of building and arranging a merch display with my child?
