Predict the future of technology
Design and build a simple model of a future technology gadget using cardboard and craft supplies, then describe three predictions about how it will work.


Step-by-step guide to predict the future of technology
Step 1
Think of one fun future gadget idea and choose the single use it will do.
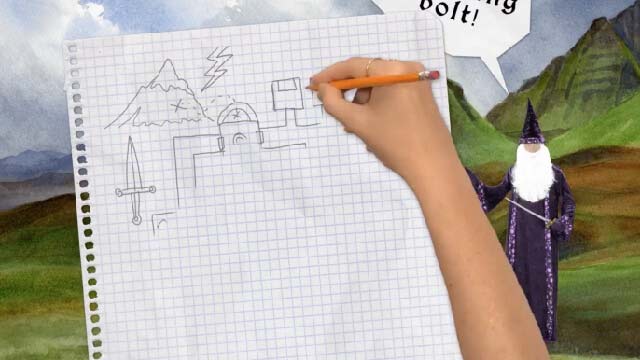
Step 2
Draw a simple sketch of the gadget and label its main parts.
Step 3
Gather all the materials from the list so they are within reach.
Step 4
Use the pencil and ruler to measure and mark the cardboard pieces you need.
Step 5
Ask an adult to help cut out the marked cardboard shapes with scissors.
Step 6
Fold the cardboard pieces into the shapes your sketch shows.
Step 7
Glue or tape the folded pieces together to build the gadget’s body.
Step 8
Create a pretend screen or buttons by cutting paper and coloring them.
Step 9
Add decorations and texture using stickers felt foil or other craft supplies.
Step 10
Make one moving feature like a flap or dial using extra cardboard pieces.
Step 11
Write three short predictions about how your gadget will work on separate index cards.
Step 12
Practice saying aloud what your gadget does and read your three predictions once.
Step 13
Arrange your gadget and the prediction cards so they look ready to show.
Step 14
Share your finished gadget and your three predictions on DIY.org
Help!?
What can we use instead of cardboard or index cards from the materials list if they aren't available?
Use sturdy cereal boxes or poster board instead of cardboard for the gadget body, and cut regular printer paper or sticky notes into small rectangles to serve as the three prediction index cards.
If parts keep coming apart or the flap/dial won't move, what should we try to fix it?
Crease folds sharply with the ruler, reinforce glued seams and joints with extra tape or a small cardboard tab, and ask an adult to help apply stronger glue or trim moving pieces so the flap or dial can move freely.
How can this activity be adapted for younger or older kids?
For ages 3–5 have an adult pre-cut the shapes and let the child decorate and dictate one simple prediction, ages 6–9 can measure, mark, fold, and make the moving feature with supervision, and ages 10+ should add labeled parts, more precise measurements, and a working dial or motorized element plus detailed prediction cards for sharing on DIY.org.
What are some easy ways to enhance or personalize the gadget beyond the instructions?
Add a pretend screen from glossy paper or a taped-on photo, use stickers and felt for texture, install a small battery LED behind the screen or a simple motor for the dial with adult help, and write a short demo script on the index cards before arranging the gadget for photographing and sharing on DIY.org.
Watch videos on how to predict the future of technology
Top 20 New Technology Trends That Will Define the Future
4 Videos

Top 20 New Technology Trends That Will Define the Future

The 4 Biggest Technology Trends In The Next 10 Years

Top 17 New Technology Trends That Will Define 2026

Top tech trends for 2025 you need to know about
Facts about engineering and design for kids
📦 Cardboard is super recyclable — paper fibers can usually be reused about 5–7 times before they get too short to recycle.
🔮 Futurists explore many possible scenarios instead of one fixed prediction, which helps inventors imagine wild new gadgets!
🌐 Analysts predicted there would be over 30 billion Internet-connected devices by 2025 — more gadgets than people on Earth!
⌚ Some modern smartwatches can take an ECG and warn users about irregular heart rhythms — tiny devices doing big health jobs.
🛠️ You can build a simple cardboard prototype in under an hour to test an idea — fast tinkering is how many inventions begin.
How do you do the activity: design and build a future technology gadget?
What materials do I need to design and build a simple future technology gadget?
What ages is this activity suitable for?
What are the benefits of designing a future technology gadget with cardboard?
