Practice drawing ears
Practice drawing different ear shapes and angles using pencils and paper. Learn proportions, shading, and simple step by step techniques to improve observational skills.

Drawing Apps
Step-by-step guide to practice drawing ears
Step 1
Gather your materials and place them on a clean flat table.
Step 2
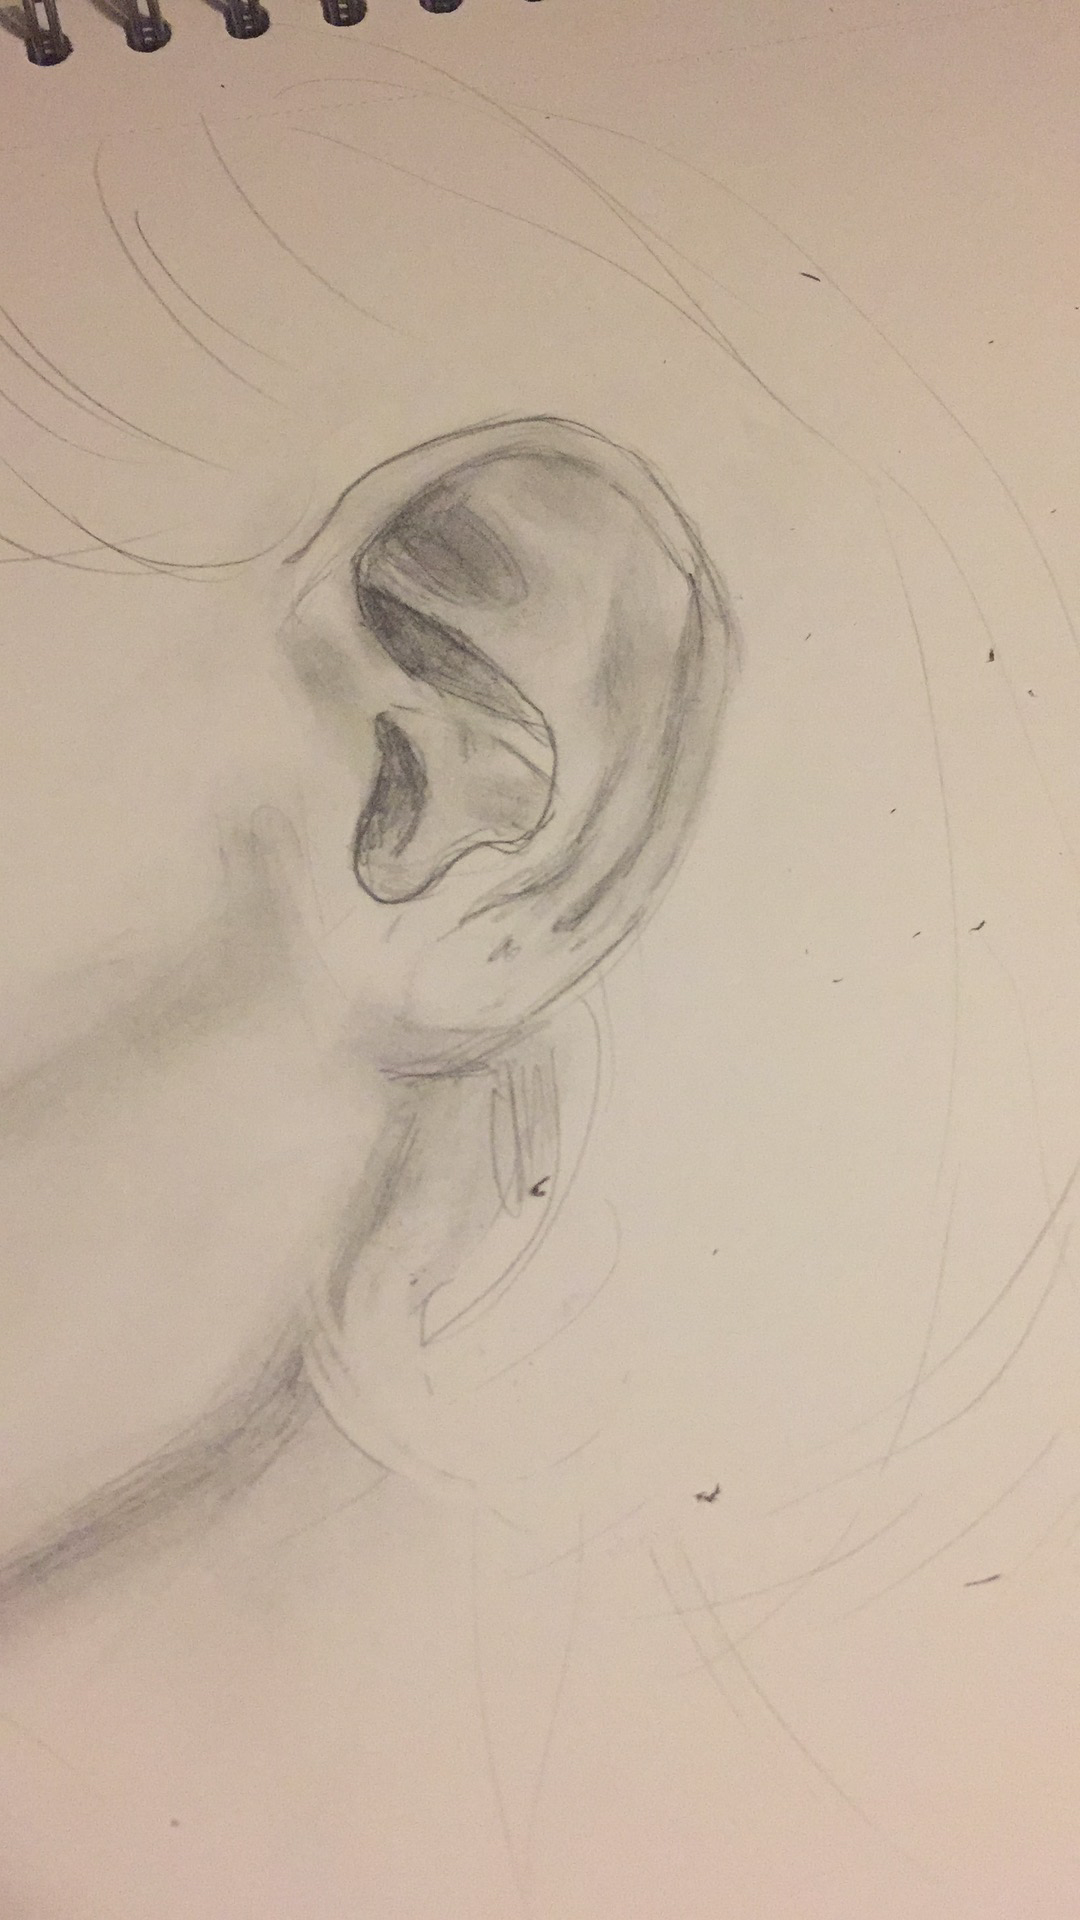
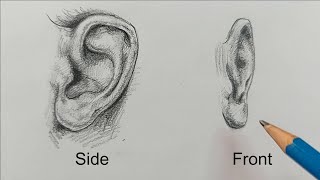
Look at an ear in the mirror or at a photo for one minute and notice the outer shape inner folds and the earlobe.
Step 3
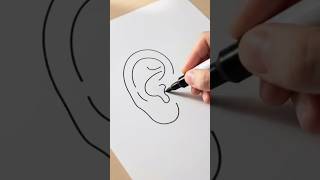
Lightly draw the outer ear outline with your HB pencil.
Step 4
Mark three light dots for the top middle and bottom of the ear to help with proportions.
Step 5
Draw the main inner curved fold (the antihelix) inside the outline using gentle lines.
Step 6
Sketch the concha the bowl shaped inner area with a smooth curved shape.
Step 7
Add the tragus and the earlobe using short curved strokes.
Step 8
Shade the deepest parts of the ear gently using your 2B pencil with short light strokes.
Step 9
Gently blend the shaded areas with a tissue or cotton swab to soften the tones.
Step 10
Erase any construction dots or stray lines to clean up your drawing.
Step 11
Draw three more ear studies on the same paper changing the angle size or shape for each one.
Step 12
Share your finished ear drawings on DIY.org.
Help!?
What can I use if I don't have a 2B pencil, tissue, or a mirror?
If you don't have a 2B pencil, use a softer 4B or charcoal for shading (step 8), replace a tissue with a cotton swab or your fingertip for blending (step 9), and use a phone photo instead of a mirror when observing the ear (step 2).
My ear proportions look wrong — what should I fix first?
If proportions are off after marking the three light dots (step 4), hold your HB pencil at arm's length to compare distances and then erase and reposition the outer ear outline (step 3) before drawing the antihelix (step 5).
How can I change the activity for younger or older children?
For younger children, have them trace the outer ear outline and draw only the earlobe with the HB pencil (steps 3 and 7), while older kids can focus on the antihelix and concha details (steps 5–6), refine shading with the 2B and tissue (steps 8–9), and complete three varied studies (step 11).
How can we extend or personalize the ear-drawing activity?
To extend the activity, experiment with different lighting to emphasize shadows for deeper 2B shading (step 8), label anatomical parts like tragus and antihelix on each study (steps 5 and 7), and photograph your best drawings to share on DIY.org (step 12).
Watch videos on how to practice drawing ears
How to Draw Ears | Two Different Views| Step-by-Step Tutorial
4 Videos
How to Draw Ears | Two Different Views| Step-by-Step Tutorial
How to Draw an Ear: Easy Step-by-Step Tutorial
How to Draw an Ear Step by Step| Easy Drawing Tutorial | Leo Draws| Drawing and Coloring | Fun art
How to draw ear easy step by step Ear drawing for beginners tutorial Basic drawing for beginners
Facts about drawing facial features
🖊️ The outer ear's shape (the pinna) is as unique as a fingerprint—no two are exactly alike.
👂 Ears keep changing slowly with age because cartilage grows and shifts, so proportions differ between kids and adults.
🎨 Many artists simplify ear shading into three value planes (light, mid, dark) to make the form read clearly.
📏 A handy portrait rule: the top of the ear lines up with the eyebrow and the bottom lines up with the base of the nose.
⏱️ Doing short timed sketches (1–5 minutes) of ears trains your observational skills faster than one long drawing.
How do I teach my child to draw ears step by step?
What materials do we need to practice drawing ears at home?
What ages is drawing ears suitable for?
What are the benefits of practicing drawing ears?
