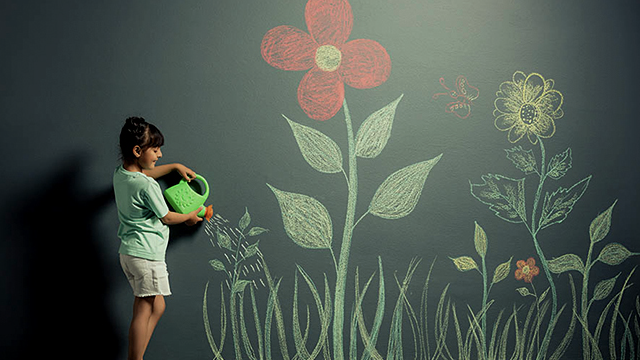
Practice drawing different plants
Practice drawing different plants by sketching leaves, stems, flowers, and roots from real samples or photos, experimenting with shading, color, and labels.


Step-by-step guide to practice drawing different plants
Step 1
Pick one plant sample or photo you want to draw.
Step 2
Place the sample or photo where you can see it clearly.
Step 3
Look carefully and notice the big shapes like ovals circles and straight lines.
Step 4
Lightly sketch the main stem or central line of the plant with your pencil.
Step 5
Draw the outline of each leaf one at a time using gentle strokes.
Step 6
Add the flower or seedpod shapes using simple shapes like circles or triangles.
Step 7
Draw light root lines if you can see roots or imagine where they would grow.
Step 8
Erase any extra or overlapping lines to make your sketch cleaner.
Step 9
Shade one area of the plant with soft pencil strokes to show where the light hits and where the shadows are.
Step 10
Make a second quick sketch using only shading to practice form without outlines.
Step 11
Add color to your favorite sketch using your coloring materials to match the sample or to invent new colors.
Step 12
Label at least four parts such as leaf stem flower and root with neat writing.
Step 13
Sign your name and write the date on your drawing.
Step 14
Share your finished creation on DIY.org
Help!?
I don't have a printed photo or a pencil—what can we use instead?
Use a nearby leaf, a grocery sprig, or a clear phone image placed where you can see it clearly for Steps 1–2, and substitute a soft crayon or charcoal stick for the pencil plus any rubber eraser for Steps 4 and 7.
My child’s drawing looks messy or the proportions are off—how can we fix that?
Have them go back to Step 3 to look for big shapes, hold the pencil at arm's length to measure proportions, redraw the main stem lightly in Step 4, then erase overlapping lines in Step 7 and shade gently in Step 9 to avoid smudging.
How can I change this activity for different ages?
For preschoolers simplify Steps 3–6 to copy just big shapes and one leaf, for school-age kids practice light sketching and the shading-only exercise in Step 10, and for teens add detailed veins, color mixing in Step 11, and precise labels in Step 12.
We want to make the project more interesting—any ideas to extend or personalize it?
Repeat Steps 1–12 with several plants to make a mini field guide, photograph your favorite colored and labeled sketch from Step 11–12, add habitat notes, and then share the collection on DIY.org per Step 13.
Watch videos on how to practice drawing different plants
Different Types of Plants chart drawing / How to draw Types of Plant step by step / Project drawing
4 Videos
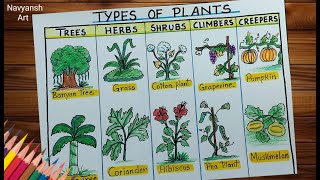
Different Types of Plants chart drawing / How to draw Types of Plant step by step / Project drawing

how to draw a plant easy/plant drawing easy for kids
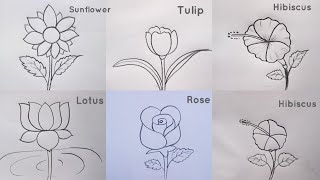
how to draw different types of flowers drawing easy step by step@Kids Drawing Talent

Easy & Cute Plant Drawing 🌱 | Perfect for Kids!
Facts about plant anatomy
🌿 Leaves come in dozens of shapes — identifying a plant often starts with its leaf shape, edge, and vein pattern.
🌸 Some flowers, like sunflowers, are actually hundreds of tiny flowers packed together — draw them as lots of little centers!
🌱 Roots can grow way deeper than you expect — some tree taproots reach several meters underground.
✏️ Botanical illustrators were the original plant photographers — artists drew tiny details so scientists could identify species.
🎨 A little shading and a bright highlight can turn a flat leaf sketch into a lifelike 3D shape.
How do I practice drawing different plants with my child?
What materials do I need to practice drawing plants?
What ages is plant sketching suitable for?
What are the benefits of practicing plant drawing with kids?
