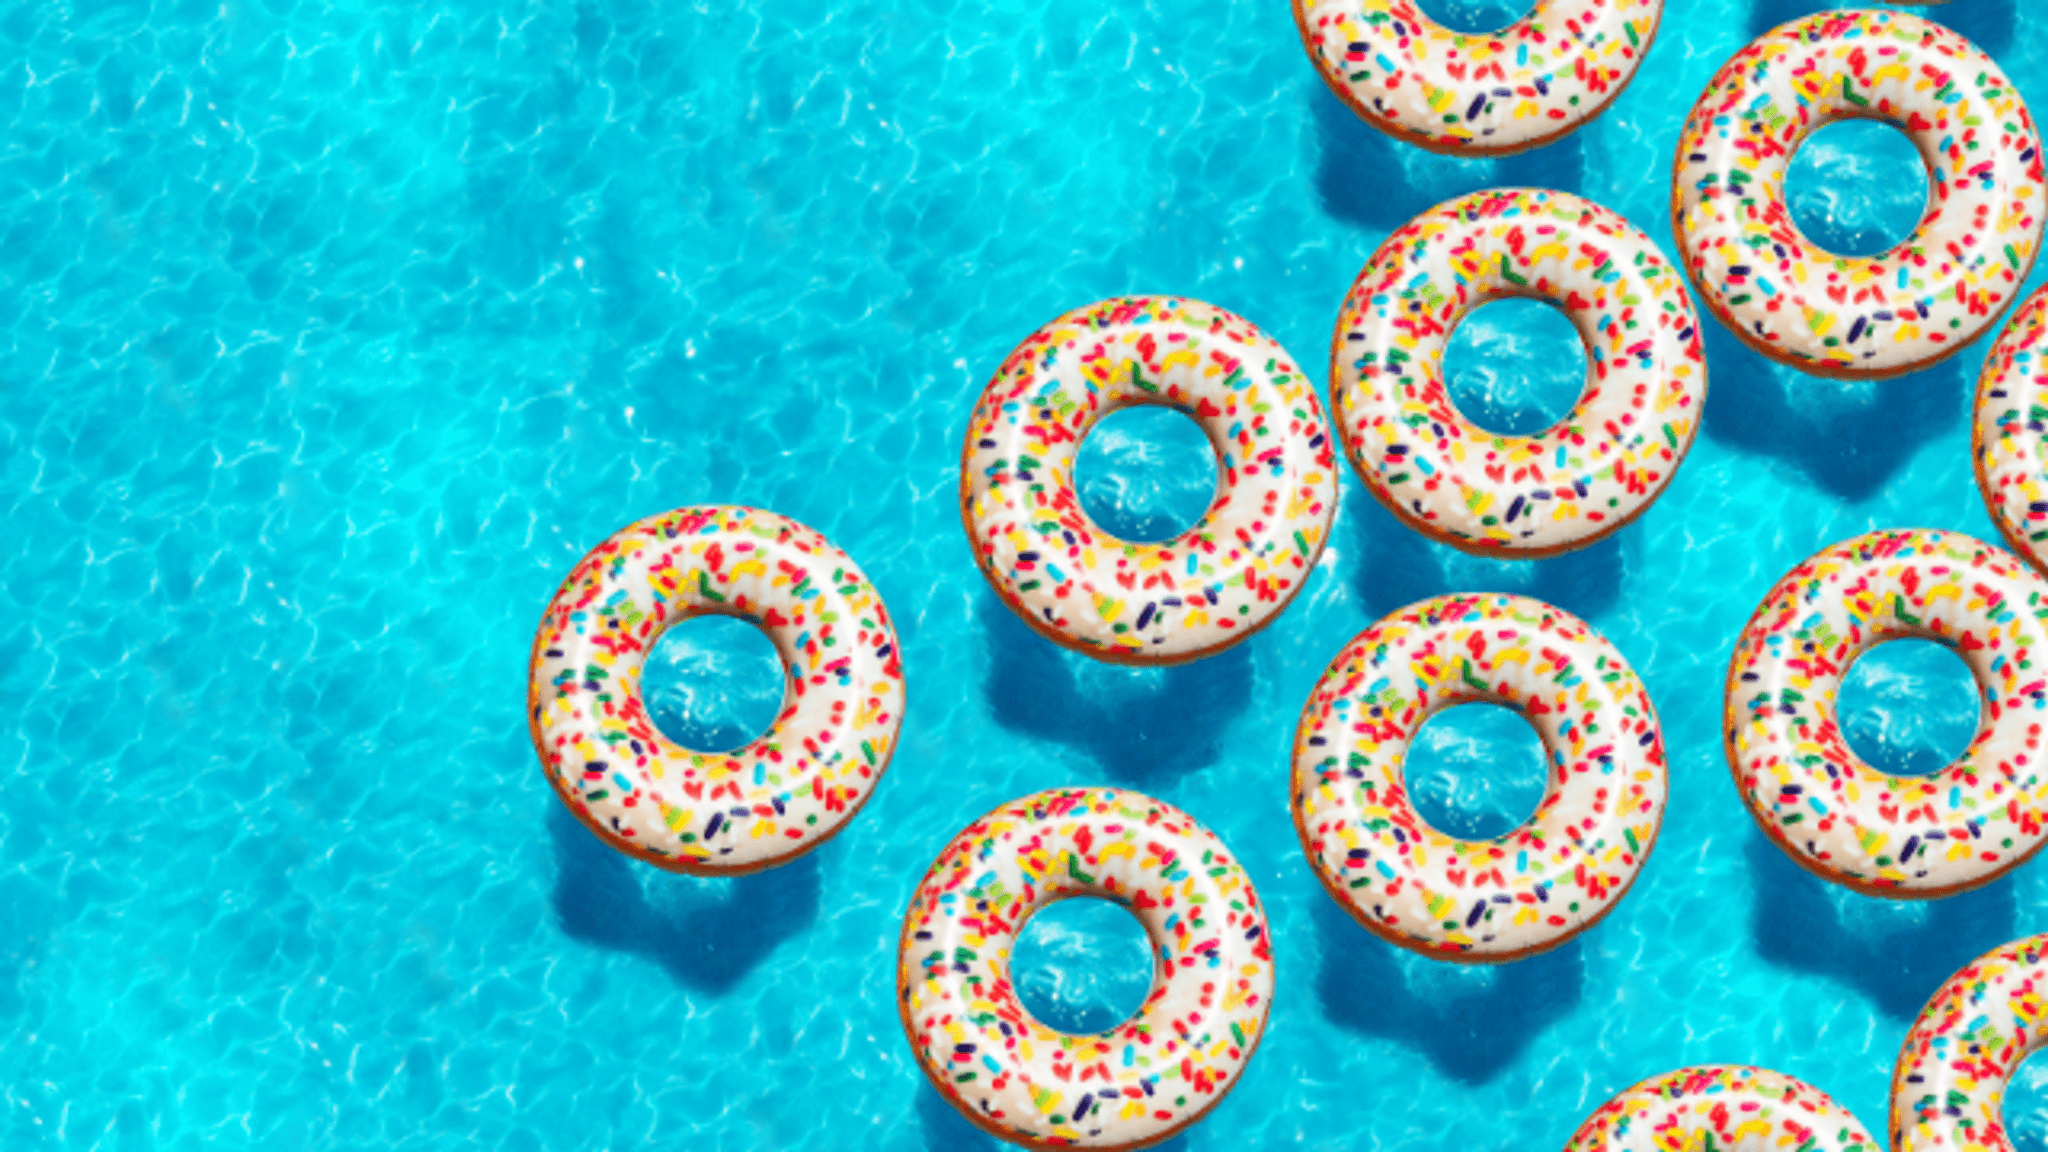
POV: You Can Fill a Swimming Pool With Anything. What Would It Be?
Create a tabletop model swimming pool and fill it with safe materials like water, foam balls, and leaves to compare buoyancy and texture.


Step-by-step guide to fill a tabletop model swimming pool with different safe materials
Kids' Water Safety | Thursday Pools
Step 1
Collect all the Materials Needed and bring them to a flat table.
Step 2
Put the towel flat on the table.
Step 3
Place the tub on top of the towel.
Step 4
Use the measuring cup to pour water into the tub until the water is about 1 inch (2–3 cm) deep.
Step 5
Arrange the test items in a row on the table so you can reach each one easily.
Step 6
On your paper write each item's name in a list.
Step 7
Next to each name write your prediction 'Float' or 'Sink'.
Step 8
Gently place the first item onto the water surface.
Step 9
Watch closely to see if that item floats or sinks.
Step 10
Circle the correct result 'Float' or 'Sink' on your paper for that item.
Step 11
Use the towel to lift the item out of the water and set it on the paper.
Step 12
Gently touch the wet item with a fingertip to feel its texture.
Step 13
Write a short note about how the item feels wet versus dry.
Step 14
Repeat Steps 8 to 13 for each remaining item.
Step 15
Share your finished tabletop pool and what you learned about floating and texture on DIY.org.
Help!?
What can I substitute if I don't have the tub, measuring cup, or towel?
Use a clean mixing bowl or baking pan as the tub, a kitchen cup or jar instead of the measuring cup to pour water to about 1 inch (Step 4), and an old placemat or newspaper in place of the towel (Steps 1–3).
What should I do if items keep sinking or splash when I place them on the water?
If items sink or splash in Step 8, gently lower them onto the water surface instead of dropping, confirm the water depth is about 1 inch (Step 4), and use the towel to dry and lift items as described in Step 11.
How can I adapt the activity for younger or older children?
For preschoolers, pick 3–4 large, safe items and have an adult pour the 1-inch water and record 'Float' or 'Sink' for them (Steps 4–6), while older kids can test more objects, measure mass/volume, and graph results after Step 13.
How can we extend or personalize the tabletop pool experiment?
Make foil boats to test weight limits, compare wet versus dry textures in Step 12 with a magnifying glass, safely color the water with food dye, and photograph your finished pool to share on DIY.org as in the final step.
Watch videos on how to fill a tabletop model swimming pool with different safe materials
Teach Your Kid to Swim: How to Float and How to Kick Part 1
4 Videos
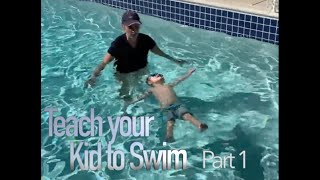
Teach Your Kid to Swim: How to Float and How to Kick Part 1
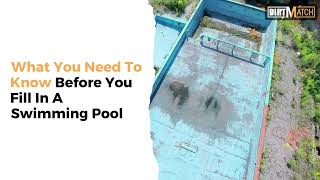
What you need to know about filling your swimming pool.

Swimming Lessons for Kids: Build Water Comfort with these Swimming Pool Games
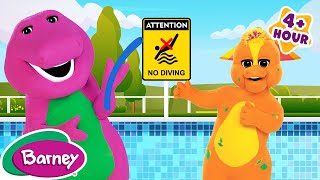
Summer Pool Rules | Swimming and Pool Safety for Kids | NEW COMPILATION | Barney the Dinosaur
Facts about buoyancy and floating for kids
🛶 Objects float when they displace a weight of water equal to their own weight — that's why huge steel ships can still float!
⚖️ One liter of water has a mass of about 1 kilogram at 4°C, so comparing densities helps predict if something will sink or float.
💧 Surface tension makes water act like a stretched skin, letting tiny insects like water striders walk on top.
🏊♂️ The world's largest swimming pool (San Alfonso del Mar, Chile) holds roughly 250 million liters — perfect for imagining giant floaty experiments!
🌿 Foam floats because it traps lots of air, and many leaves float thanks to waxy coatings and tiny air pockets that repel water.
How do I do the 'POV: You Can Fill a Swimming Pool With Anything' tabletop activity?
What materials do I need to create a safe tabletop pool and test fillings like foam balls and leaves?
What ages is this tabletop pool and buoyancy exploration suitable for?
What safety tips and variations can I use for this pool-filling activity?
