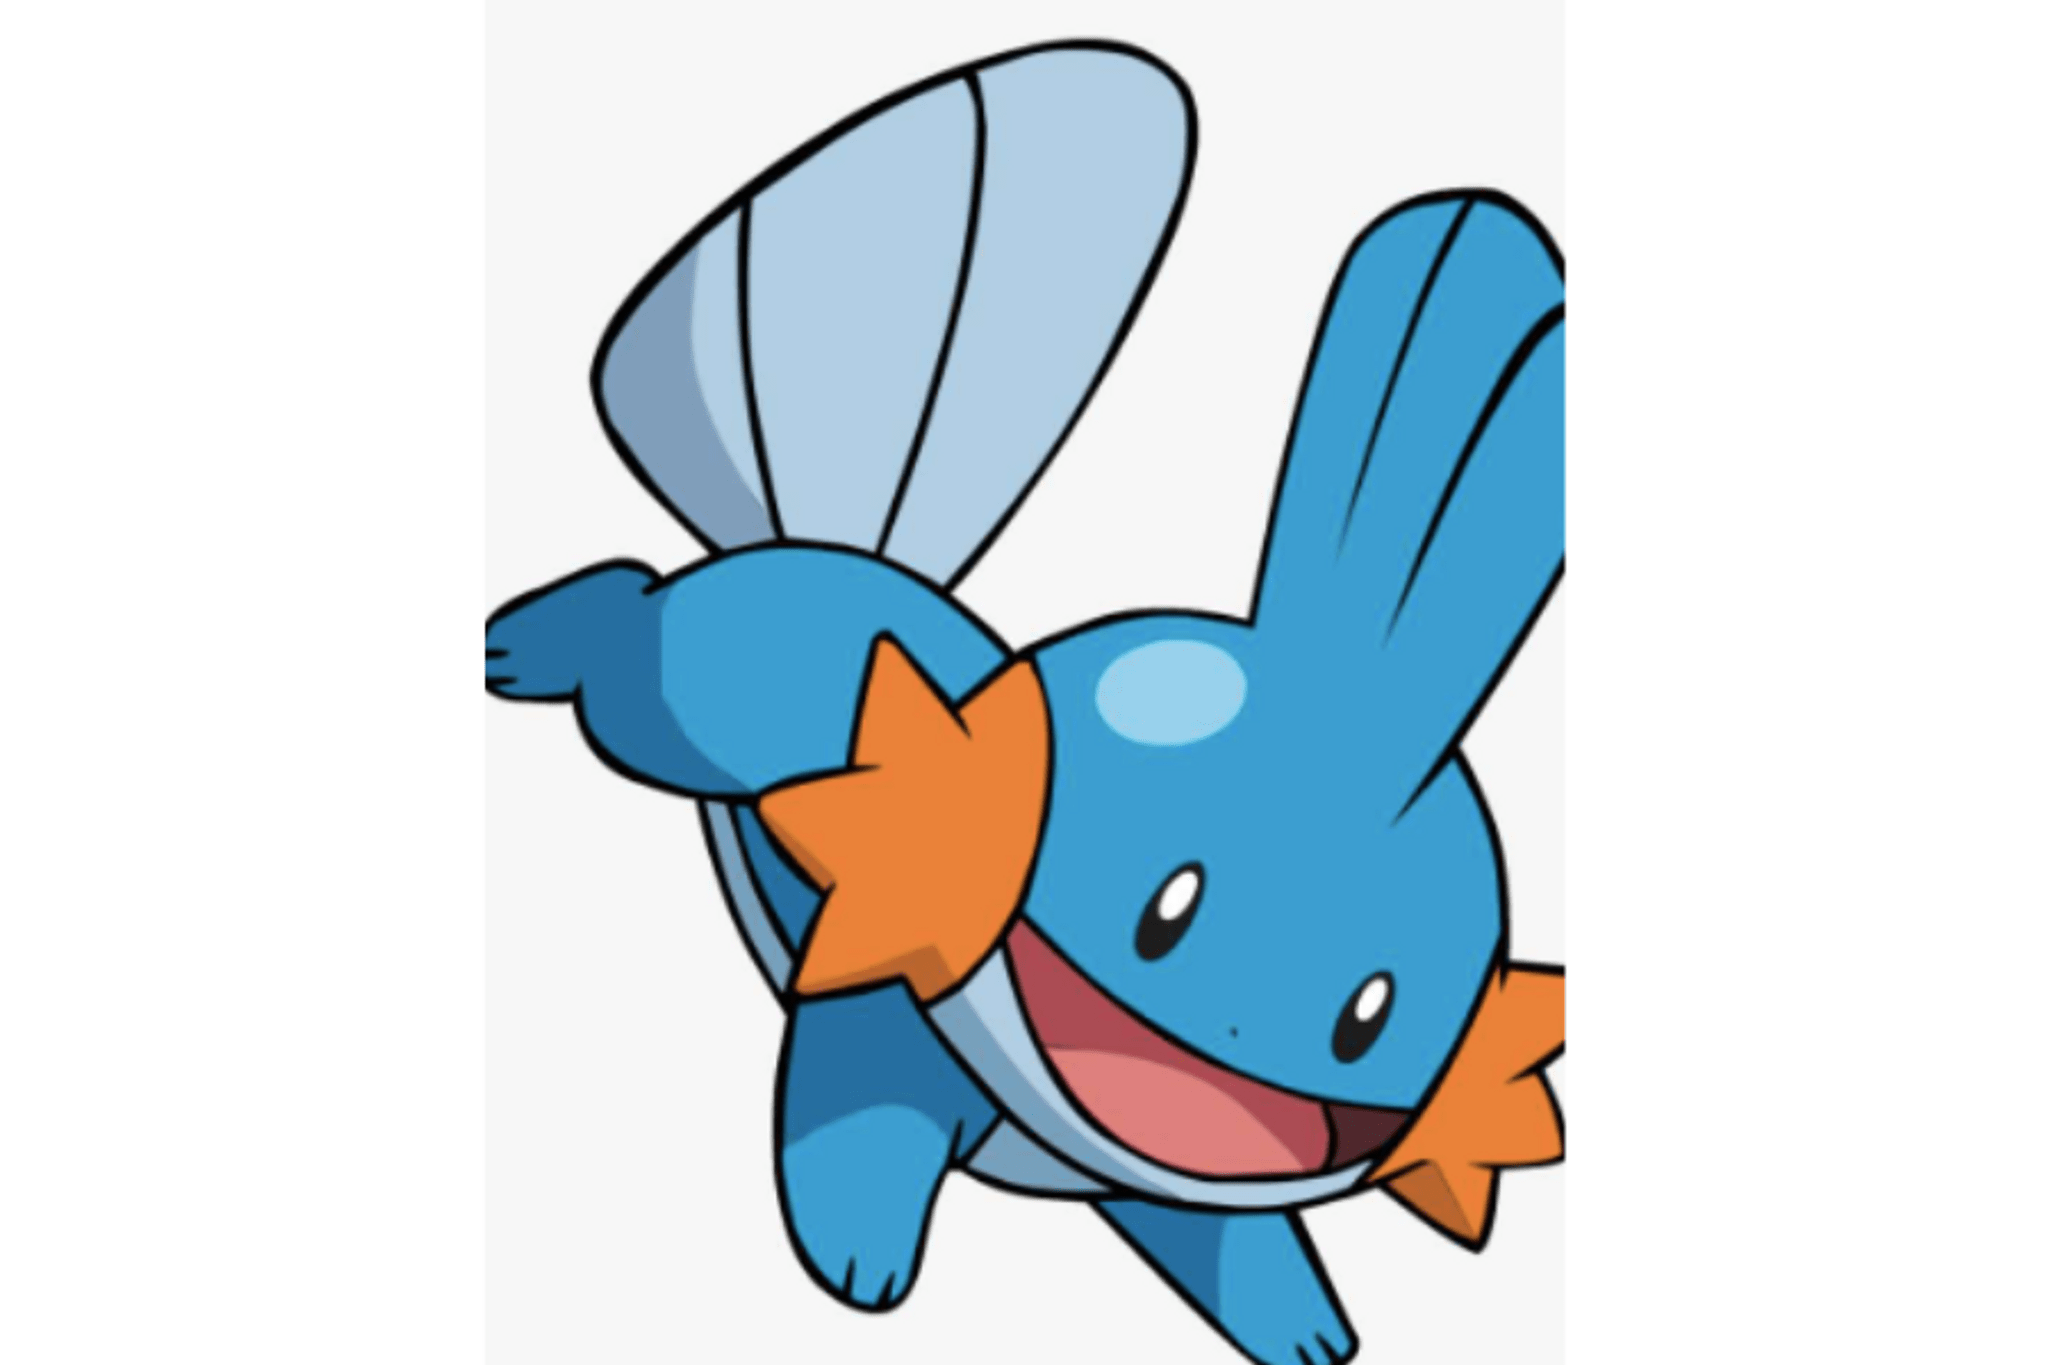
Pokémon Drawing Challenge - Mudkip
Draw and color Mudkip step-by-step using simple shapes and shading techniques, then create a small background showing its watery habitat and personality.

Step-by-step guide to Pokémon Drawing Challenge - Mudkip
How to Draw Mudkip | Pokemon
Step 1
Lightly draw a big circle near the top of the paper for Mudkip's head.
Step 2
Draw a smaller rounded oval below the head that touches the bottom of the circle for Mudkip's body.
Step 3
Add two short rounded legs under the body using small oval shapes.
Step 4
Draw Mudkip's tail as a wide fan shape with three soft curved points at the back of the body.
Step 5
Add two large curved triangular side fins on the sides of the head and a flat fin on top of the head.
Step 6
Add facial features by drawing two round eyes one small smiling mouth and two orange cheek spots.
Step 7
Erase extra overlapping pencil lines so the drawing looks clean and smooth.
Step 8
Trace your final pencil lines carefully with the black marker and wait for the ink to dry.
Step 9
Color Mudkip's whole body with a light blue base using your colouring materials.
Step 10
Add darker blue shading under the belly under the head and at the base of the tail by layering color with slightly harder strokes.
Step 11
Draw a horizontal water line and a few curved ripple lines around Mudkip to make a watery scene.
Step 12
Color the background with blues and greens and add simple water plants and rocks to show Mudkip's habitat and personality.
Step 13
Share a photo of your finished Mudkip drawing on DIY.org.
Help!?
What can we use if we don't have a black marker or a light blue coloring material for Mudkip?
If you don't have a black marker to trace your final pencil lines, use a dark ballpoint pen, fine-tip permanent marker, or press harder with a sharp colored pencil, and for the light blue base try diluted blue watercolor, a blue colored pencil, or mix blue and white crayon to mimic the light blue coloring step.
My drawing looks messy because lines overlap or the ink smudged—how can I fix that?
To avoid messy overlaps and smudges when you trace and erase, wait for the black marker to dry completely before erasing extra pencil lines, put a scrap sheet under your hand to prevent smearing, and if the ink bled use heavier paper or retrace with a finer pen on a cleaned copy.
How can I adapt the Mudkip drawing challenge for different age groups?
For younger kids pre-draw the big head circle and body oval from steps 1–2 and let them add simple eyes and color, while older kids can focus on the darker blue shading under the belly and tail from step 11 and add detailed water ripples and textures.
What are some ways to extend or personalize the Mudkip drawing after finishing the basic steps?
Personalize your piece by adding a hat or accessories to Mudkip, sketch multiple action poses to make a flipbook, build a richer habitat with extra rocks and water plants as in step 13, or photograph and share the finished drawing on DIY.org as suggested in the final step.
Watch videos on how to draw and color Mudkip (Pokémon Drawing Challenge)
How to draw Mudkip Pokemon Step by step, Drawing Tutorial Trick Easy For Kids
4 Videos
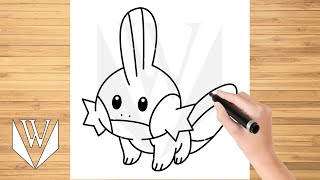
How to draw Mudkip Pokemon Step by step, Drawing Tutorial Trick Easy For Kids
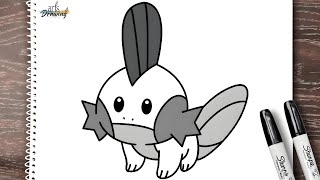
how to draw MUDKIP from Pokemon step by step
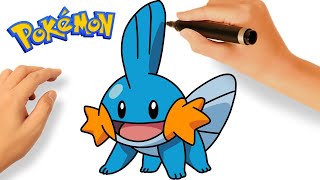
HOW TO DRAW MUDKIP EASY STEP BY STEP 🔵| DRAWING POKÉMONS
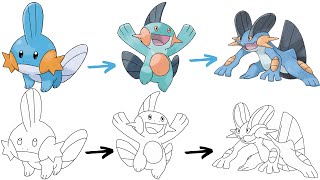
How To Draw MUDKIP MARSHTOMP and SWAMPERT POKEMON | Pokemon Evolution
Facts about cartoon drawing for kids
🐸 Mudkip is a Water-type starter Pokémon first introduced in Generation III (Pokémon Ruby and Sapphire).
🎨 Mudkip's design uses simple, rounded shapes and bright colors—perfect for beginner drawing and coloring practice.
🌊 Mudkip is often pictured in swamps, ponds, or shallow water, so adding splashes and reeds makes a lively background.
✏️ Building Mudkip from basic shapes (circles for head/body, triangles for fins) is a great step-by-step drawing trick.
😄 Mudkip inspired a popular internet meme ('I herd u liek mudkipz') and is beloved for its cute, expressive look.
How do I draw and color Mudkip step-by-step?
What materials do I need for a Mudkip drawing challenge?
What ages is the Pokémon Mudkip drawing challenge suitable for?
What are the benefits, safety tips, and fun variations for the Mudkip drawing activity?


