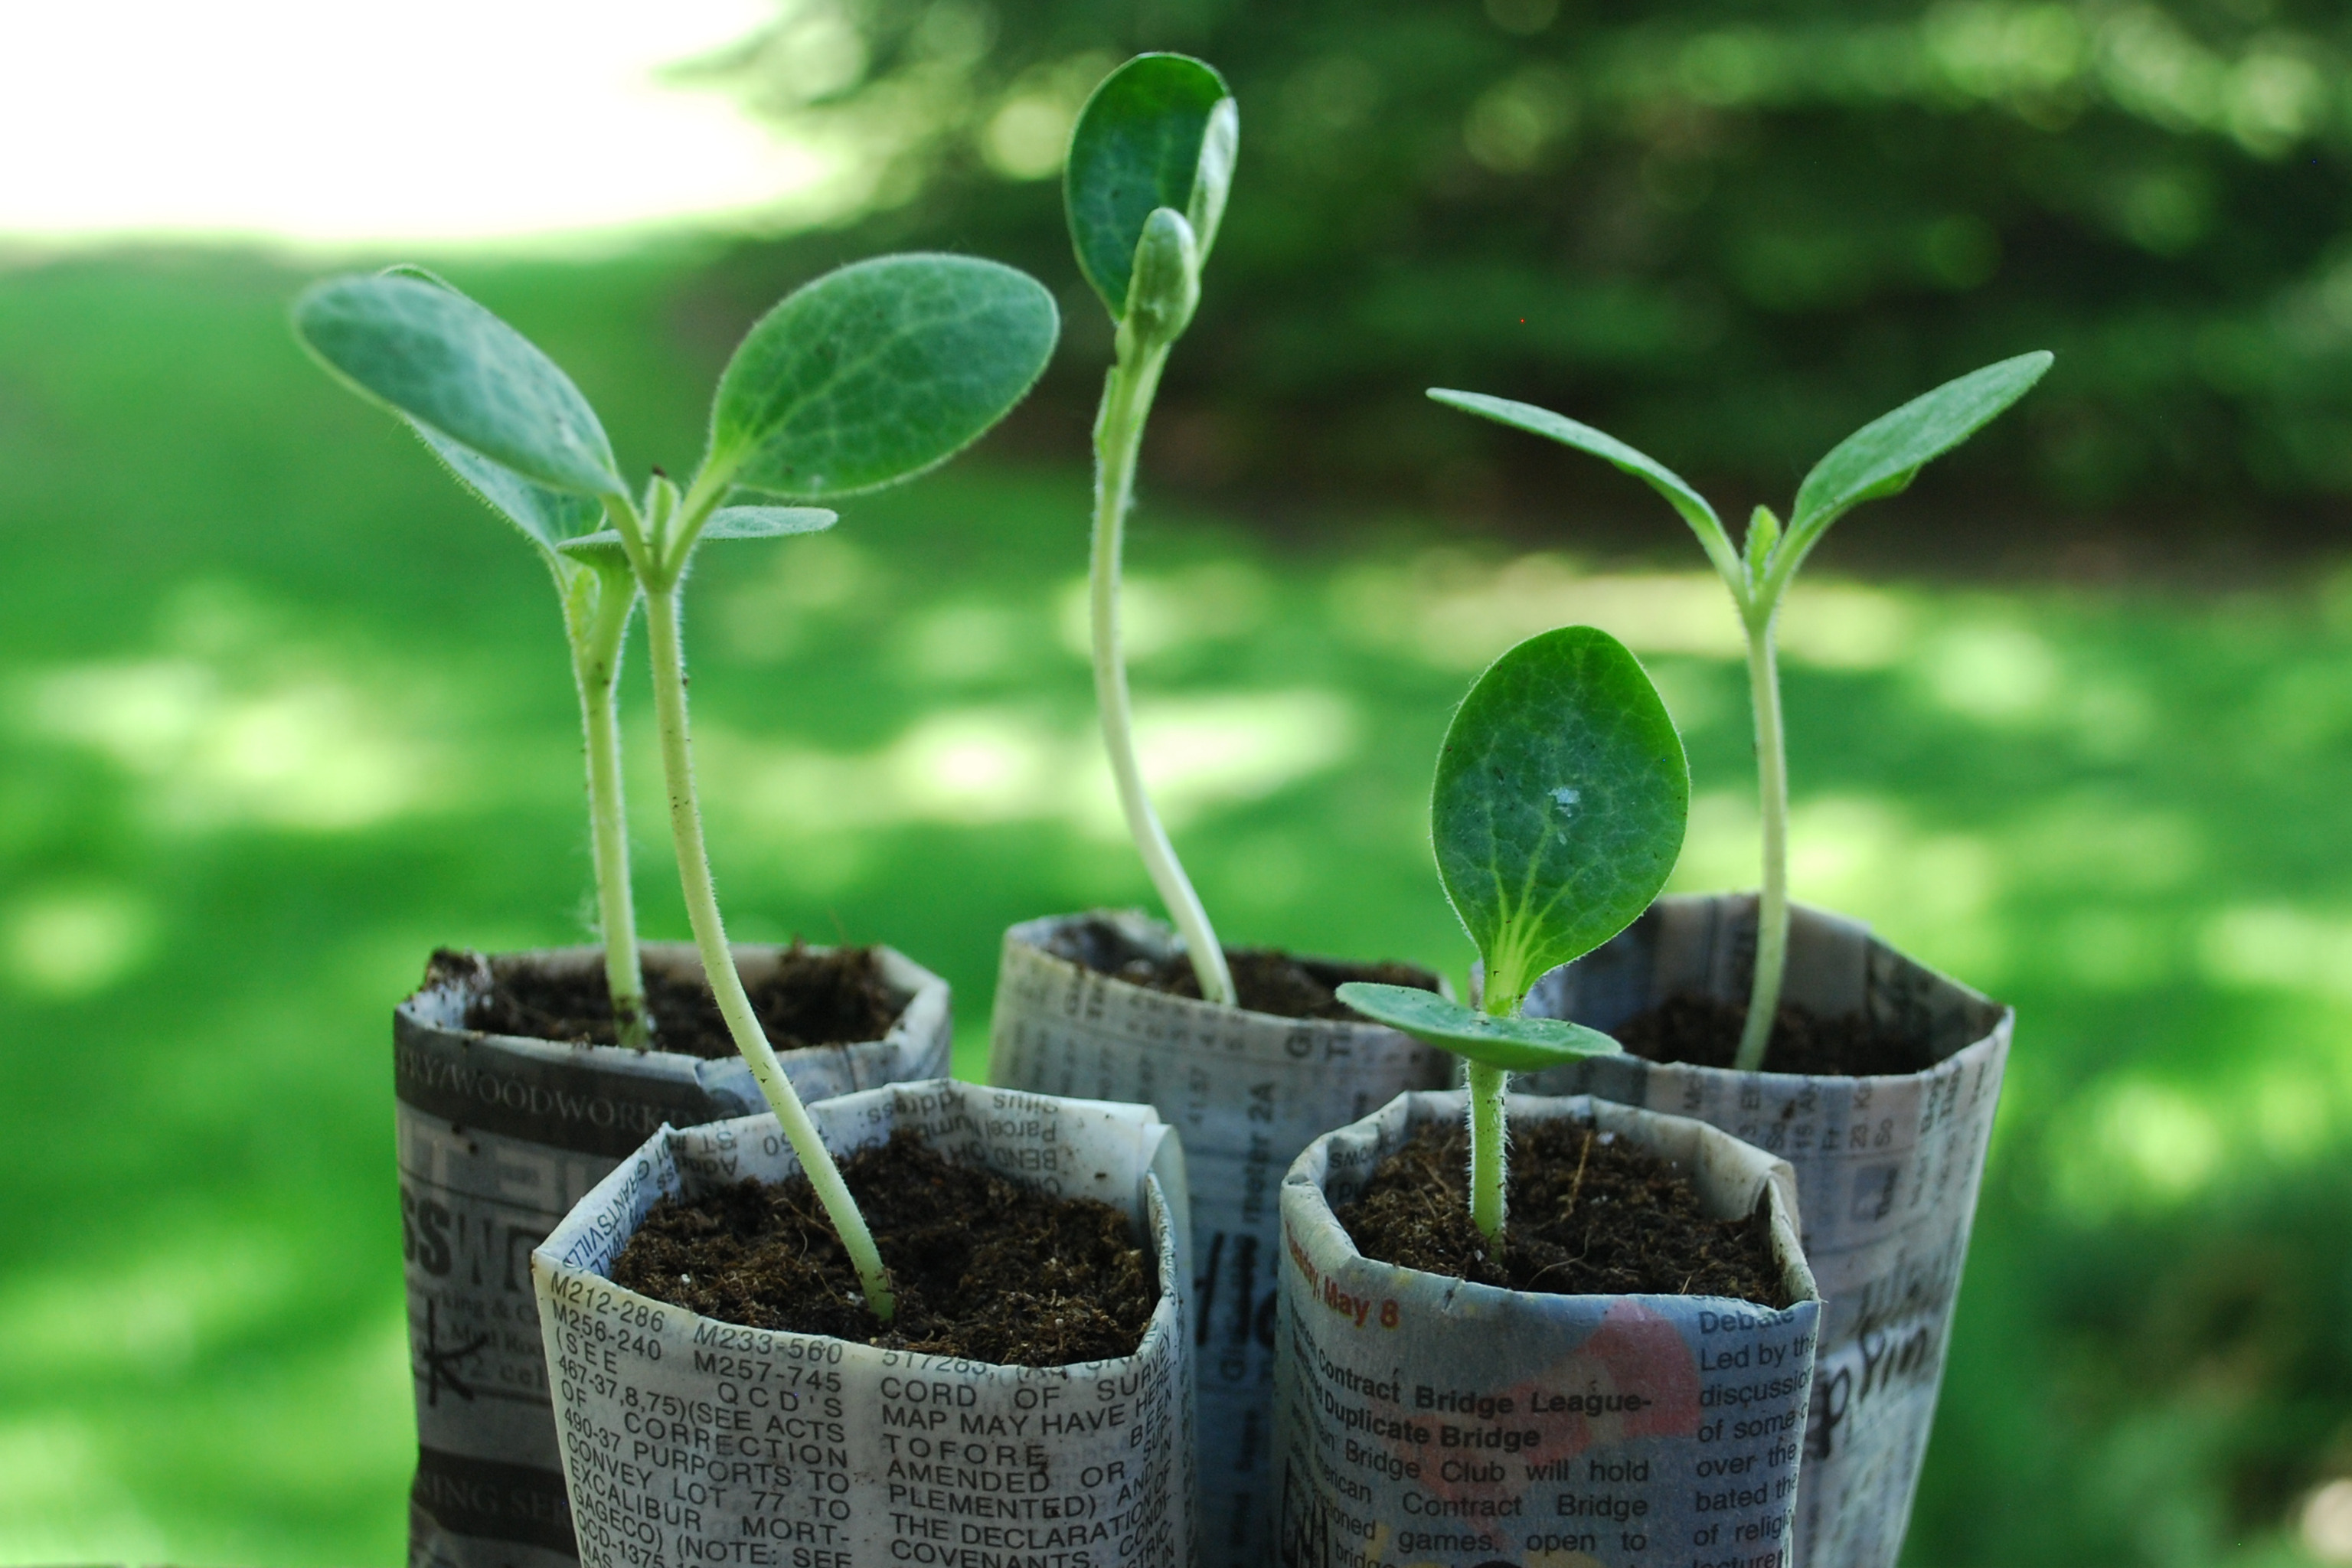
Plant a seedling
Plant a seedling in a pot or garden bed, prepare soil, water, label, and observe growth while learning about roots, sunlight, and care.


Step-by-step guide to plant a seedling
How To Plant A Seed | Gardening & Book Reading for Kids | Circle Time with Khan Academy Kids
Step 1
Gather all the materials from the list and bring them to your planting spot.
Step 2
Ask an adult to help you with any digging lifting or using tools.
Step 3
Choose a sunny spot where your plant will get a few hours of sunlight each day.
Step 4
If you are using a pot add a layer of small stones to the bottom for drainage.
Step 5
Prepare the soil by filling the pot two thirds full with potting soil or by loosening the garden bed to about 10 centimetres deep.
Step 6
Use your trowel or spoon to make a hole in the soil that is big enough for the seedling roots or the seed.
Step 7
Gently remove the seedling from its starter container by holding the leaves not the stem.
Step 8
Place the seedling into the hole so the top of the root ball is level with the soil surface.
Step 9
Fill the hole back with soil and press the soil gently around the plant to remove big air pockets.
Step 10
Water the plant until the soil is evenly moist and water drains away from the pot or bed.
Step 11
Push a label or popsicle stick into the soil and write the plant name and the planting date on it.
Step 12
Each week measure or draw your plant to watch its growth and check the soil moisture daily to water when the top 1 centimetre feels dry.
Step 13
Share a photo and story about your finished plant on DIY.org
Help!?
What can we use if we don't have potting soil, small stones, a trowel, or a popsicle stick?
Mix garden soil with compost and a little sand as a substitute for potting soil, use broken pottery or coarse gravel instead of small stones for drainage, a large spoon can replace a trowel, and a painted rock or piece of cardboard can serve as the label instead of a popsicle stick.
Why did my seedling wilt after planting, and how can I fix it?
If your seedling wilts, check that you gently removed it by holding the leaves not the stem, placed the top of the root ball level with the soil surface, pressed soil gently to remove air pockets, ensured drainage with stones or pot holes, and watered until the soil was evenly moist while later only watering when the top 1 centimetre feels dry.
How can I adapt this planting activity for different age groups?
For toddlers have an adult pre-dig and place the seedling while the child waters and pushes the label, for elementary kids let them use a spoon or supervised trowel to plant and do the weekly measuring or drawings, and for older kids have them plant with minimal help, test soil mixes, track measurements, and prepare the photo and story for DIY.org.
How can we make the project more fun or educational once the seedling is planted?
To enhance the activity, let the child paint the pot and decorate the popsicle label, add mulch after planting, try a companion plant to compare growth, keep the weekly measurement and drawing journal from the instructions, and share the photo and story on DIY.org.
Watch videos on how to plant a seedling
Teach Kids How to Plant a Seed | Procedure Writing & Literacy Skills
4 Videos
Teach Kids How to Plant a Seed | Procedure Writing & Literacy Skills

Watch a Seed Sprout! | Squeaks Grows a Garden! | SciShow Kids
Start Seeds Indoors With Your Kids - Gardening With Children Episode 1

How Does A Seed Become A Plant? | Backyard Science | SciShow Kids
Facts about gardening for kids
🌱 Some seeds can sprout in as little as 24 hours, while others wait months or even years to start growing.
☀️ Through photosynthesis, plants turn sunlight into food and release oxygen — plants help make much of the air we breathe.
🧫 A single teaspoon of healthy garden soil can contain billions of microorganisms that help plants get nutrients.
💧 Seedlings need consistent moisture but not puddles — overwatering can drown roots by cutting off their air supply.
🪴 Many vegetables go from seed to a small harvest in just a few weeks, making them perfect for kid-friendly gardening projects.
How do I plant a seedling in a pot or garden bed with my child?
What materials do I need to plant a seedling with kids?
What ages is planting seedlings suitable for?
What are the benefits and safety tips for planting seedlings with children?
