Plant a forest
Plan and plant a small backyard or school mini-forest with adult help, using native seedlings, mark rows, care for young trees, and observe growth.

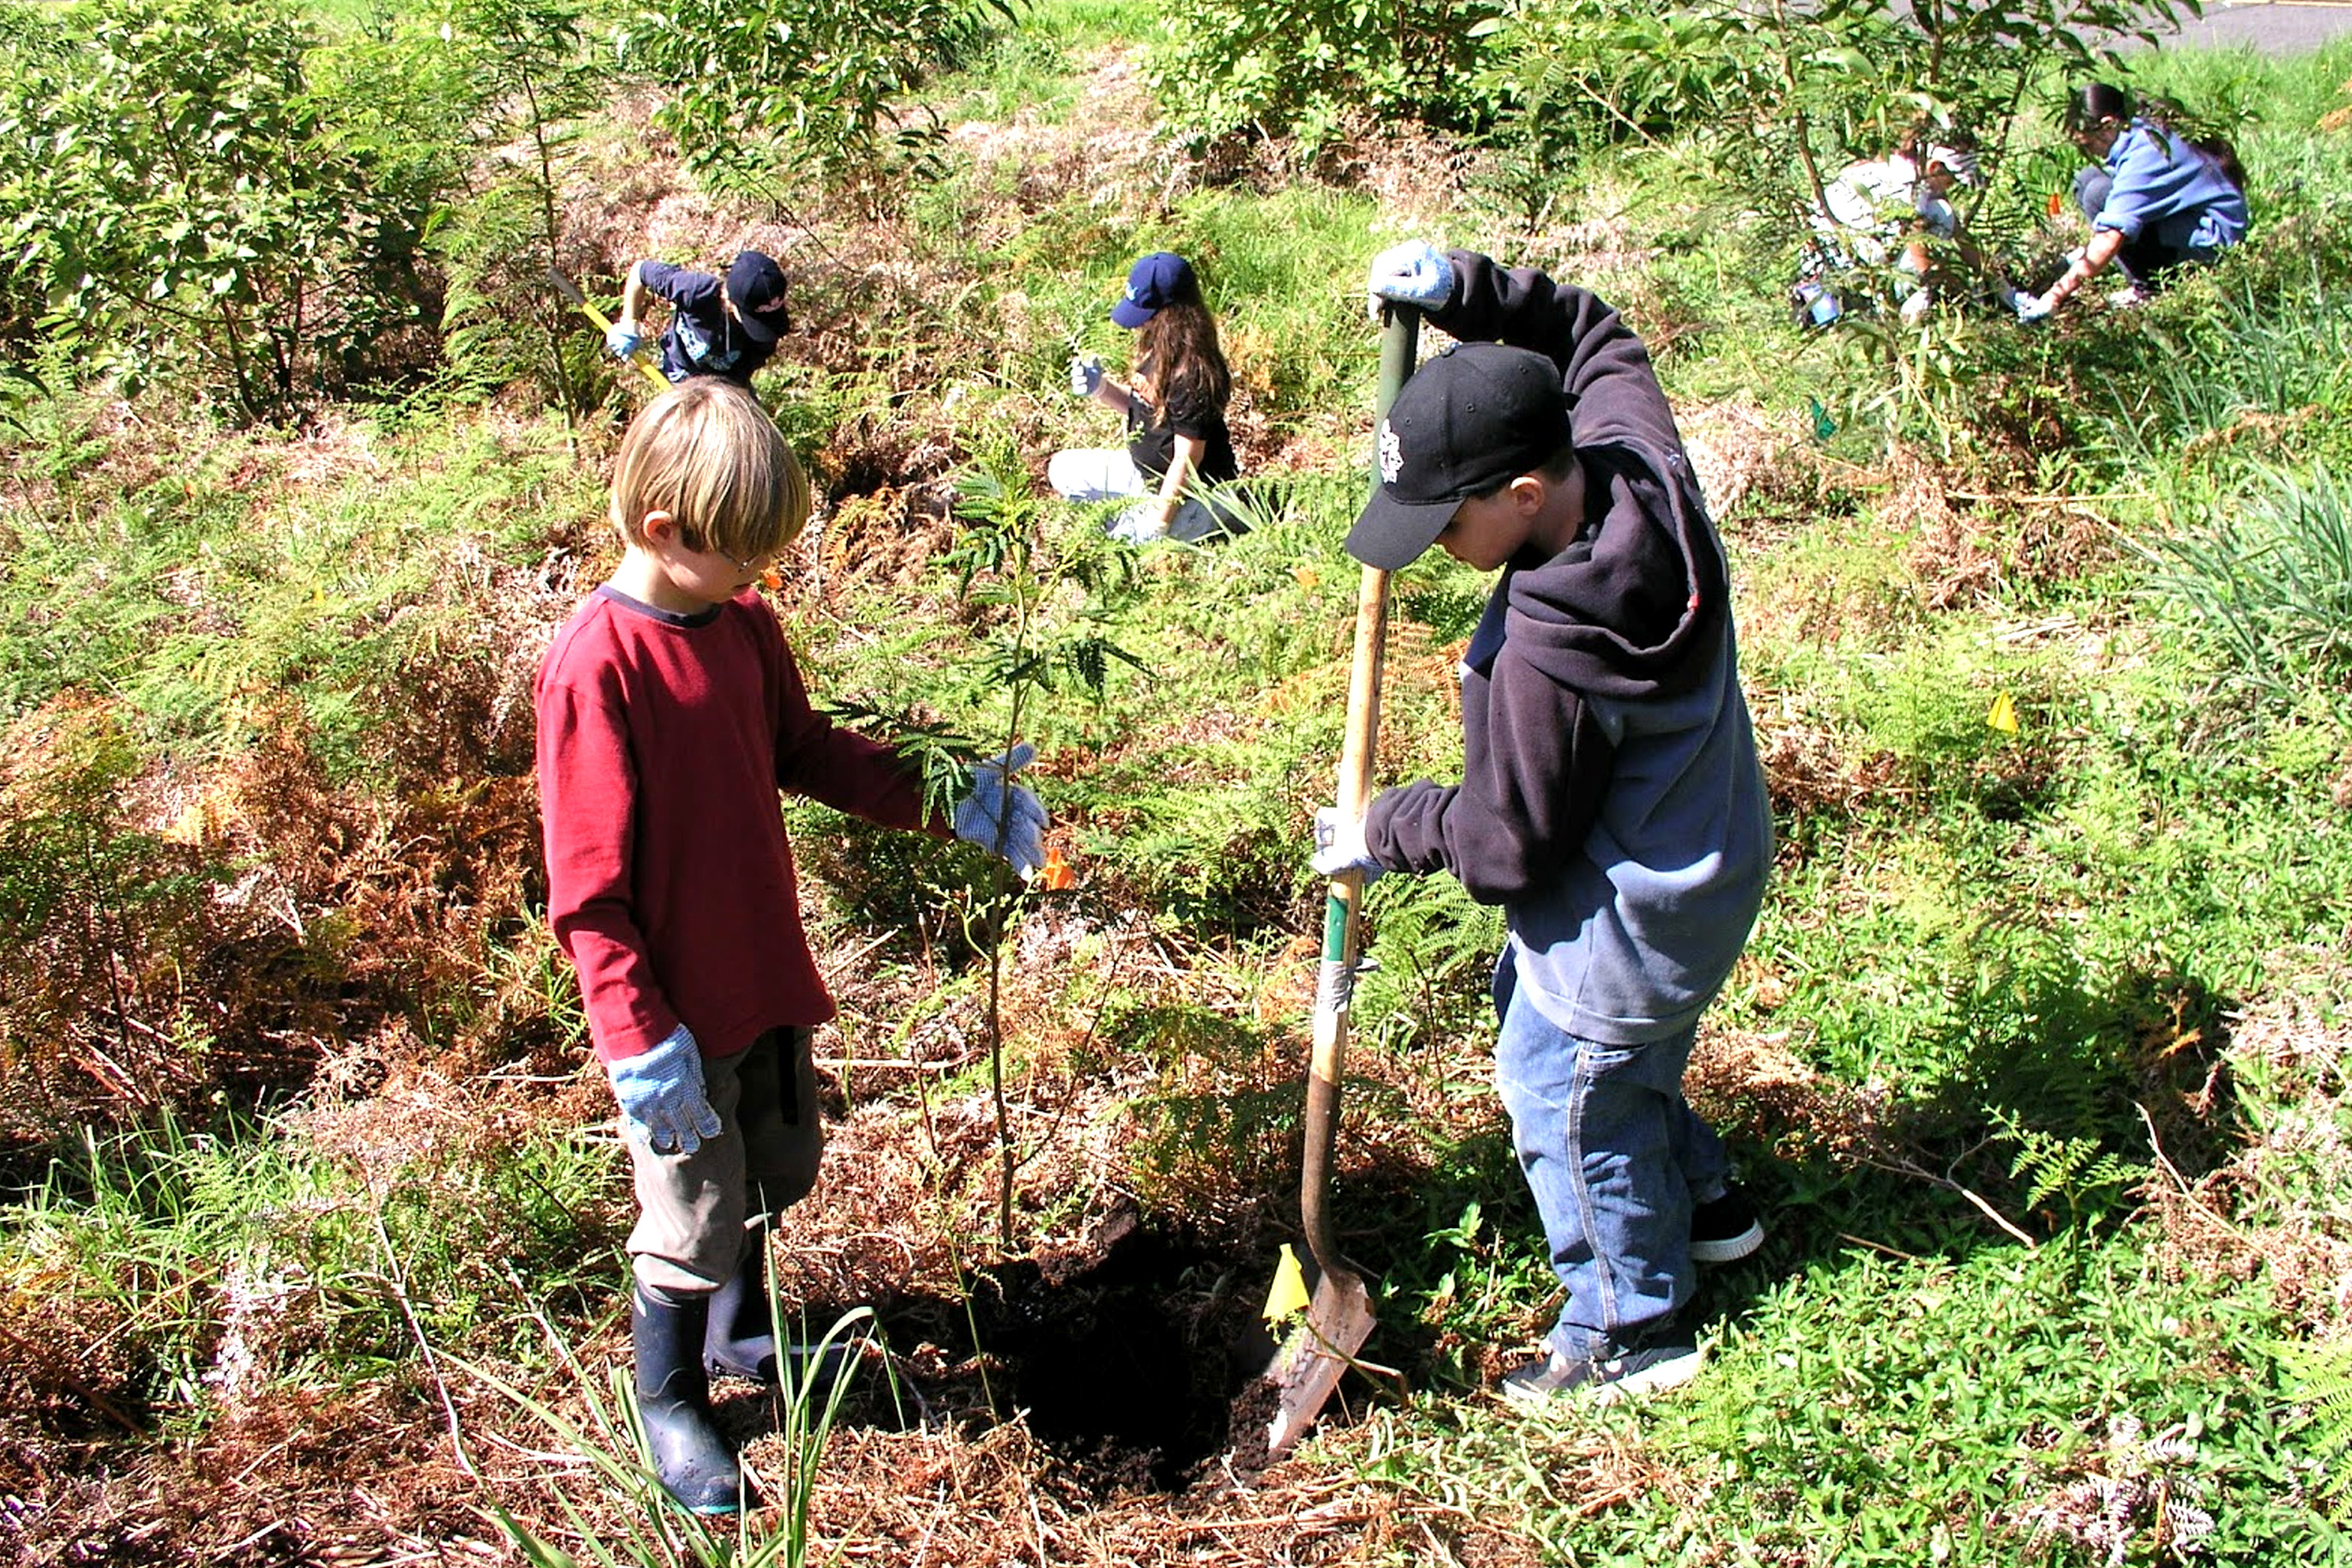

Step-by-step guide to plant a forest
Gardening with Kids - The Garden Tour
Step 1
Pick a sunny flat spot with enough room for small trees to grow.
Step 2
Ask an adult to check for underground utilities and give permission to plant.
Step 3
Use a measuring tape to place stakes that mark where each row will go.
Step 4
Remove grass and weeds from each marked planting spot.
Step 5
Loosen the soil in each spot with a shovel or trowel so roots can spread.
Step 6
Dig a hole as deep as the seedling’s root ball and about twice as wide.
Step 7
Put a handful of compost into the bottom of each hole.
Step 8
Carefully loosen a seedling from its pot without damaging the roots.
Step 9
Place the seedling in the hole so the top of its roots is level with the ground.
Step 10
Fill the hole with soil and gently press it around the seedling to remove big air pockets.
Step 11
Water each seedling deeply until the soil around the roots is soaked.
Step 12
Spread 2 to 3 inches of mulch around each seedling leaving a small gap at the stem.
Step 13
Tie any tall or wobbly seedling to a stake using a soft tie for support.
Step 14
Label each seedling with its name and the planting date.
Step 15
Share your mini-forest project and photos on DIY.org.
Help!?
What can we use if we can't find store-bought compost, measuring tape, or proper wooden stakes?
Mix shredded leaves and well-rotted kitchen scraps into native soil as a compost substitute, use a length of string and two spare sticks to mark rows if you don't have a measuring tape, and substitute long rebar, bamboo poles, or strong branches for wooden stakes when tying seedlings for support.
Some seedlings are leaning or not taking root—what common mistakes should I check and how can I fix them?
Check that each hole was dug to the seedling’s root-ball depth and twice the width, that you loosened and spread the roots before placing the seedling so the top of its roots is level with the ground, water deeply to soak the root zone, press soil gently to remove air pockets, and install a firm stake with a soft tie leaving space for trunk growth if the seedling is wobbly.
How can I adapt the planting steps for toddlers, elementary kids, and teenagers?
Give toddlers simple tasks like handing seedlings, removing grass, and spreading mulch, have elementary-age children use a trowel to loosen soil, measure rows with a tape and help label plants, and let teenagers dig full holes to root-ball depth, set stakes, tie supports, and upload project photos to DIY.org.
What are easy ways to extend or personalize our mini-forest project after planting?
Create labeled plant tags with names and planting dates, map your rows on paper, start a photo-and-growth journal for each seedling to share on DIY.org, add native understory plants for pollinators, and build simple basins or a drip line to make watering each seedling more efficient.
Watch videos on how to plant a forest
🌳 Roma and Diana Save the Forest | Kids Learn to Plant Trees
4 Videos
🌳 Roma and Diana Save the Forest | Kids Learn to Plant Trees

Ecosystems for Kids

How Does A Seed Become A Plant? | Backyard Science | SciShow Kids

Watch a Seed Sprout! | Squeaks Grows a Garden! | SciShow Kids
Facts about tree planting and native gardening
🌱 A single mature tree can absorb about 22 kg (48 lbs) of CO₂ per year — trees are tiny carbon-capturing superheroes!
🌳 Forests cover roughly 31% of Earth's land area — nearly one-third of the planet is leafy!
🐝 Planting native trees helps local bees, butterflies, and birds because these animals evolved to use those specific species.
💧 Young trees usually need regular watering and care for the first 2–3 years while their roots become strong.
📏 Proper spacing (often 2–6 meters / ~6–20 feet depending on the species) helps trees grow tall without competing for light and water.
How do I plan and plant a mini-forest in my backyard or school with my child?
What materials and tools do we need to plant a backyard mini-forest with kids?
What ages are suitable for helping plant and care for a mini-forest?
What are the benefits of planting a mini-forest with children?
