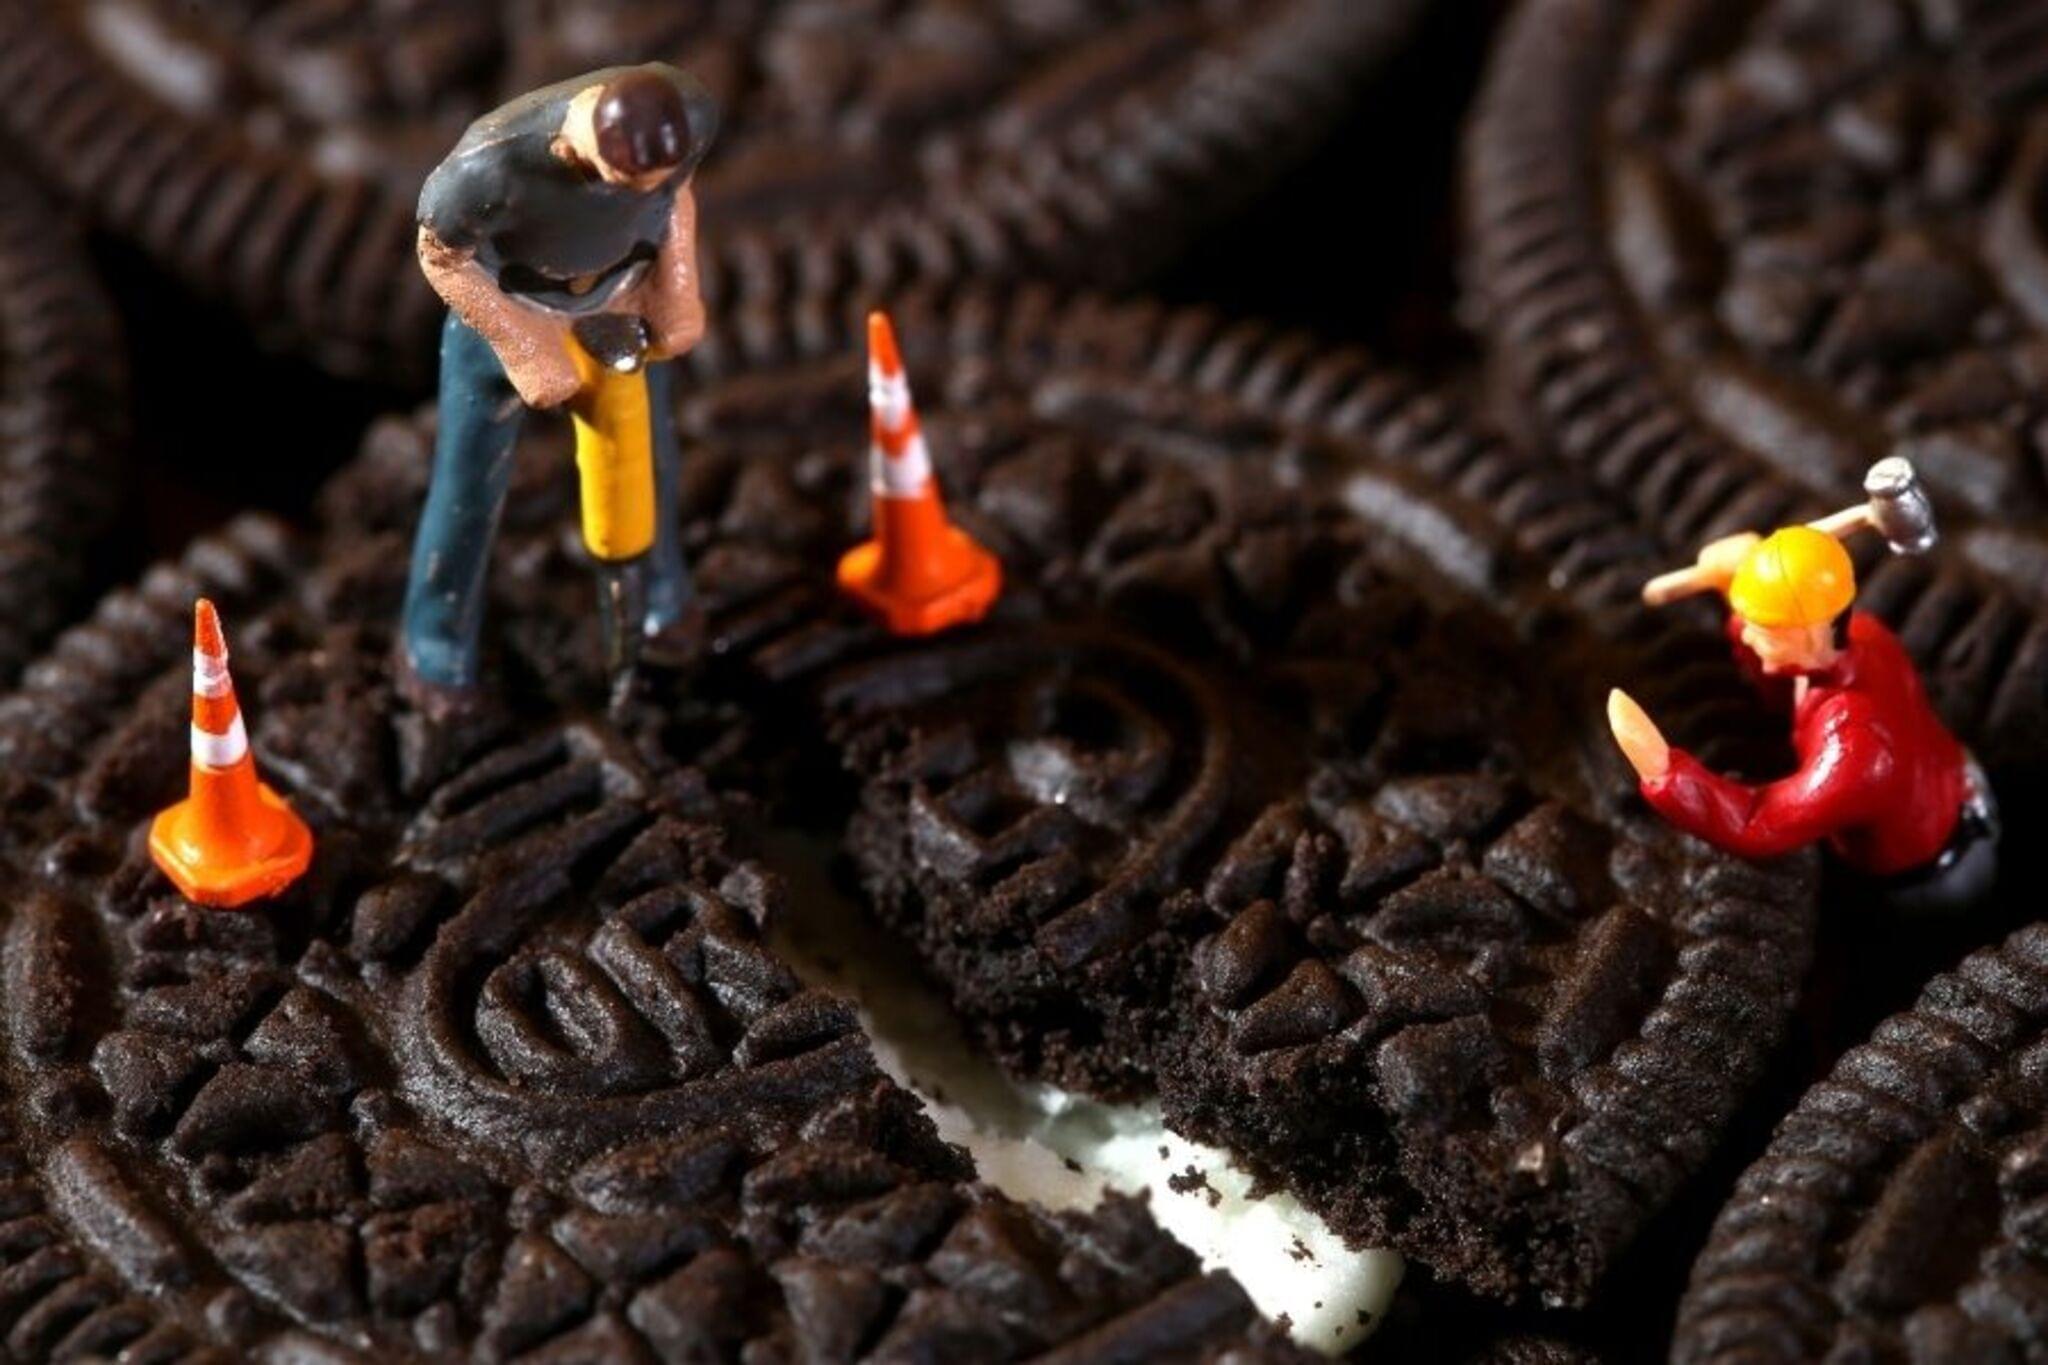
Photograph a Mini Scene
Create and photograph a tiny tabletop scene using toys, paper props, and a smartphone; arrange lighting and angles to tell a small story.


Step-by-step guide to photograph a mini tabletop scene
Become an Epic Kid Photographer
Step 1
Gather all your materials and place them on a clear tabletop so you can see everything.
Step 2
Pick one small toy to be the main character of your tiny scene.
Step 3
Decide on a simple story or moment your toy will act out like a picnic a race or a bedtime scene.
Step 4
Make a backdrop by folding a sheet of paper into an L-shape and standing it at the back of your table.
Step 5
Draw at least two small props on paper such as a sign a plate or a tiny tree.
Step 6
Cut out the paper props carefully with scissors while an adult watches.
Step 7
Color or decorate each prop to match your story using your coloring materials.
Step 8
Use tape or glue to assemble any props that need to stand up or stick together.
Step 9
Arrange your toy and the props on the tabletop to build the little scene that tells your story.
Step 10
Position a lamp or flashlight to shine on the scene and create shadows or mood you like.
Step 11
Use your smartphone to take photos from different angles and distances to find the best view.
Step 12
Look through the photos on your phone to see which ones capture the story best.
Step 13
Edit the photo you like most by cropping or adjusting brightness on your phone if you want.
Step 14
Share your finished creation on DIY.org
Help!?
I don't have a smartphone or a lamp — what can I use instead for taking photos and lighting the scene?
Use a tablet or a digital camera in place of a smartphone to take photos, and use bright window light, a desk lamp, or a flashlight as alternatives to the lamp specified for positioning light on the scene.
My paper props won't stand up or my photos are coming out blurry — how can I fix those problems?
If props won't stand, add folded paper tabs or tape/glue bases as the instructions suggest, and if photos are blurry increase the light, steady your smartphone on a stack of books or use the timer to reduce camera shake.
How can I adapt this activity for younger kids or make it more challenging for older kids?
For younger children, pre-cut the paper props and supervise the scissors step while they color and arrange a simple scene, and for older kids add detailed drawings on the backdrop, multiple characters, more props, and advanced editing or stop-motion using many photos from different angles.
What are some ways to extend or personalize our mini scene after finishing the basic steps?
Try making a painted cardboard backdrop instead of the folded paper, build 3D props from clay or household items assembled with tape or glue, experiment with lamp placement for dramatic shadows, create a photo series or stop-motion from varied angles, then edit and share the final image with a caption on DIY.org.
Watch videos on how to photograph a mini tabletop scene
Lab 1 Part 2: Camera Tutorial and Shooting Exercises
4 Videos
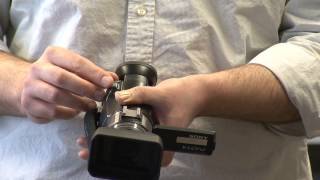
Lab 1 Part 2: Camera Tutorial and Shooting Exercises

Lab 1 Part 1: Introduction to the Camera

Take a silly selfie | Fun Photography for kids | #doitwithdiy

Easy PHOTO TRICKS That Are At Another Level
Facts about smartphone photography for kids
📱 Most photos taken worldwide today come from smartphones, making tiny-scene photography super accessible.
🔍 Macro photography can use 1:1 magnification so very small details fill the frame — perfect for tiny props.
🎯 Forced perspective is a cool trick toy photographers use to make mini figures look life-size in a photo.
💡 Small directional lights (like LEDs or a flashlight) can create dramatic shadows that instantly add story and mood.
🧩 Museums and model-railway builders use dioramas to tell big stories in tiny, carefully crafted scenes.
How do I create and photograph a mini tabletop scene with a smartphone?
What materials do I need to photograph a tiny tabletop scene?
What ages is photographing a mini scene suitable for?
What are the benefits, safety tips, and variations for mini-scene photography?


