#PhotoFestival21 - Day 14 : Sparkle
Create sparkling photos by making a glitter setup: place foil backdrop, sprinkle glitter on black paper, shine a light, and photograph close-up sparkles.

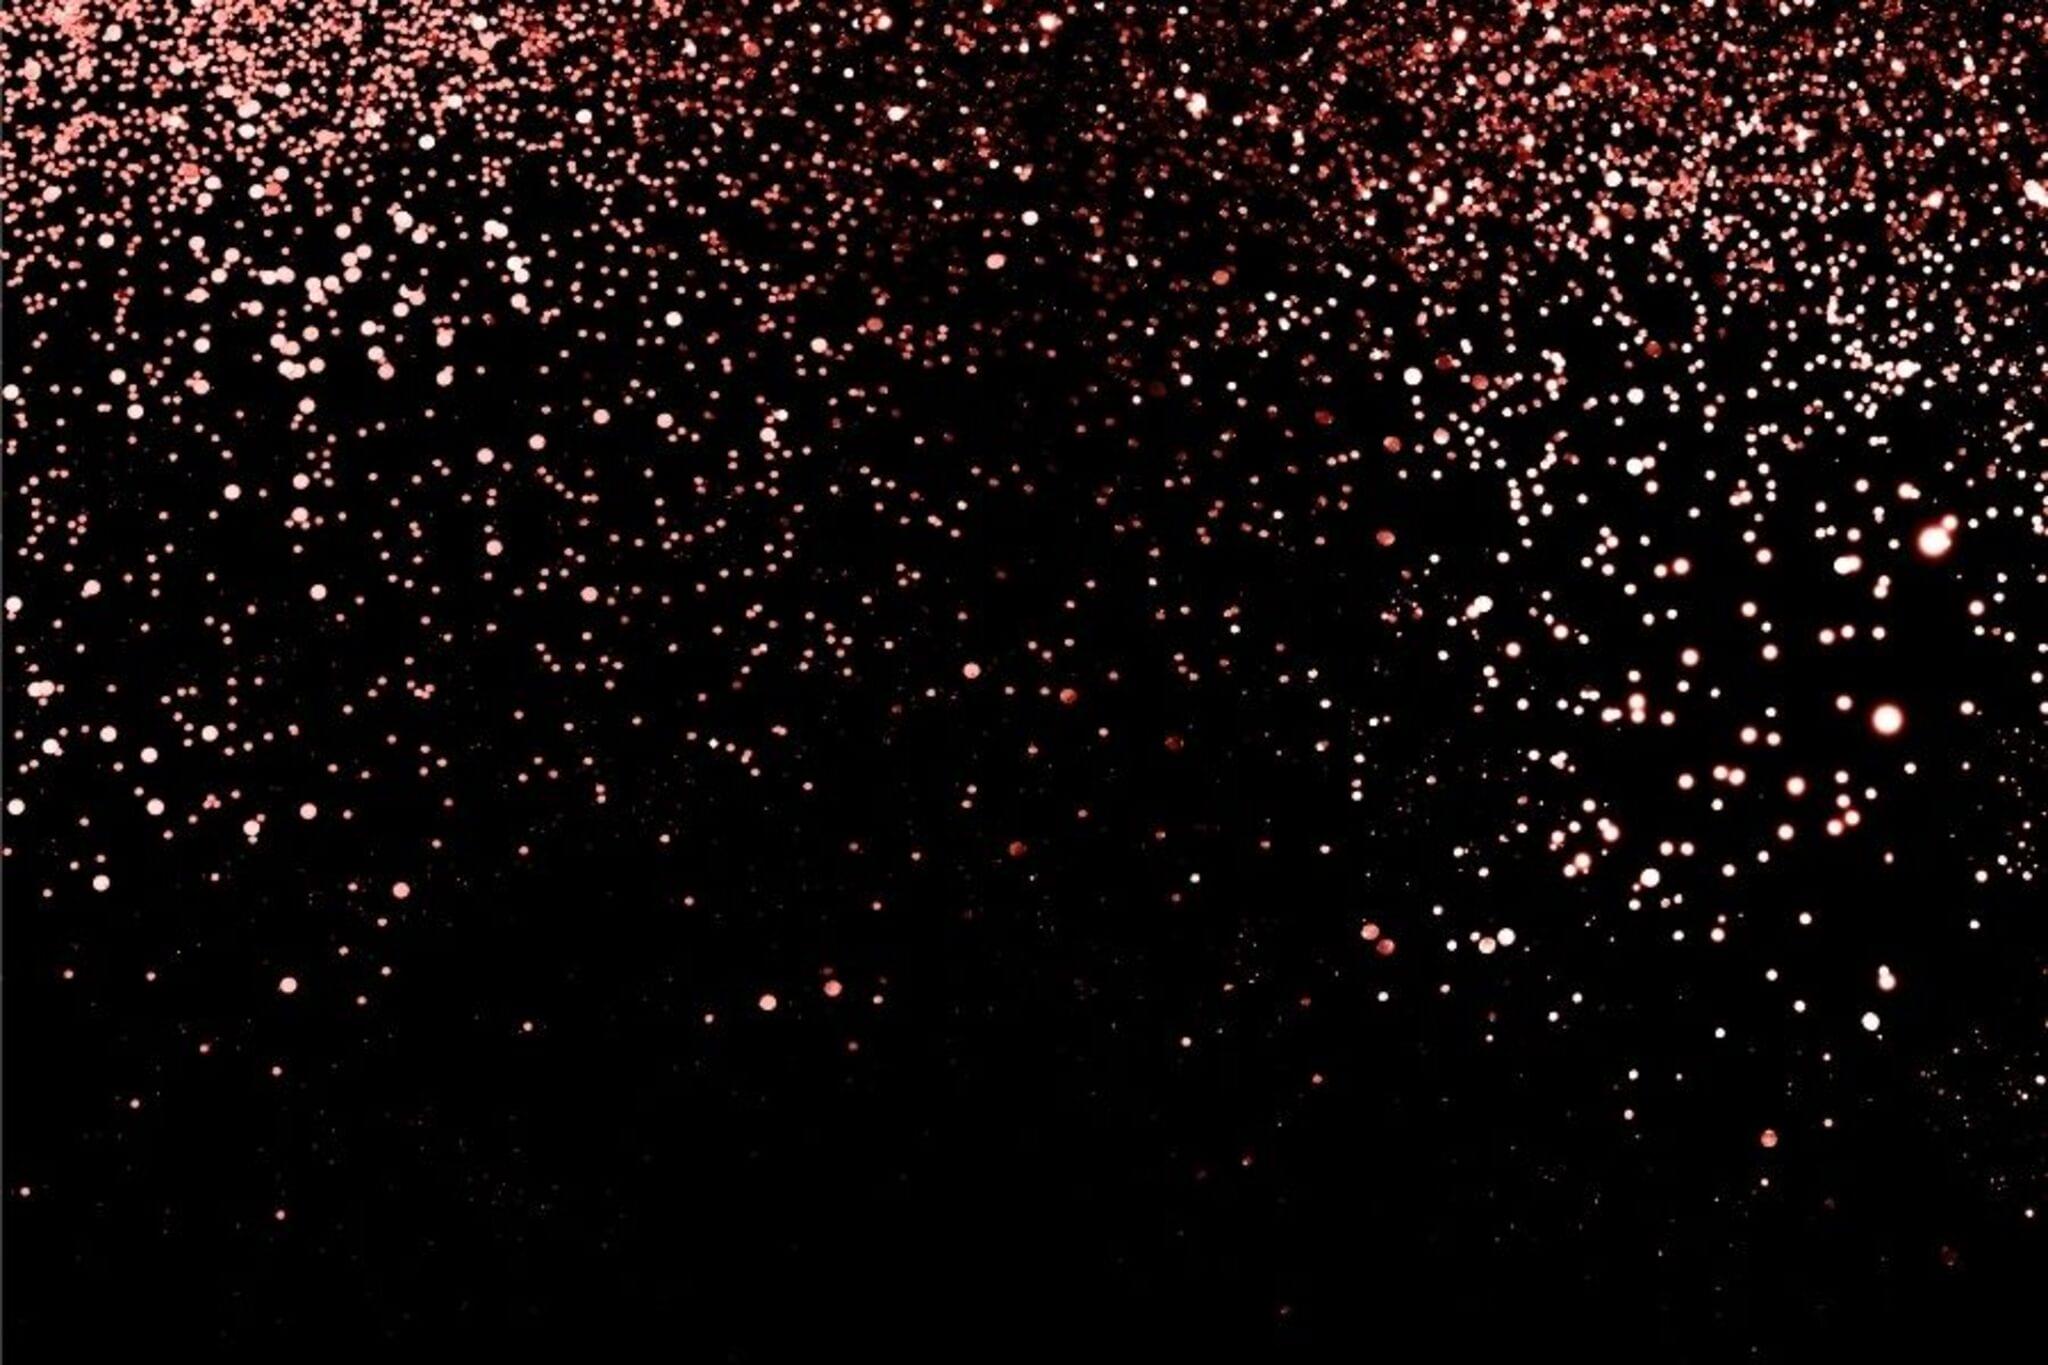

Step-by-step guide to create sparkling photos
Photosynthesis 🌷 | What is photosynthesis? | Step-by-step process
Step 1
Gather all your materials and bring them to a clear table space.
Step 2
Smooth a sheet of aluminum foil flat with your hands so it shines.
Step 3
Tape the foil to a wall or to a piece of cardboard so it stands up as a shiny backdrop.
Step 4
Lay the black paper flat on the table about 10 to 20 cm in front of the foil backdrop.
Step 5
Pinch a little glitter and sprinkle a light even layer onto the black paper.
Step 6
Prop one side of the black paper up on a small book or block so the glitter faces the foil backdrop.
Step 7
Place the flashlight or desk lamp about 20 to 40 cm away and point the beam at the glitter.
Step 8
Turn on the light and check where the sparkles appear the brightest.
Step 9
Pick up your camera or phone and switch to close-up or macro mode.
Step 10
Move the camera close until the glitter sparkles fill the screen and hold the camera very still.
Step 11
Tap the screen to focus on the sparkles.
Step 12
Press the shutter button several times to capture lots of sparkly photos.
Step 13
Look through your photos and pick the brightest or coolest-looking one and make small edits if you like.
Step 14
Share your favorite sparkling photo on DIY.org.
Help!?
What can we use instead of glitter, aluminum foil, or a flashlight if we don't have them?
If you don't have glitter, try sequins, table salt, or sugar sprinkled onto the black paper; if you lack aluminum foil use shiny gift wrap or a clean baking tray taped as the backdrop; and if you don't have a flashlight use your phone's flashlight or a desk lamp as the instructions say.
My photos are blurry or the sparkles are dim—what should I try?
Make sure the foil is smoothed and taped flat as the shiny backdrop, move the flashlight or desk lamp to about 20–40 cm and change its angle so the brightest sparkles reflect toward the camera, then switch to close-up/macro mode, tap the screen to focus, and hold the camera very still or rest it on a block.
How can we adapt this activity for different ages?
For preschoolers let them sprinkle glitter on the black paper while an adult smooths and tapes the foil and positions the lamp, for school-age kids have them prop the paper and try macro mode themselves, and for older kids encourage experimenting with light distance, angles, and photo edits before sharing on DIY.org.
How can we make the sparkly photos more creative or personalized?
Try placing colored cellophane over the flashlight or using different colored glitter on the black paper, arrange glitter into shapes before propping the paper so the sparkles form patterns, or add small shiny props in front of the foil backdrop and then pick and edit your favorite sparkling photo.
Watch videos on how to create sparkling photos
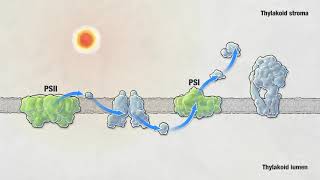
Photosynthesis
4 Videos
Photosynthesis

Photosynthesis: Crash Course Biology #8
Photosynthesis | HHMI BioInteractive Video
Photosynthesis: The Biochemistry Behind How Plants Make Their Food
Facts about photography for kids
📸 Macro lenses let you capture tiny glitter pieces so they look huge — many macro setups use 1:1 magnification.
✨ Bokeh is the soft, sparkly blur photographers create by using wide apertures to turn points of light into pretty shapes.
🪞Crumpled aluminium foil makes an easy, super-reflective backdrop that creates lots of little light highlights for sparkle photos.
🔦 Moving a small LED or flashlight around changes which glitter pieces catch the light, making your photos shimmer differently.
🌍 Most traditional glitter is tiny plastic that can pollute waterways — biodegradable glitter or catching spills on a tray helps protect nature.
How do I create sparkling close-up photos for #PhotoFestival21 Day 14?
What materials do I need to make a glitter photography setup for Day 14?
What ages is the #PhotoFestival21 Day 14 sparkle photo activity suitable for?
What safety and cleanup tips should I follow when making glitter photos?
