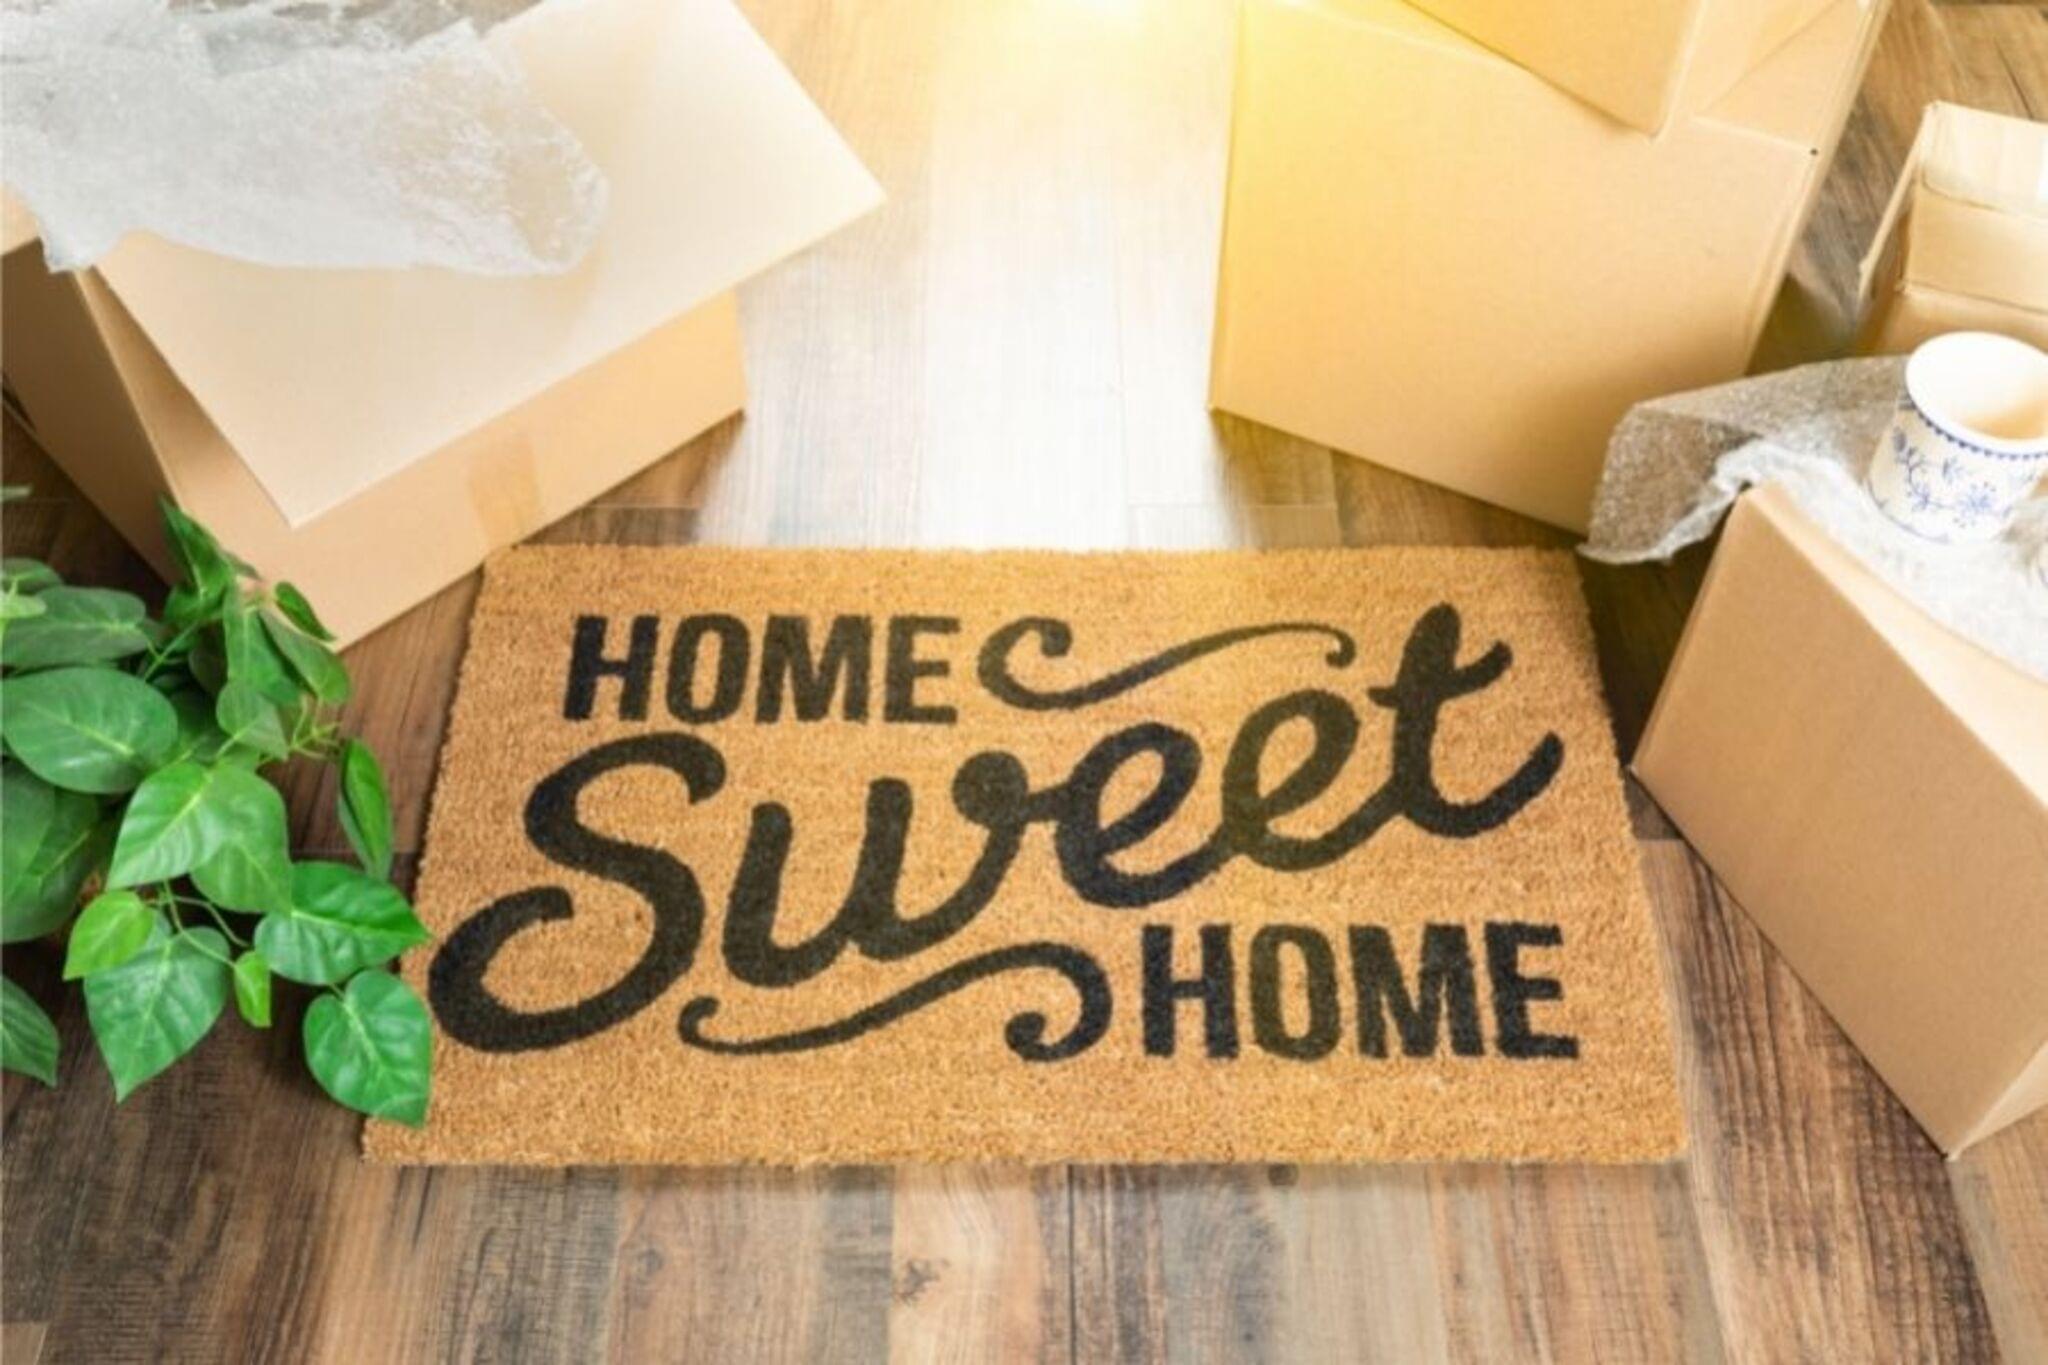
#PhotoFestival21 - Day 13 : Home
Create a photo collage of "home" by photographing five favorite items around your house, arranging prints, and describing each with a short caption.


Step-by-step guide to #PhotoFestival21 - Day 13: Home photo collage
Photosynthesis 🌷 | What is photosynthesis? | Step-by-step process
Step 1
Choose five favorite items in your home that make you feel cozy or happy.
Step 2
Gather the five items in one bright spot so you can photograph them easily.
Step 3
Take a clear photo of each item one at a time making sure the whole item is in the frame.
Step 4
Ask an adult to help you print the photos on printer paper or photo paper.
Step 5
Cut out each printed photo neatly using scissors.
Step 6
Lay the cut photos on your poster board and try different arrangements until you like one.
Step 7
Glue or tape each photo down in your chosen layout.
Step 8
Write a short 1 or 2 sentence caption for each photo on a sticky label or small piece of paper.
Step 9
Stick each caption below its matching photo.
Step 10
Decorate around your photos with drawings borders or stickers to make the collage pop.
Step 11
Ask an adult to help you take a photo of your finished collage and share your creation on DIY.org
Help!?
What can we use if we don't have a printer, photo paper, or poster board?
If you don't have a home printer or photo paper (step: Ask an adult to help you print the photos), use regular printer paper or print photos at a library or pharmacy and substitute stiff cereal box or construction paper for the poster board.
What should I do if my photos turn out blurry or the items don't fit in the frame?
If a photo is blurry or the whole item isn't in the frame (step: Take a clear photo of each item one at a time), retake it using a steady surface or the camera grid and use low-tack tape to test arrangements on the poster board before gluing.
How can I adapt this activity for younger or older children?
For younger kids, pick three favorite items and have an adult help with printing, cutting, and gluing (steps: Gather the five items, Ask an adult to help, Cut out each printed photo), while older kids can photograph more items, type longer captions, and add mixed-media decorations or a theme.
How can we enhance or personalize the collage beyond the basic instructions?
To personalize the collage, add fabric swatches or small found objects around the photos (step: Decorate around your photos), write a short memory on the back of each photo, and take a photo of the finished collage to share on DIY.org.
Watch videos on how to create a #PhotoFestival21 - Day 13: Home photo collage
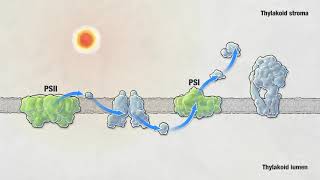
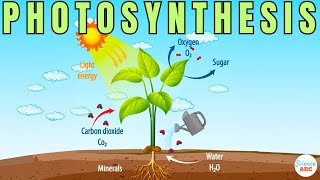
Photosynthesis
4 Videos
Photosynthesis

Photosynthesis: Crash Course Biology #8
Photosynthesis | HHMI BioInteractive Video
Photosynthesis: The Biochemistry Behind How Plants Make Their Food
Facts about photography and collage-making for kids
📸 The first permanent photograph (a view from a window) was made in 1826 by Nicéphore Niépce and took about 8 hours to expose!
🖼️ The word "collage" comes from the French for "gluing"—artists like Picasso and Braque made glued-paper art famous in the early 1900s.
🏠 The English word "home" traces back to Old English "hām," meaning village or estate—your home connects to a long history!
🖨️ Kodak's Brownie camera, introduced in 1900, made photography affordable for families and helped popularize printed photo albums.
✂️ Photomontage—cutting and rearranging photos—was a favorite technique of Dada artists to create surprising, playful images.
How do I do the #PhotoFestival21 Day 13 "Home" photo collage with my child?
What materials do we need to make a home-themed photo collage for #PhotoFestival21 Day 13?
What ages is the #PhotoFestival21 Day 13 photo collage activity suitable for?
What are the benefits and safety tips for making a home photo collage with kids?
