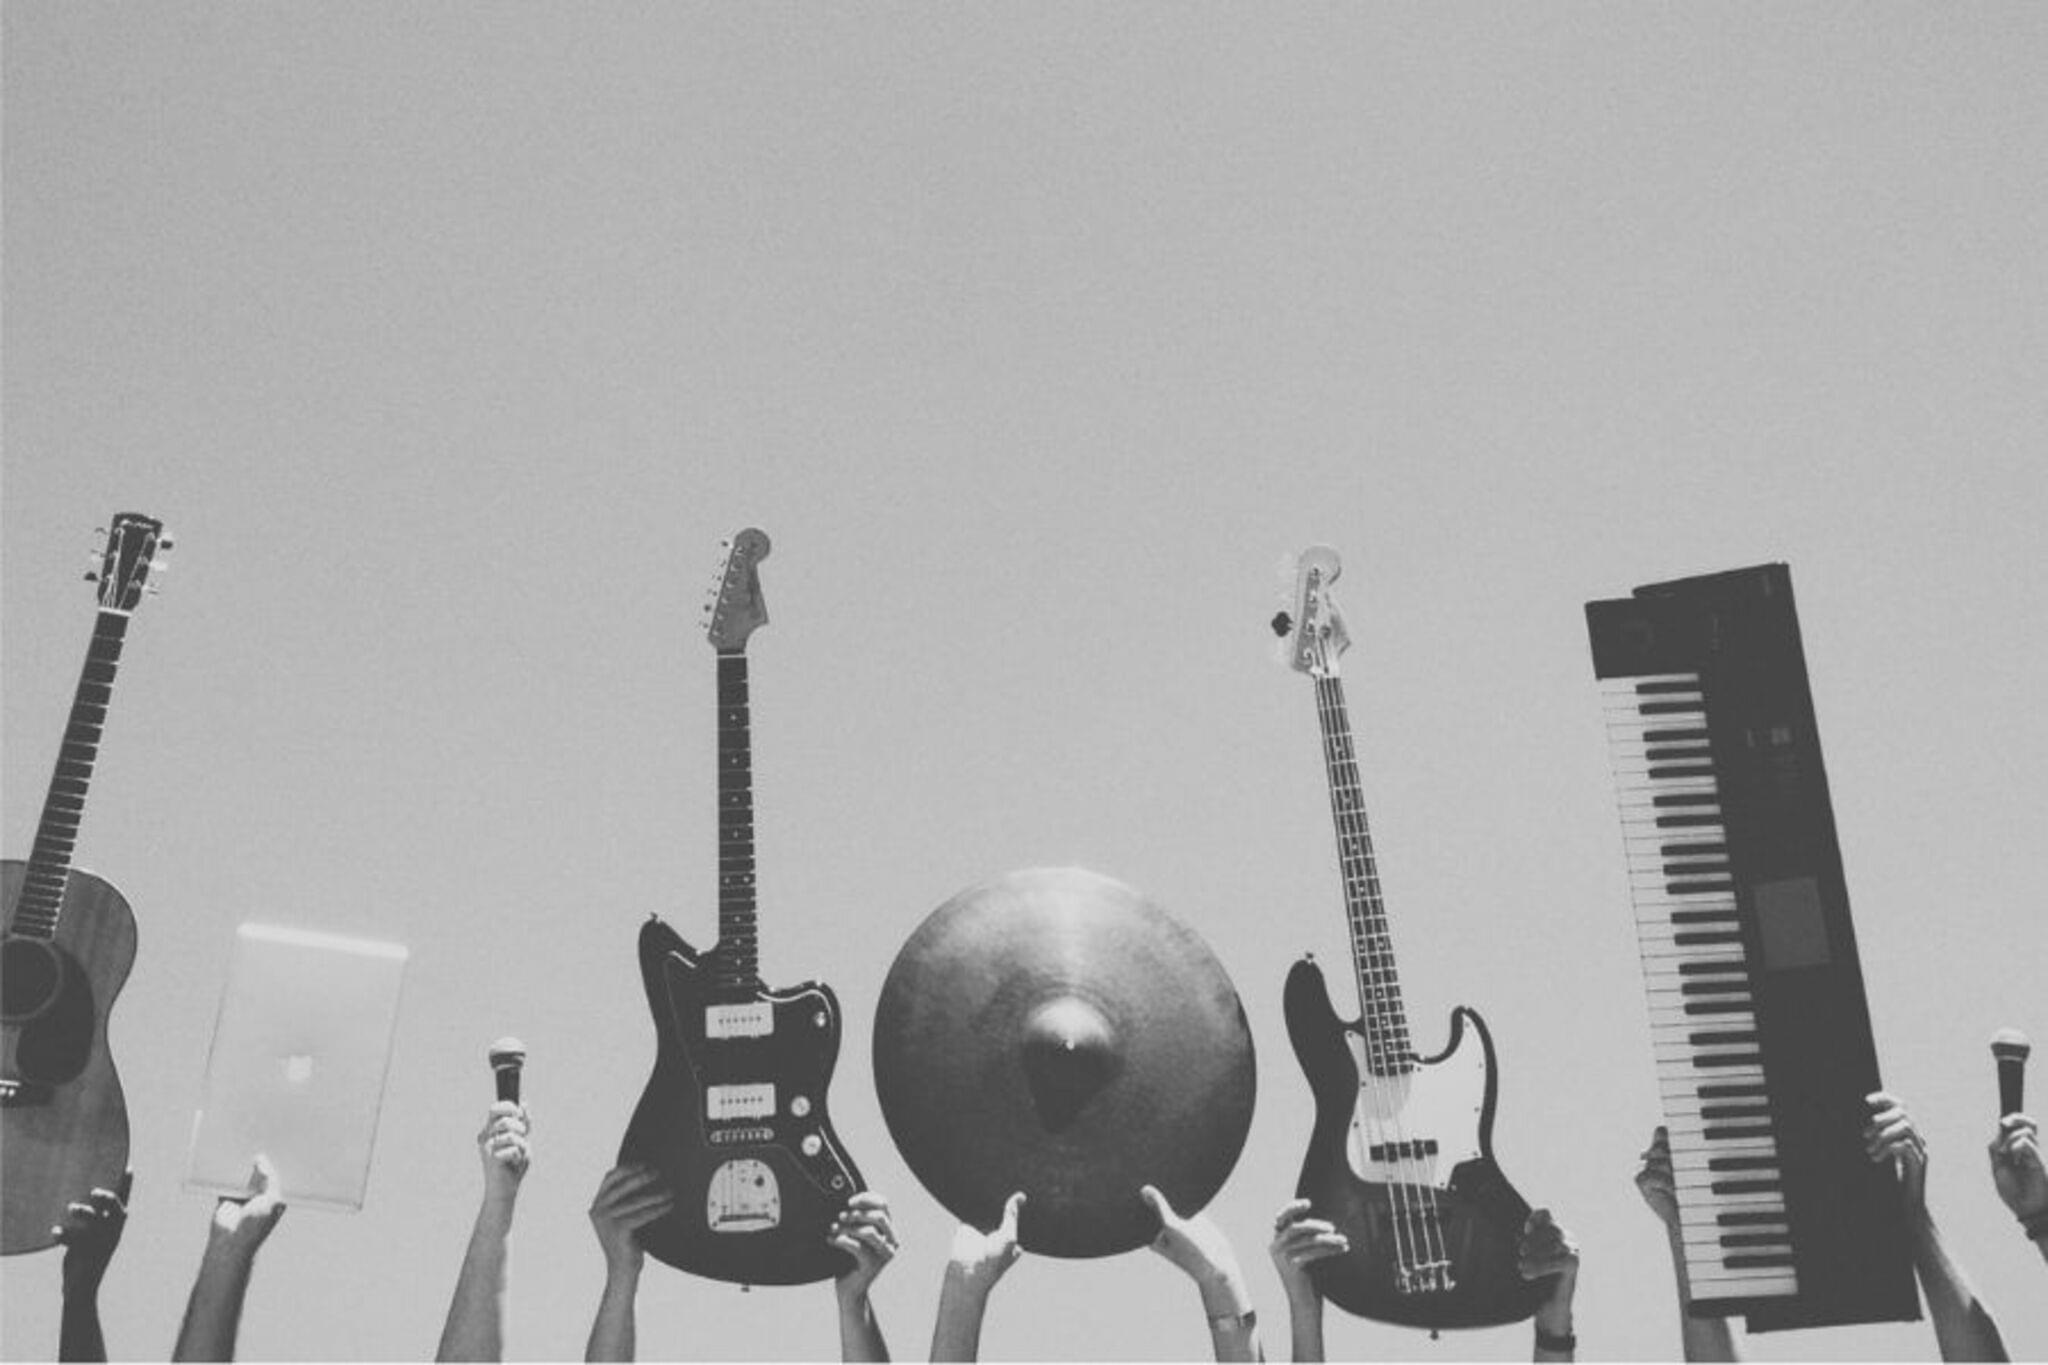
#PhotoFestival21 - Day 11 : Music
Create a photo series capturing musical moments: photograph instruments, performers, movements, and emotions, then arrange the images into a mini exhibition or slideshow.


Step-by-step guide to create a photo series for PhotoFestival21 Day 11: Music
Photosynthesis 🌷 | What is photosynthesis? | Step-by-step process
Step 1
Gather your materials and bring them to your quiet spot with soft light.
Step 2
Decide on 4 to 8 things you want to capture such as instruments performers movement and emotions.
Step 3
Ask friends or family to help and get permission from anyone you will photograph.
Step 4
Arrange one prop or instrument where you will take the first picture.
Step 5
Take a close up photo of the instrument showing its details.
Step 6
Take a photo of a performer playing or pretending to play showing movement.
Step 7
Ask the performer to show an emotion like joy surprise or concentration and take a photo of their face.
Step 8
Change your angle or distance and take another photo to add variety.
Step 9
Repeat Steps 4 to 8 until you have at least 8 different photos.
Step 10
Look through your photos and pick your favorite 6 to 12 images.
Step 11
Edit each chosen photo by cropping and adjusting brightness or applying one fun filter.
Step 12
Choose whether to make a wall mini exhibition or a digital slideshow.
Step 13
If you chose a wall exhibition hang your photos on the string with clothespins or tape them to paper and arrange them on the wall.
Step 14
Invite family to view your display and tell them the story each photo shows.
Step 15
Share your finished photo series and mini exhibition or slideshow on DIY.org
Help!?
What can we use instead of clothespins, string, or a camera if we don't have them?
Use a smartphone to take your photos, hang prints with ribbon or yarn instead of string and use binder clips or poster putty instead of clothespins, or tape photos to paper for the wall display (step 11).
My action photos of performers are blurry—what should I try?
Ask the performer to exaggerate movement, switch your phone to burst mode or a faster shutter/ISO if available, and move to a brighter spot with soft light to reduce blur when taking the movement shot (step 6).
How can I adapt this activity for different age groups?
For younger kids, limit choices to 4 easy subjects, help them ask permission and let them stick printed photos on paper with stickers (steps 2, 3, 11), while older kids can shoot more subjects, try different angles, and do more detailed editing and captions before sharing on DIY.org (steps 6–9, 13).
How can we enhance or personalize our photo series or exhibition?
Add short captions or a title that tells the story of each image, create a themed color edit or use one consistent filter during step 9, include background music in a digital slideshow, or decorate the hanging string with colored tape or matching ribbons for the wall exhibition (steps 9–12).
Watch videos on how to create a photo series for PhotoFestival21 Day 11: Music
Photosynthesis
4 Videos
Photosynthesis

Photosynthesis: Crash Course Biology #8
Photosynthesis | HHMI BioInteractive Video

Photosynthesis - Light Dependent Reactions and the Calvin Cycle
Facts about photography for kids
🎵 Slow shutter speeds can turn fast musical motion—like strumming or drumsticks—into dramatic motion blur that shows movement.
🎧 Concert photographers often use fast prime lenses (f/1.8–f/2) and high ISO to capture performers in low light without losing expression.
🎙️ Close-up photos of hands, faces, and instruments can tell as much of the music's story as a wide-stage shot by highlighting emotion and detail.
🖼️ Mini exhibitions and slideshows commonly use 5–12 images to create a short visual narrative that guides viewers through a musical moment.
📷 Choosing angle and framing changes mood instantly—a wide shot feels epic, while a tight crop feels intimate and emotional.
How do I guide my child to create a photo series of musical moments for #PhotoFestival21 - Day 11: Music?
What materials and equipment do we need to photograph instruments, performers, movements, and emotions?
What ages is this musical photography activity suitable for?
What are the benefits, safety tips, and creative variations for a music photo series activity?
