Perspective Drawing with DIY Star NAT08
Build a small DIY paper star model and learn one-point and two-point perspective drawing to sketch it realistically and observe proportions.

Drawing Apps
Step-by-step guide to Perspective Drawing with DIY Star NAT08
Step 1
Gather all the Materials Needed and clear a flat table to work on.
Step 2
Cut a strip of paper about 1.5 cm wide and 20 cm long using the ruler pencil and scissors.
Step 3
Make a small loop knot with one end of the strip to start a tiny pentagon shape.
Step 4
Tighten and flatten the knot so it becomes a neat little pentagon.
Step 5
Wrap the long end of the strip around the pentagon five times keeping the wraps tight.
Step 6
Tuck the short tail of the strip into a pocket under the wraps and press flat to secure it.
Step 7
Pinch the five corners of the flattened pentagon outward to puff and form your small 3D paper star.
Step 8
Sit so the star is directly in front of you at eye level and place a blank sheet of drawing paper where you can see both the star and the paper.
Step 9
Draw a horizon line on your drawing paper at your eye level and mark one vanishing point on that line.
Step 10
Using your pencil to sight proportions lightly sketch a one-point perspective drawing of the star by drawing the front shape then connecting its edges toward the vanishing point.
Step 11
Rotate the star so a corner points toward you then draw a two-point perspective sketch by placing two vanishing points on the same horizon and sketching the star’s nearest corner with lines toward both vanishing points.
Step 12
Shade and colour your one-point and two-point sketches to match the star’s light and proportions then share your finished creation on DIY.org.
Help!?
What can I use instead of the exact 1.5 cm × 20 cm paper strip or if I don’t have scissors?
Cut a 20 cm strip from printer paper, magazine pages, or a paper bag using your ruler and pencil and, if you can't use scissors, carefully tear along the ruler and use a small piece of clear tape to secure the short tail after tucking.
My knot won't form a neat pentagon or the wraps become loose—how do I fix that?
Loosen and re-tighten the small loop knot while flattening it with your fingernail to make a neat pentagon, keep each wrap tight as you wind the long end five times, and use the tip of a toothpick or scissors to help tuck and press the short tail flat if it won't stay.
How can I adapt the cutting, folding, and drawing steps for different ages?
For younger children, use wider 2–3 cm strips and have an adult pre-make or assist with the pentagon and draw the horizon line, while older kids can try thinner strips for smaller stars and complete the one-point and two-point perspective sighting and shading independently.
What are some ways to personalize or extend the star and the perspective drawings?
Decorate the paper strip with markers or metallic paper before forming and puffing the star, make multiple stars in different sizes to practice drawing them in one-point and two-point perspective, and photograph your shaded sketches to share on DIY.org.
Watch videos on how to Perspective Drawing with DIY Star NAT08
Perspective for Beginners
4 Videos

Perspective for Beginners
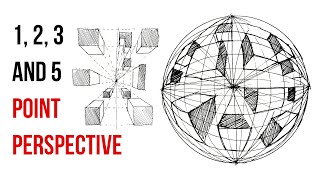
Learn 1, 2, 3 & 5 Point Perspective in Minutes! (Step-by-Step Tutorial)
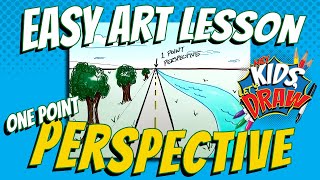
How to Draw One-Point Perspective - Easy Art Lesson for Kids
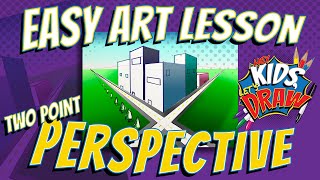
How to Draw Two-Point Perspective - Easy Art Lesson for Kids
Facts about perspective drawing for kids
🎨 One-point perspective was systematized in the early 1400s by Filippo Brunelleschi to make scenes look realistic.
🖼️ Two-point perspective uses two vanishing points on the horizon to show objects turned at an angle and add believable depth.
✂️ Papercraft turns flat sheets into 3D models with folds, cuts, and tabs — perfect for building a DIY paper star.
⭐ A simple 5-point star can be drawn as a single continuous line called a pentagram, a classic star polygon used in art.
📐 Artists often hold a pencil at arm's length to compare sizes and angles so proportions stay accurate when sketching.
How do I do Perspective Drawing with DIY Star NAT08?
What materials do I need for Perspective Drawing with DIY Star NAT08?
What ages is Perspective Drawing with DIY Star NAT08 suitable for?
What are the benefits of doing Perspective Drawing with a DIY Star NAT08?
